Uneven Brake Pad Wear Causes: 9 Checks to Find the Problem
Uneven brake pad wear causes: what the wear pattern means
If you are trying to understand uneven brake pad wear causes, start by treating the wear as a symptom, not a diagnosis. Different pad-to-pad differences can point to calipers, slide hardware, rotors, hoses, or even hub issues, so the pattern matters as much as the amount of wear.
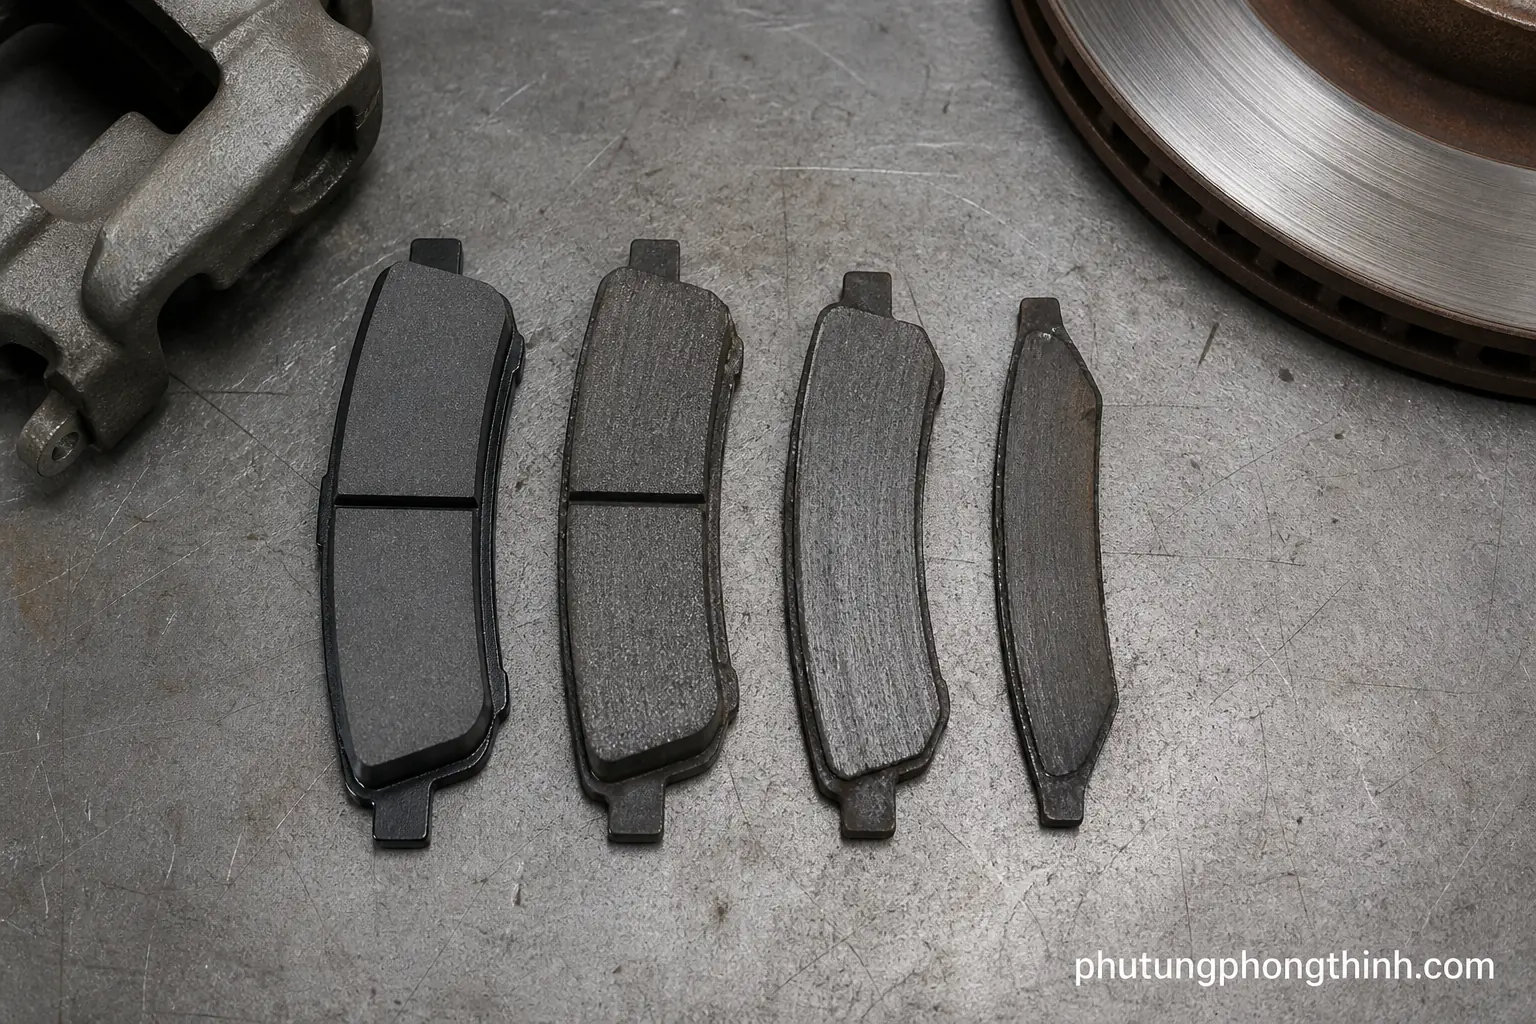
The most common patterns are an inner pad thinner than outer pad, outer pad thinner than inner pad, and tapered wear across the friction surface. In many cases, wheel temperature differences show up before the wear becomes obvious, which is why a full diagnosis usually takes more than one quick look.
This guide walks through nine practical checks so you can isolate the root cause before buying brake pads, rotors, or calipers you may not actually need.
Check 1: Compare pad thickness and wear pattern side by side
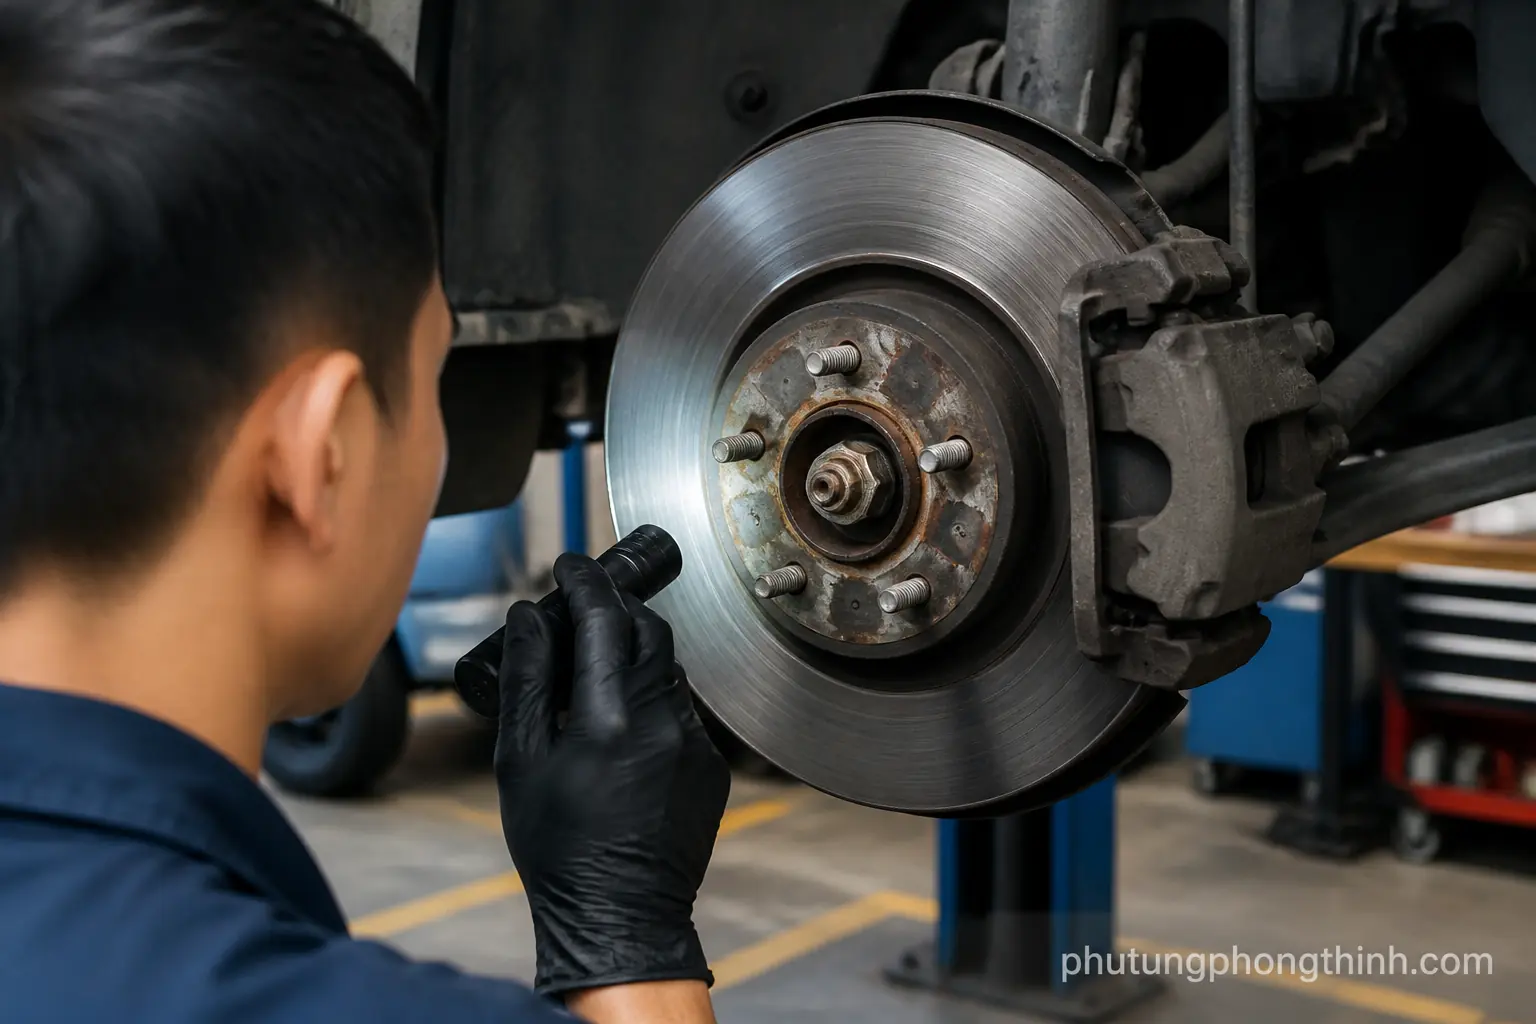
Start by measuring the inner and outer pad thickness on each wheel, then compare the two pads on the same caliper and the same axle. A digital caliper makes it easy to spot thickness variation, and it helps you see whether the wear is isolated to one corner or part of a larger brake pad wear diagnosis.

When the inner pad is thinner than the outer pad, the problem often involves caliper movement or slide hardware. When the outer pad is thinner than the inner pad, look harder at release issues, bracket hardware, or fitment problems. Document the numbers before disassembly goes too far so you can compare left-to-right and avoid guessing later.
- Measure both pads on each wheel.
- Look for tapered wear across the face of the pad.
- Compare left and right sides on the same axle.
- Record the measurements before removing more parts.
Check 2: Inspect calipers, guide pins, and pad abutment hardware
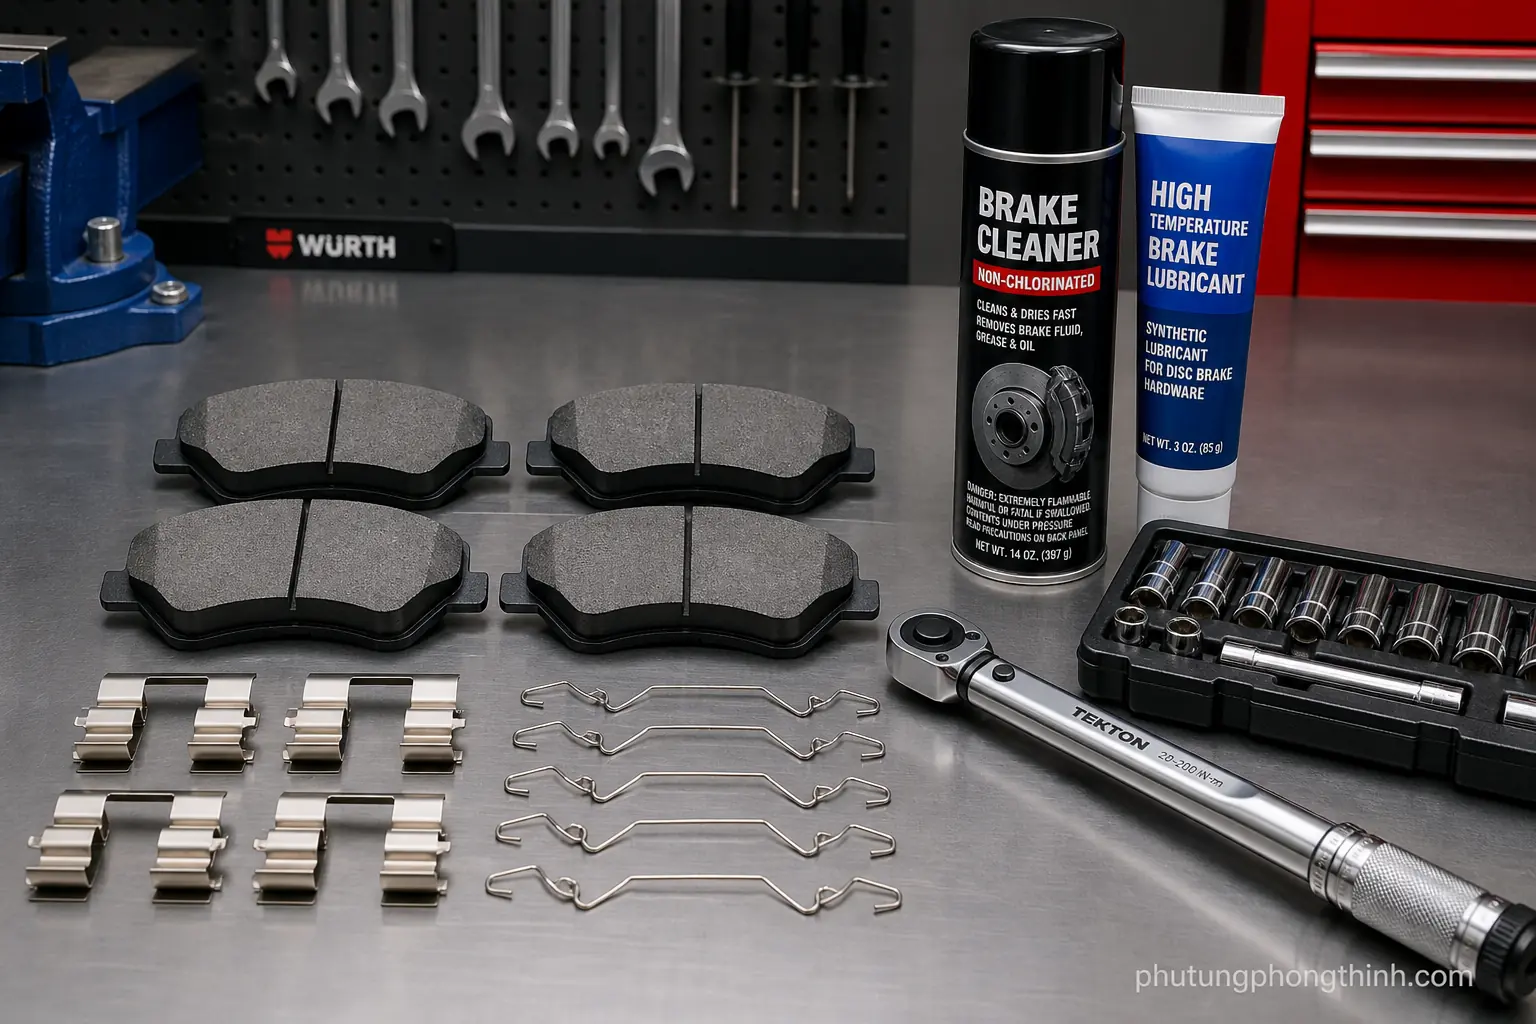
In a floating caliper setup, the caliper has to move freely on its guide pins. If the slide pins are seized, the boots are torn, the grease has dried out, or corrosion has built up, one pad can stay loaded longer than the other and create side-to-side wear differences.

Also inspect the pad abutment hardware for rust buildup, missing clips, or uneven contact points. Sticking calipers often show up as dragging brakes, a hot wheel temperature, or a vehicle that pulls slightly during stops. Small hardware problems can hold one pad against the rotor longer than the other, so this check is worth doing carefully.
- Check guide pins for free movement.
- Look for torn boots or corrosion.
- Inspect pad clips and abutment points.
- Notice any dragging or heat at one wheel.
Check 3: Look for rotor runout, thickness variation, and brake pulsation
Rotor problems can mimic pad problems or make them worse. Rotor runout symptoms usually mean the rotor does not rotate perfectly true, while thickness variation means the rotor is not the same thickness all the way around. Either condition can contribute to brake pulsation and uneven pad contact, which may accelerate tapered wear or uneven transfer layer buildup.
Inspect the rotor surface for scoring, glazing, heat spots, and an outer lip at the edge. If the rotor is below spec or uneven enough to keep damaging new pads, replacement is usually the smarter choice.
Check 4: Inspect hub face corrosion and wheel bearing play
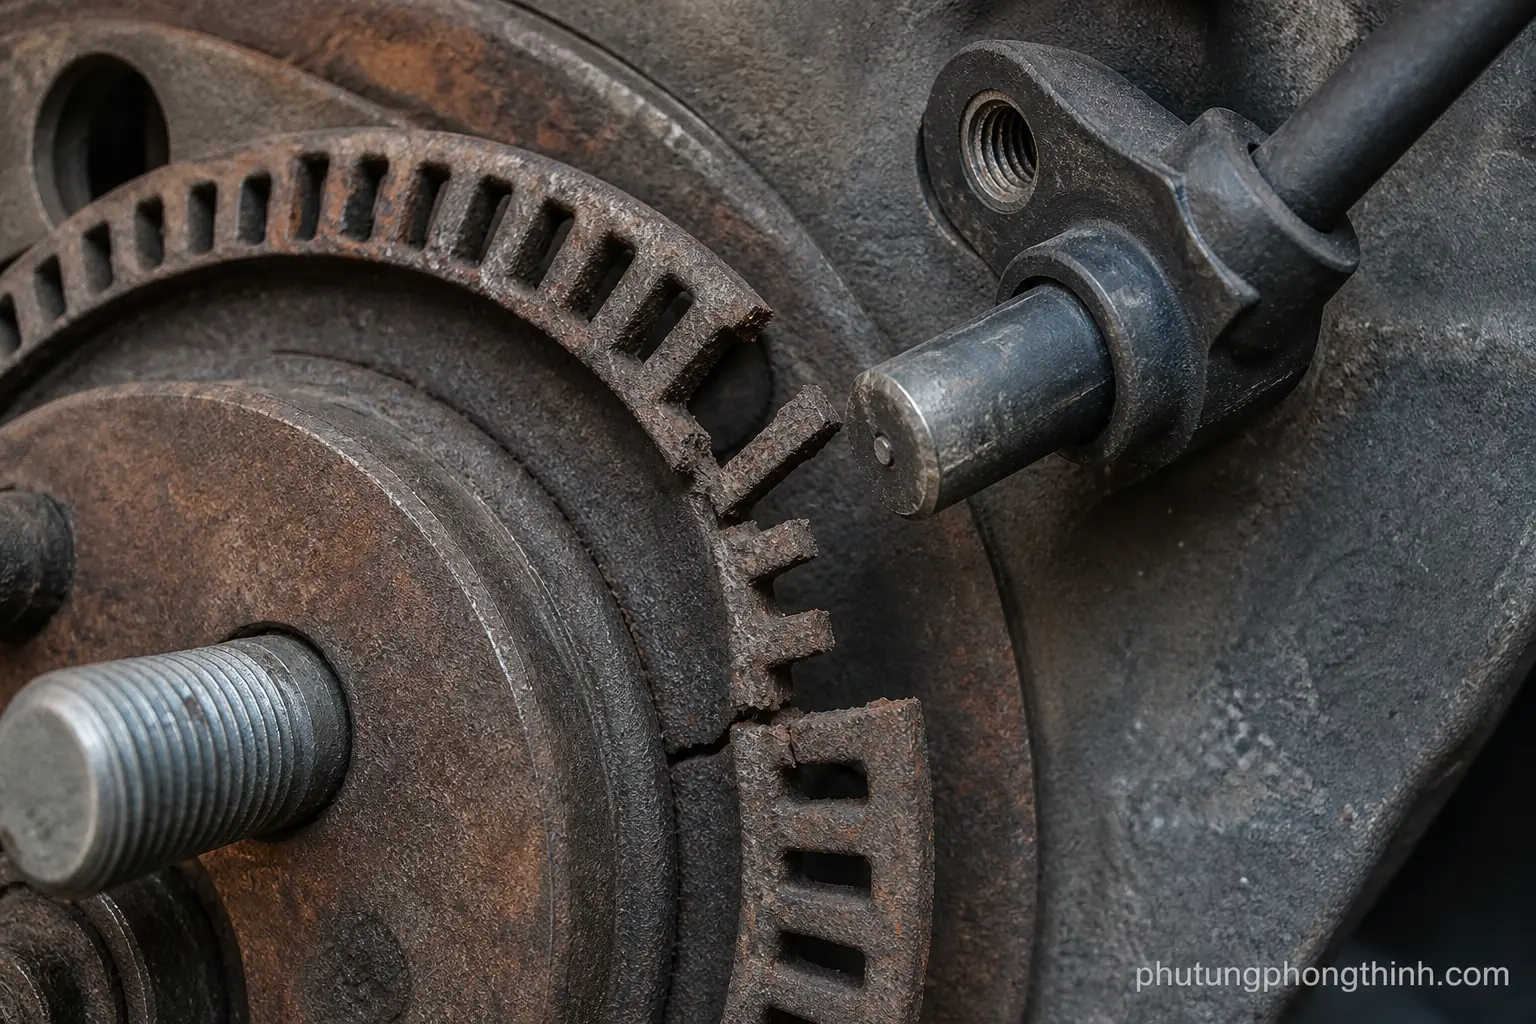
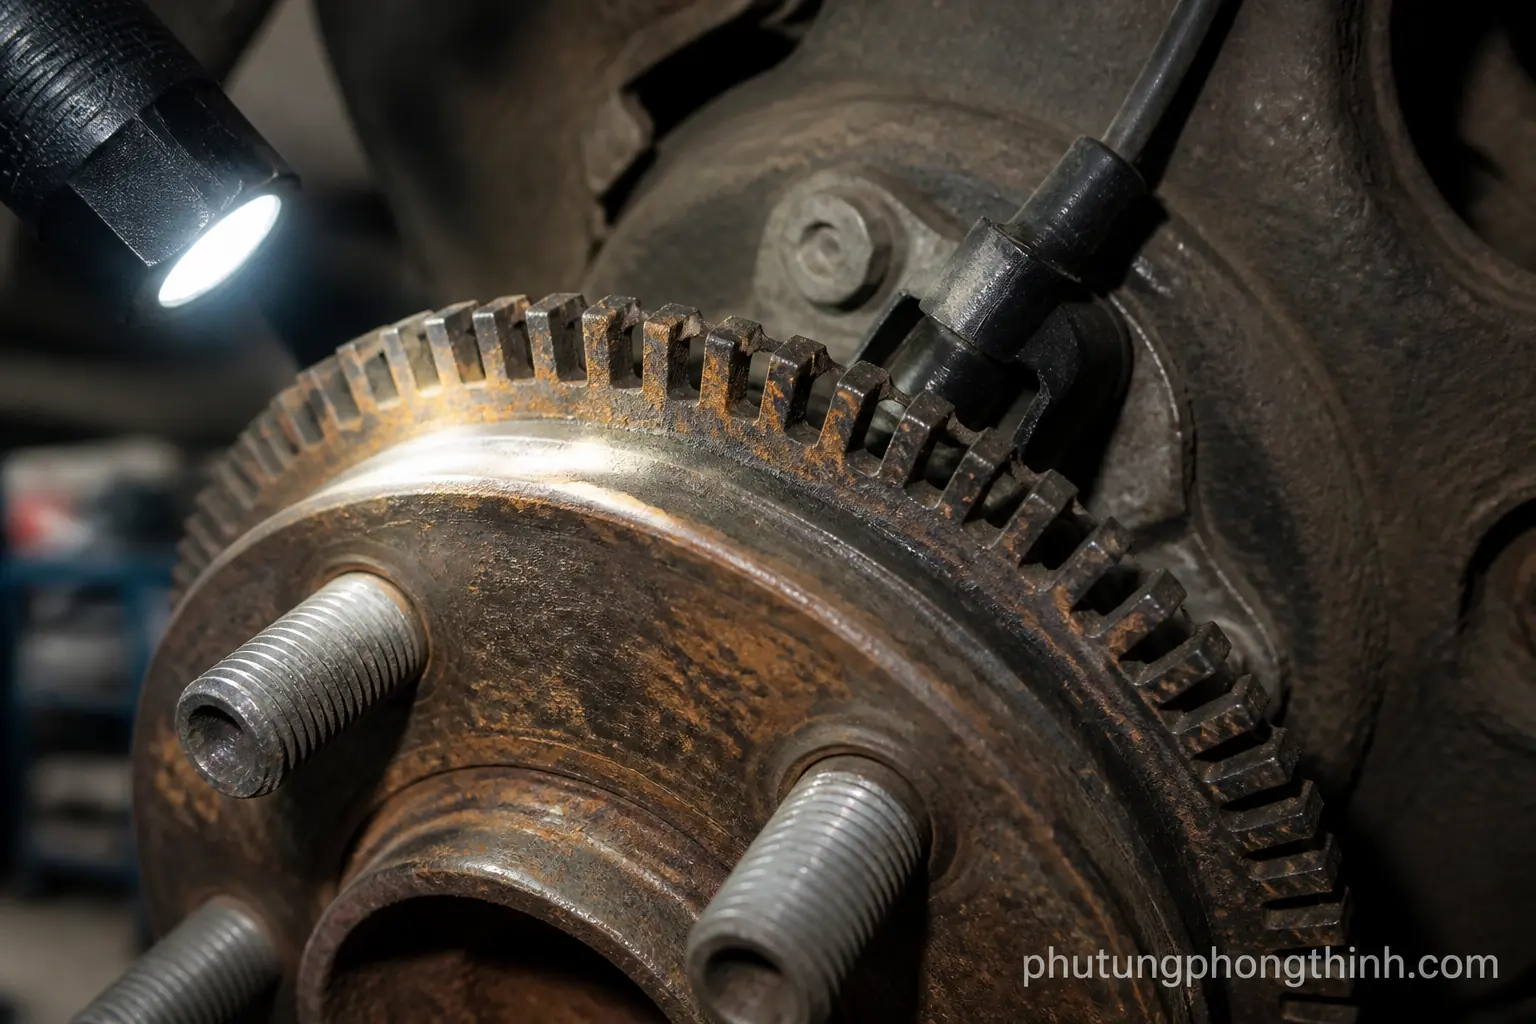
Even a good rotor can run poorly if the hub face is dirty or corroded. Hub face corrosion can keep the rotor from sitting flat, and rust buildup alone can create runout. Wheel bearing play can also shift rotor position under load, which changes how the pads contact the disc.
With the wheel raised, check for roughness, looseness, or obvious movement at the hub. Look for rust flakes, pitting, or debris on the mounting surface. Excess play can show up as brake pad wear patterns, vibration, or a wheel temperature difference that does not make sense from the pad inspection alone.
- Inspect the hub face for rust and debris.
- Test for wheel bearing looseness or roughness.
- Watch for vibration complaints alongside pad wear.
- Confirm the rotor sits flat on the hub.
Check 5: Test brake hose restriction and hydraulic release
A restricted brake hose can hold pressure in the caliper even after the pedal is released. In that case, the hose may behave like a one-way valve, creating brake hose restriction symptoms such as a brake that stays partially applied and one pad that drags harder than the other.
A simple way to confirm the suspicion is to compare wheel temperatures after a short drive. If appropriate for the vehicle and your setup, opening the bleeder carefully as a diagnostic step can help separate hose restriction from a sticking caliper. The two problems can feel very similar from the driver’s seat.
Check 6: Assess pad fitment, backing plates, and slide contact points
Sometimes the issue is not a failed major component at all, but a pad fitment problem. Check whether the pads fit tightly in the bracket channels, whether the backing plates have bent ears or uneven coating wear, and whether anything is binding at the bracket or rotor shield. Small drag points at the abutments can create localized wear that looks bigger than the actual fault.
- Check for smooth pad movement in the bracket.
- Inspect backing plates for bends or corrosion.
- Make sure nothing is rubbing the rotor shield.
- Consider recent brake service as a clue.
These issues are especially useful for separating an installation problem from true component failure, because poor pad movement often shows up right after a brake job.
Check 7: Evaluate the parking brake and rear brake components
Rear brake wear deserves its own check because the parking brake system can affect how the rear pads release. Make sure the parking brake fully releases, and inspect any rear caliper mechanisms, shoes, or integrated parking brake hardware that may be holding one side back.
A rear issue can be easy to overlook because the car may still stop normally. But rear-side drag can create wheel temperature differences and odd wear patterns, including cases where the inner pad is thinner than the outer pad on one side. At the same time, it is smart to keep broader maintenance in mind, including items like a replacement accessory belt when you are planning related repairs on the vehicle.
- Verify the parking brake releases fully.
- Inspect rear caliper or shoe hardware.
- Check for drag at one rear wheel.
- Watch for uneven rear wheel temperatures.
Check 8: Review brake pad wear patterns for system-level clues
Use brake pad wear patterns as a diagnostic map. Tapered wear often points to hardware or alignment issues in the caliper assembly, while opposite-side differences can suggest a caliper, hose, or rotor problem rather than a single bad pad. Looking at the whole pattern helps you avoid replacing parts blindly.
This is where brake pad wear diagnosis becomes practical: replace parts only after the root cause is identified. If one failed component stays in the system, it can quickly ruin new pads and send you back to the same repair again.
| Wear pattern | Common clue | What to inspect next |
|---|---|---|
| Inner pad thinner than outer pad | Caliper movement or release issue | Guide pins, caliper, hose, abutment hardware |
| Outer pad thinner than inner pad | Hardware or fitment problem | Bracket clips, pad fitment, caliper sliding action |
| Tapered wear | Uneven contact across the pad face | Pad hardware, caliper alignment, rotor condition |
| Left-right difference | System issue on one corner or side | Rotor runout, hose restriction, hub, bearing play |
When to replace rotors, pads, calipers, or hoses
Choose the repair based on the fault you actually found. If the rotor is below spec, badly scored, or still causing thickness variation, replacement is usually the right move. If the caliper is sticking or the guide pins are seized, cleaning alone is not always enough. And if hose damage or internal restriction is present, the hose should be replaced rather than reused.
- Replace the failed cause before installing new pads.
- Use new rotors when wear or runout will damage pads again.
- Replace calipers that stick or do not release properly.
- Replace restricted or damaged hoses.
- Recheck wheel temperature and pedal feel after the repair.
| Condition found | Best next step | Why it matters |
|---|---|---|
| Rotor runout or thickness variation | Replace or service the rotor as needed | Prevents pulsation and repeat pad wear |
| Seized slide pins or sticking caliper piston | Service or replace the caliper assembly | Restores even pad release and contact |
| Restricted brake hose | Replace the hose | Stops trapped pressure from dragging the brake |
| Hub face corrosion or bearing play | Clean, correct, or repair the mounting issue | Keeps the rotor aligned and stable |
Before you button everything back up, consider a fresh genuine Ford air filter cover if that part also needs attention, then confirm the brake problem is truly solved by rechecking temperature balance and pedal feel after the repair.
Quick FAQ about uneven brake pad wear
Why do inner pads wear faster than outer pads? Inner pads often wear faster when caliper movement, slide pins, or hydraulic release is not working correctly, so the inner pad stays loaded longer than the outer pad.
Does uneven wear always mean the caliper is bad? No. A sticking caliper is common, but rotor runout, hub corrosion, bearing play, hose restriction, and pad fitment problems can create similar wear patterns.
How long is it safe to keep driving with uneven brake pad wear? Only for as long as needed to reach a safe repair point. If the brake is dragging, overheating, or pulsing, the risk of rotor damage and brake fade goes up quickly.
Why can new pads wear unevenly again after a brake job? Because the root cause may not have been fixed. If hardware, rotor condition, hose restriction, or caliper movement is still wrong, new pads will follow the same worn pattern.
What wheel symptom should I watch for first? A temperature difference between wheels is often an early clue, especially when one side feels much hotter after a short drive.
Frequently Asked Questions
Why do inner pads wear faster than outer pads?
Inner pads often wear faster when the caliper cannot release evenly, the slide hardware is sticking, or hydraulic pressure is not dropping normally. That leaves the inner pad loaded longer than the outer pad.
Does uneven wear always mean the caliper is bad?
No. A sticking caliper is one possible cause, but rotor runout, hub corrosion, wheel bearing play, brake hose restriction, and pad fitment issues can all create uneven wear.
How long is it safe to keep driving with uneven brake pad wear?
Only long enough to get the car inspected and repaired safely. If the brake is dragging, overheating, or causing pulsation, the risk of rotor damage and braking problems increases quickly.
Why can new pads wear unevenly again after a brake job?
Because the underlying cause may still be present. If the caliper, guide pins, rotor, hose, or mounting surface is still faulty, the new pads can wear the same way.
What is the first symptom worth checking on one wheel?
A wheel temperature difference is often one of the first useful clues, especially if one side feels noticeably hotter after a short drive.