How to Install Brake Pads: 2026 DIY Guide & Tips
How to Install Brake Pads: What You Need Before You Start
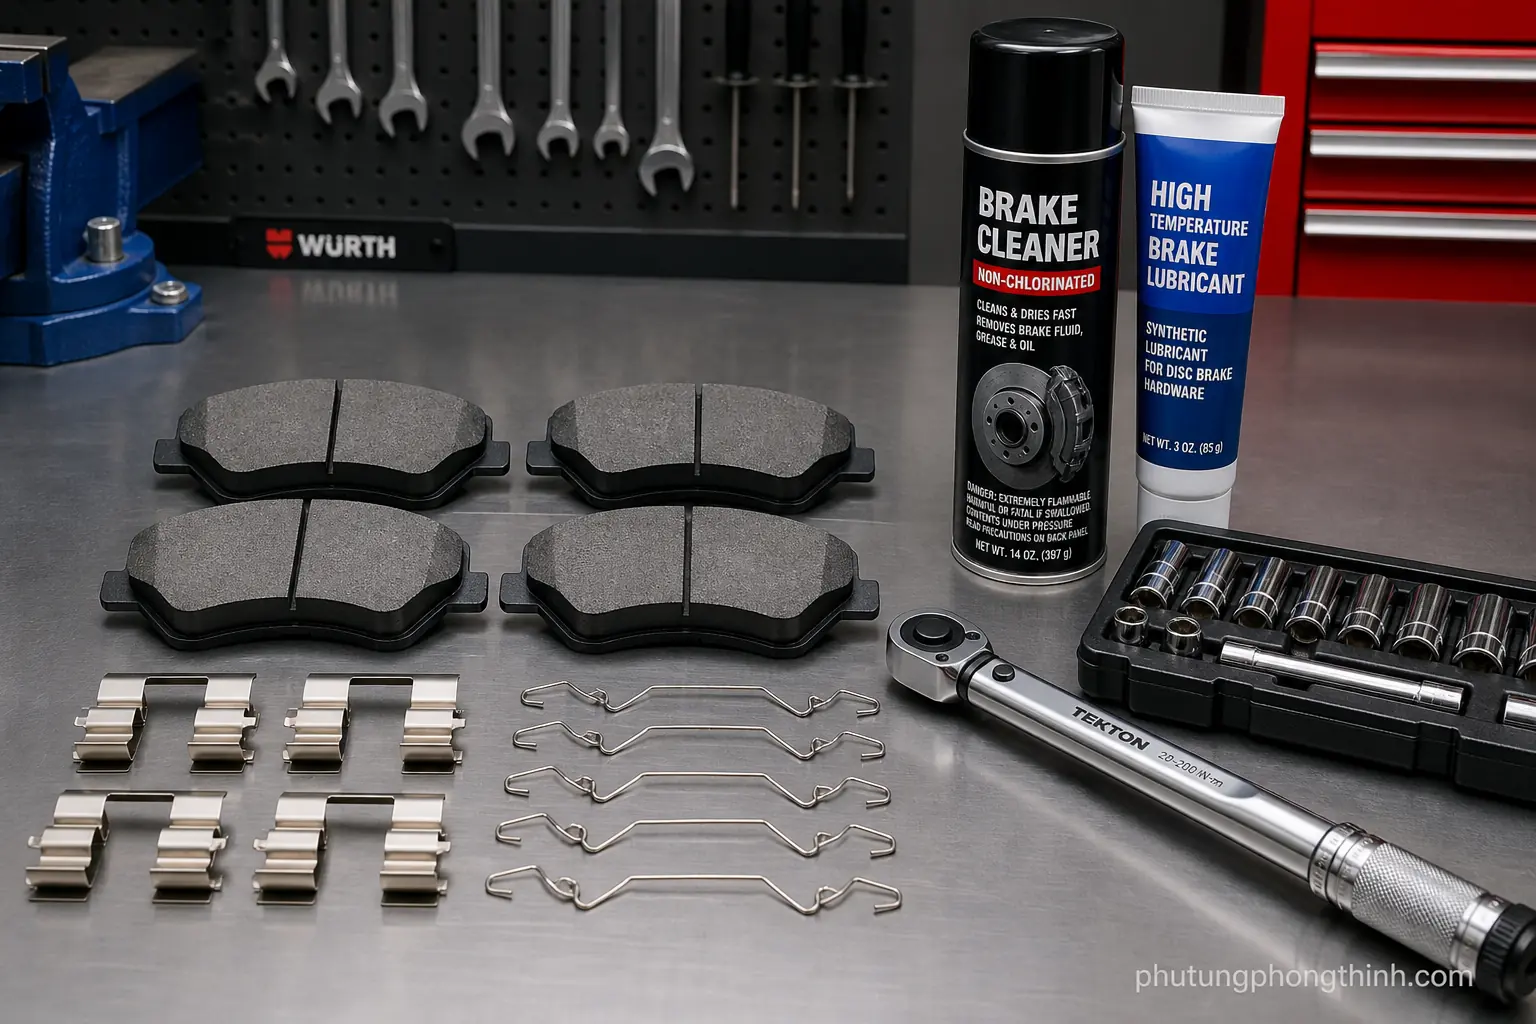
If you are learning how to install brake pads, the good news is that it is usually a straightforward DIY brake repair, but it has to be done carefully because braking is a safety system. Before you start, gather the right supplies, check the rotor surface and caliper hardware, and make sure you have everything ready so the job goes smoothly.
- Brake pads and any new hardware kit that fits your vehicle
- Brake cleaner for cleaning the caliper bracket and contact points
- High-temperature brake lubricant for the correct metal-to-metal contact areas
- A torque wrench for final reassembly
- Basic hand tools for wheel and caliper removal
Tools, Parts, and Safety Checks
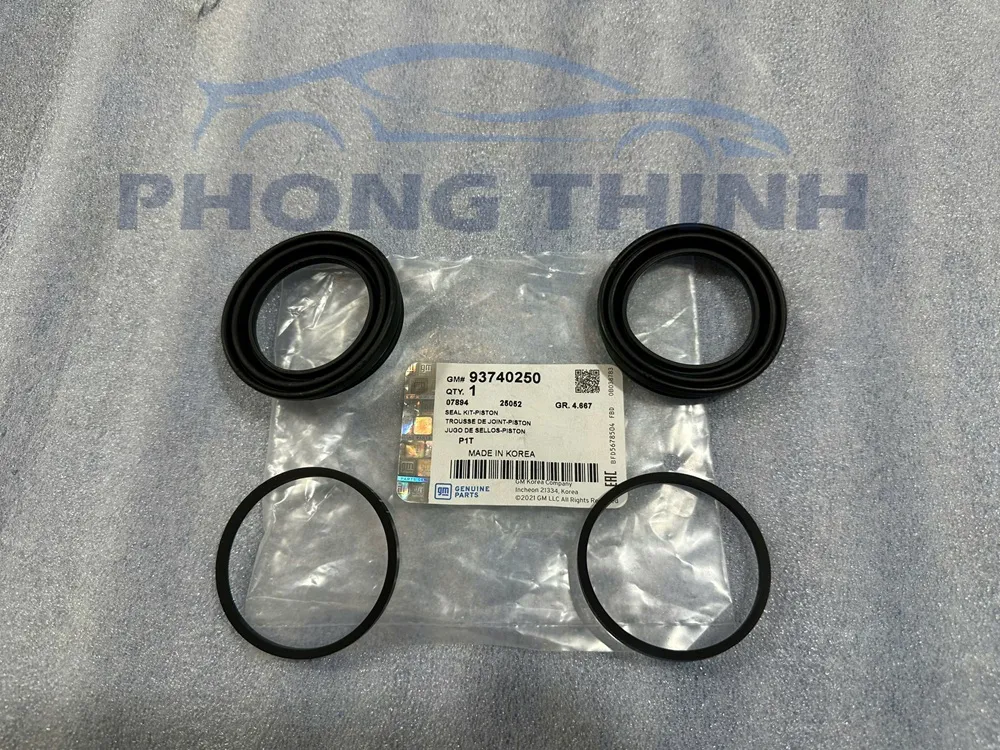
Start with the essentials: jack stands, a lug wrench, a socket set, a C-clamp or piston tool, and a torque wrench. You also want fresh abutment clips, anti-rattle springs, and other replacement hardware because worn or reused pieces can cause noise and poor pad movement. If you need replacement hardware and parts, choosing the right fit matters just as much as the pads themselves. Safety also comes first: chock the wheels, work only on cooled brakes, support the vehicle securely, and keep the area clean.
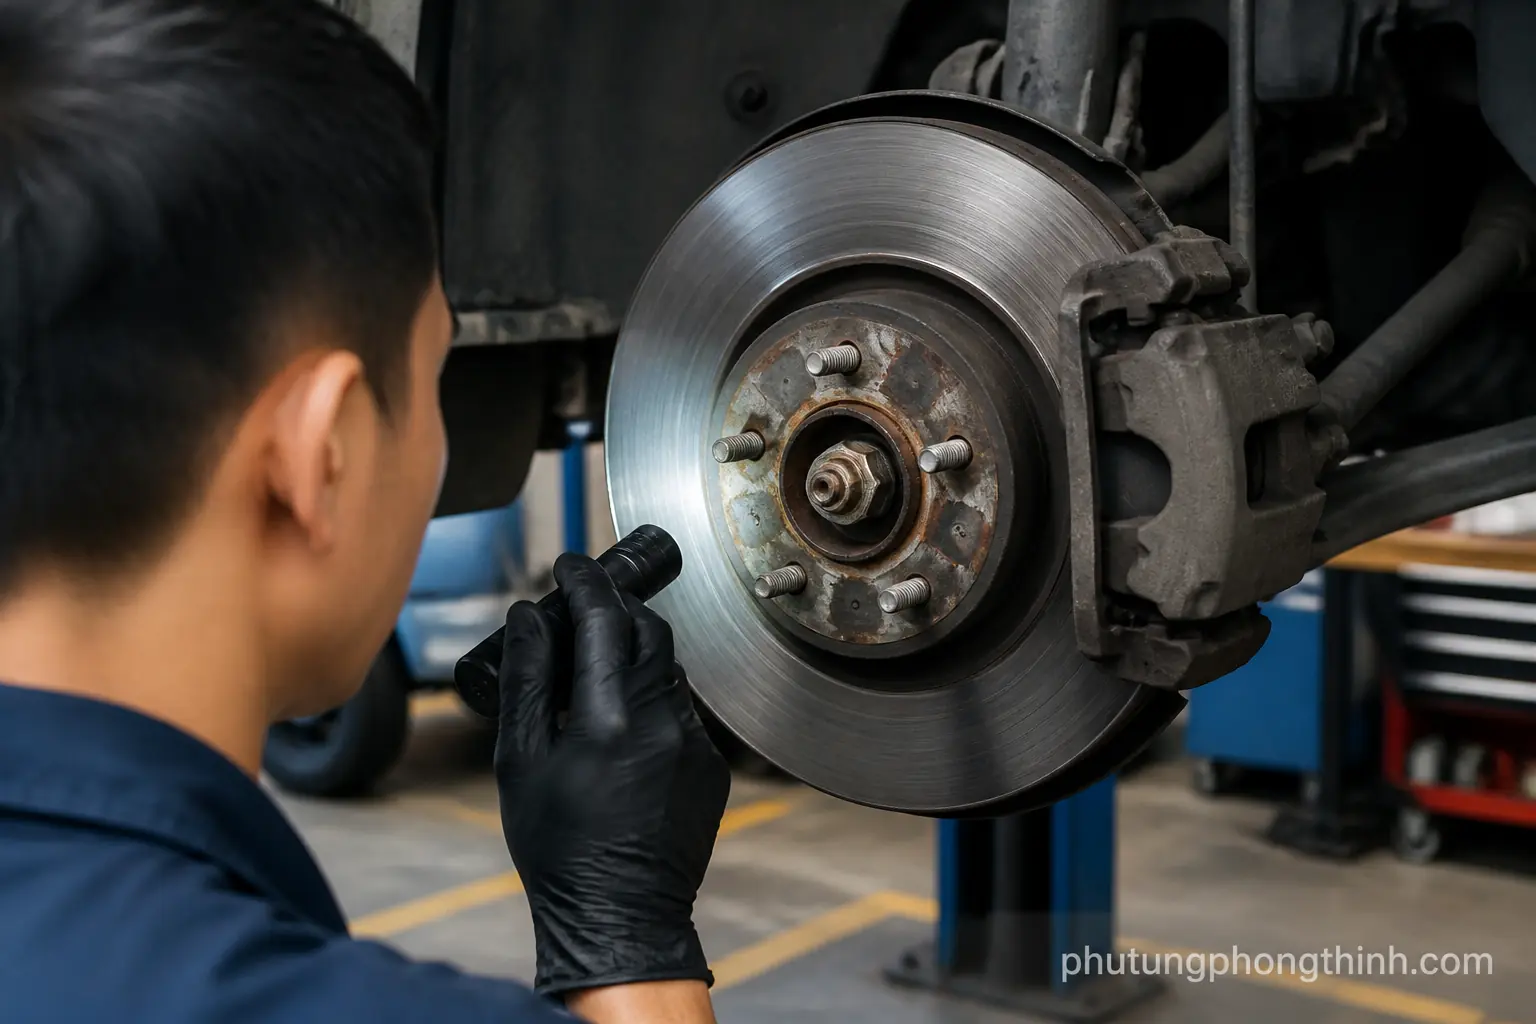
Before disassembly, inspect the rotor surface for grooves, scoring, rust, or thickness problems. Check the caliper slide pins for smooth motion and signs of old grease contamination. If the rotors are badly worn or the caliper components are sticking, it may be time to consider rotor replacement or more brake repair instead of pads alone.
- Jack stands and wheel chocks
- Lug wrench and socket set
- C-clamp or piston compression tool
- Torque wrench
- New abutment clips, anti-rattle springs, and pads
Step-by-Step Brake Pad Installation
Remove the wheel first, then loosen and support the caliper so the brake hose is not stressed. Take out the old pads and hardware, then clean the caliper bracket and pad contact points with brake cleaner so the new pads can move freely.
Install the new abutment clips, then apply high-temperature brake lubricant only to the correct metal contact points, not the friction surfaces. Compress the caliper piston properly before fitting the new pads, reinstall the caliper, and tighten the fasteners to spec with a torque wrench. Finish by repeating the process on the opposite side so braking stays even.
- Remove the wheel and support the caliper
- Clean all contact areas with brake cleaner
- Install new hardware and lubricate only approved نقاط
- Compress the caliper piston before inserting new pads
- Torque fasteners to specification
How to Inspect Rotors and Caliper Slide Pins
Rotor condition has a direct effect on pad life, noise, and pedal feel. A smooth, healthy rotor surface helps the pads bed in properly, while grooves, heat spots, or heavy rust can lead to squeal and uneven wear.

Clean the caliper slide pins, remove old grease, and re-lubricate them so the caliper can move evenly. Sticky slide pins can cause brake drag, uneven pad wear, and squeal, so this step is worth the extra time. If the pins are damaged or the caliper bracket is badly worn, further brake repair may be needed before new pads will work correctly.
- Look for scoring, rust, or warping on the rotor
- Clean and lubricate the slide pins carefully
- Make sure the caliper bracket moves and seats properly
- Replace worn hardware if it no longer holds the pads correctly
Reassembly, Torque Specs, and Pedal Check
Once everything is back together, reinstall the wheels and tighten the lug nuts evenly to the manufacturer’s torque specs. This helps prevent vibration and ensures the wheel seats correctly.
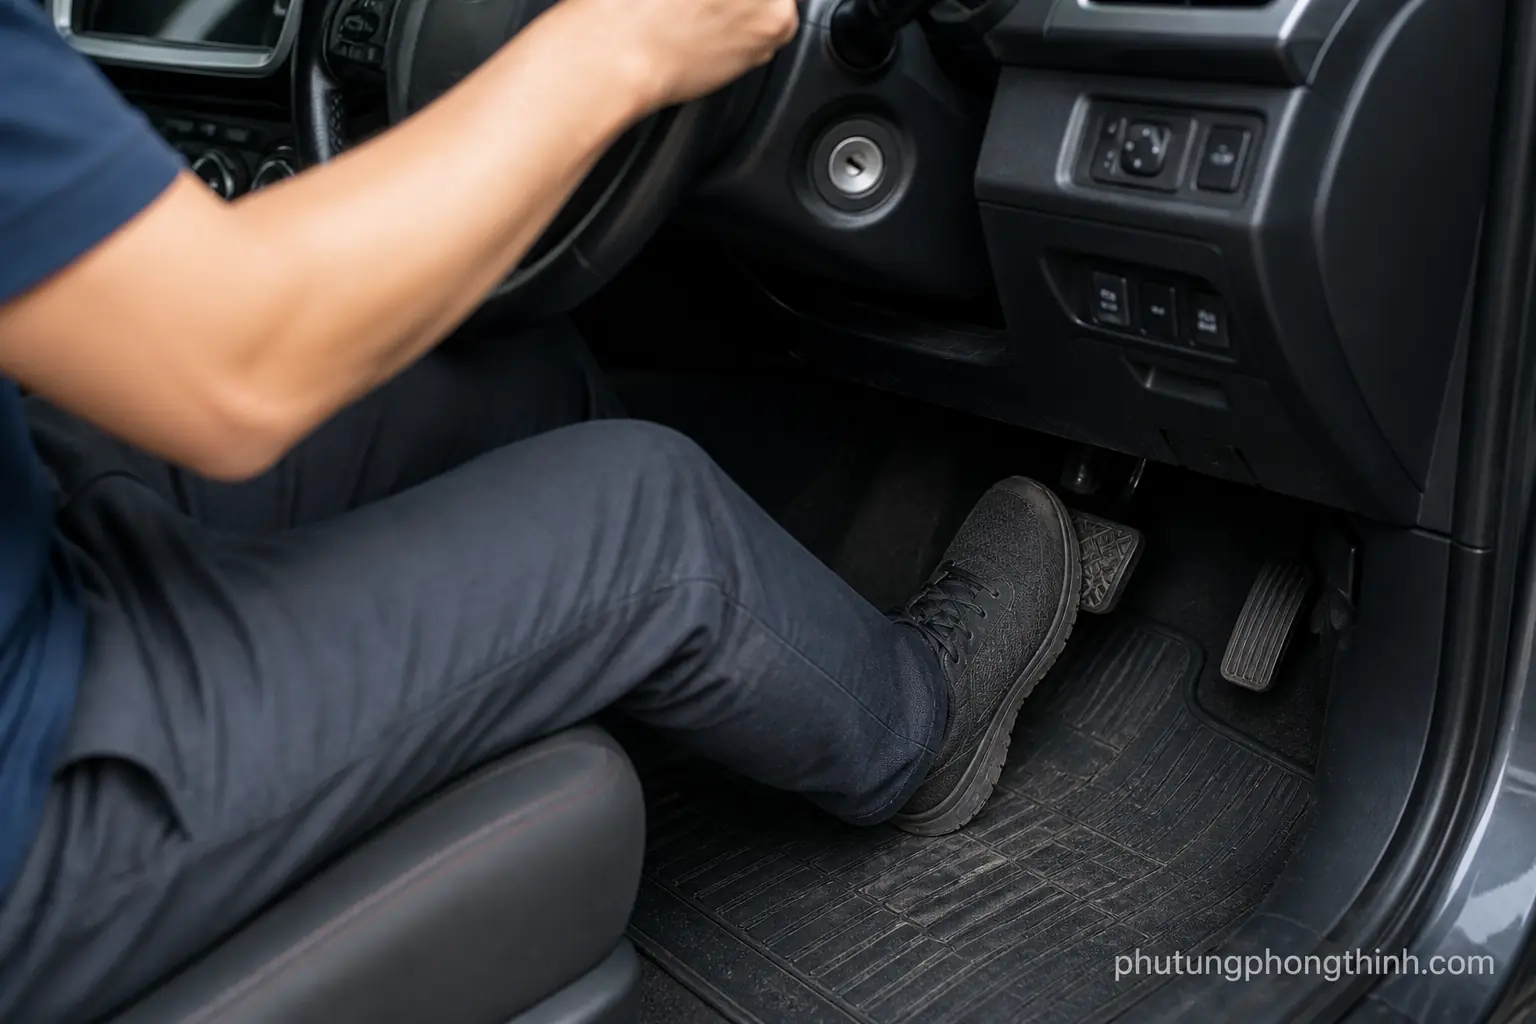
Before driving, pump the brake pedal until it becomes firm. Then check the fluid level, look for leaks, and confirm that the pedal feel is normal. A soft or sinking pedal means the car should not be driven until the problem is found.
- Torque lug nuts evenly
- Pump the brake pedal until firm
- Check brake fluid level
- Inspect for leaks and unusual pedal feel
Bedding In New Brake Pads and First Drive Tips
The bedding-in procedure helps transfer a thin pad material layer onto the rotor surface, which improves braking consistency and reduces the chance of noise. It is a normal part of brake pad installation and helps the pads perform as intended.

For the first drive, test the brakes at low speed and use gentle stops before building up to normal driving. Light noise or a slightly different pedal feel can be normal at first, but grinding, pulling, strong vibration, or a soft pedal should be checked right away.
- Follow a proper bedding-in procedure
- Test brakes at low speed first
- Watch for consistent stopping and even pedal feel
- Stop and recheck the brakes if you hear grinding or feel vibration
Common Brake Pad Installation Mistakes to Avoid
The most common mistakes are simple but costly. Using old or missing hardware can create noise and poor pad movement, while overapplying lubricant can contaminate friction surfaces and reduce braking performance. Skipping rotor inspection can leave a bad surface in place, and failing to tighten fasteners or wheels to torque spec can create serious safety problems.
Another common error is forgetting to pump the brake pedal before driving. Until the pedal firms up, the caliper piston has not fully seated against the pads, so the car should never be moved as if the job is already finished.
- Do not reuse damaged or missing hardware
- Keep lubricant off friction surfaces
- Inspect rotors before reassembly
- Tighten everything to the correct torque
- Always pump the brake pedal before driving
When to Replace Rotors or Seek Professional Help
Replace the rotors if they are below spec, deeply scored, or warped, because new pads will not perform well on a damaged surface. If the caliper is seized, the hardware is broken, or the brake pedal still feels abnormal after installation, the repair is beyond a basic pad swap.
In cases where the job expands into rotor replacement, caliper service, or other related brake issues, it is often smarter to stop and get professional help. For vehicle-specific repairs and parts sourcing, a vehicle-specific replacement part can be a reminder that fit and condition matter when the repair is no longer routine.
- Replace rotors that are worn, warped, or deeply scored
- Get help if the caliper is seized or hardware is damaged
- Do not ignore abnormal pedal feel after reassembly
- Expand the repair only if the rest of the brake system supports it
Frequently Asked Questions
How long does it take to install brake pads yourself?
For a first-time DIYer, a brake pad installation can take a couple of hours per axle, depending on how easily the caliper hardware comes apart and whether extra cleaning or rotor service is needed. More experience and the right tools usually make the job faster.
Do I need to replace brake rotors with new pads?
Not always. Rotors should be reused only if they are within thickness spec, not warped, and their surface is in good condition. If they are scored, below spec, or causing vibration, replace or machine them as needed.
What lubricant should be used on brake pads?
Use high-temperature brake lubricant only on the metal contact points specified for brake hardware, such as pad ears or slide pin areas where appropriate. Keep it off the pad friction material and rotor surface.
Why is my brake pedal soft after installing new pads?
A soft pedal usually means the brake system was not fully bled, there is a leak, or the caliper piston was not properly seated and the system needs reinspection. Do not drive until the pedal is firm and the issue is corrected.
What causes brake squeal after a pad replacement?
Common causes include missing hardware, dry or sticky slide pins, too much lubricant, contaminated pads, or a rotor surface that is rough or damaged. A proper inspection usually finds the source quickly.