How to Clean Contaminated Brake Rotors: Safe DIY Steps
How to clean contaminated brake rotors safely
If you're looking for how to clean contaminated brake rotors, the first step is knowing what kind of contamination you're dealing with. Oil or grease contamination, brake fluid, road grime, and even transferred pad friction material can all affect braking in different ways.
Light contamination can sometimes be cleaned, but deep scoring, heavy glazing, or rotors soaked with fluid may need replacement instead. The real goal is to restore even friction across the surface, not to make the rotor look brand new.
The basic DIY workflow is straightforward: lift and secure the vehicle, remove the wheel, inspect the rotor, clean it with brake cleaner, lightly scuff it if needed, and recheck the surface. Keep the caliper hose and nearby components dry and undisturbed, and be ready to stop if the rotor no longer responds to cleaning.
What causes rotor contamination and braking noise
Rotor contamination often starts during routine service. Oil or grease can get onto the rotor from hub work, wheel bearing service, or over-lubrication near the wheel hub, and even a small amount can create noise or poor bite.
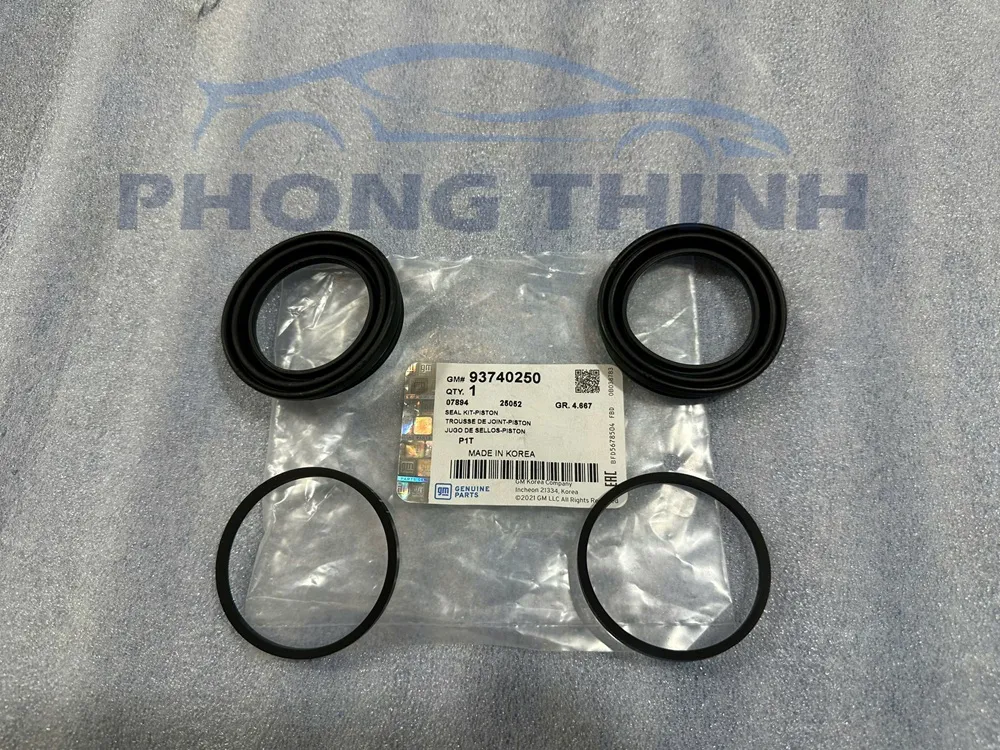
Brake fluid leak symptoms are another clue. A leaking caliper hose or caliper seal can soak the rotor and pads, while pad friction material transfer, brake pad glazing, and a burnt brake odor can leave the brakes feeling noisy, grabby, or uneven.
- Squealing, reduced bite, vibration, and a glazed rotor surface are common signs of contamination.
- This problem often shows up after recent brake repair or after new pads are installed.
Tools and materials you need
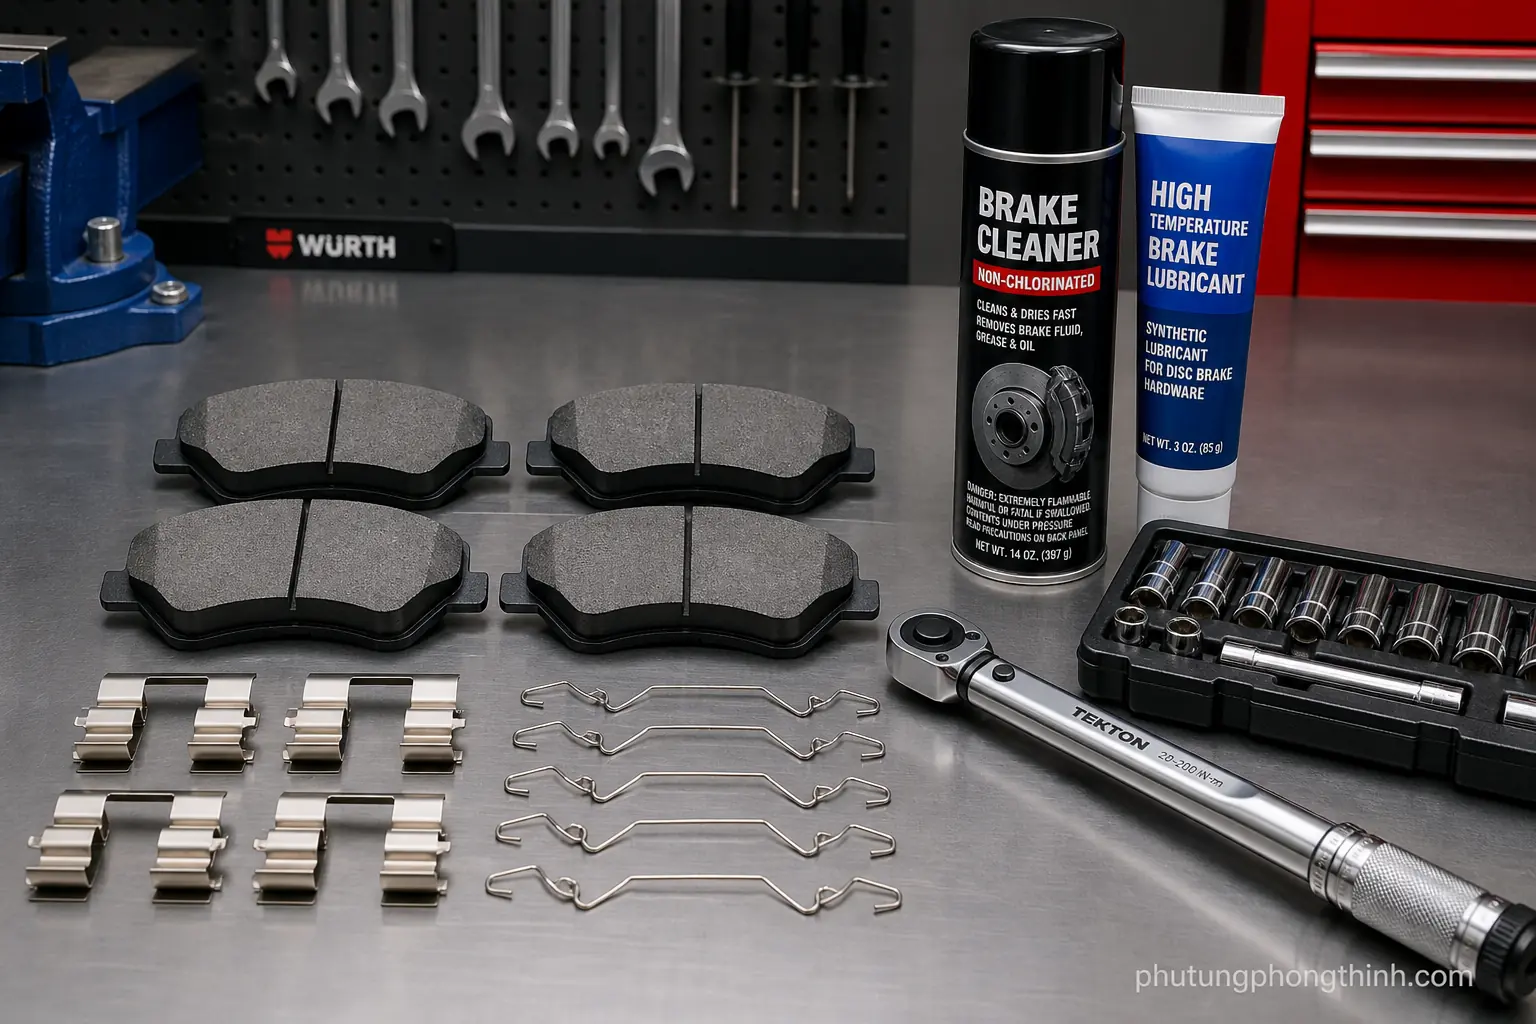
For a clean, controlled brake cleaning job, gather brake cleaner, a jack and stands, a lug wrench, gloves, eye protection, and a lint-free rag. Having the right supplies ready makes the process safer and helps avoid leaving residue behind.
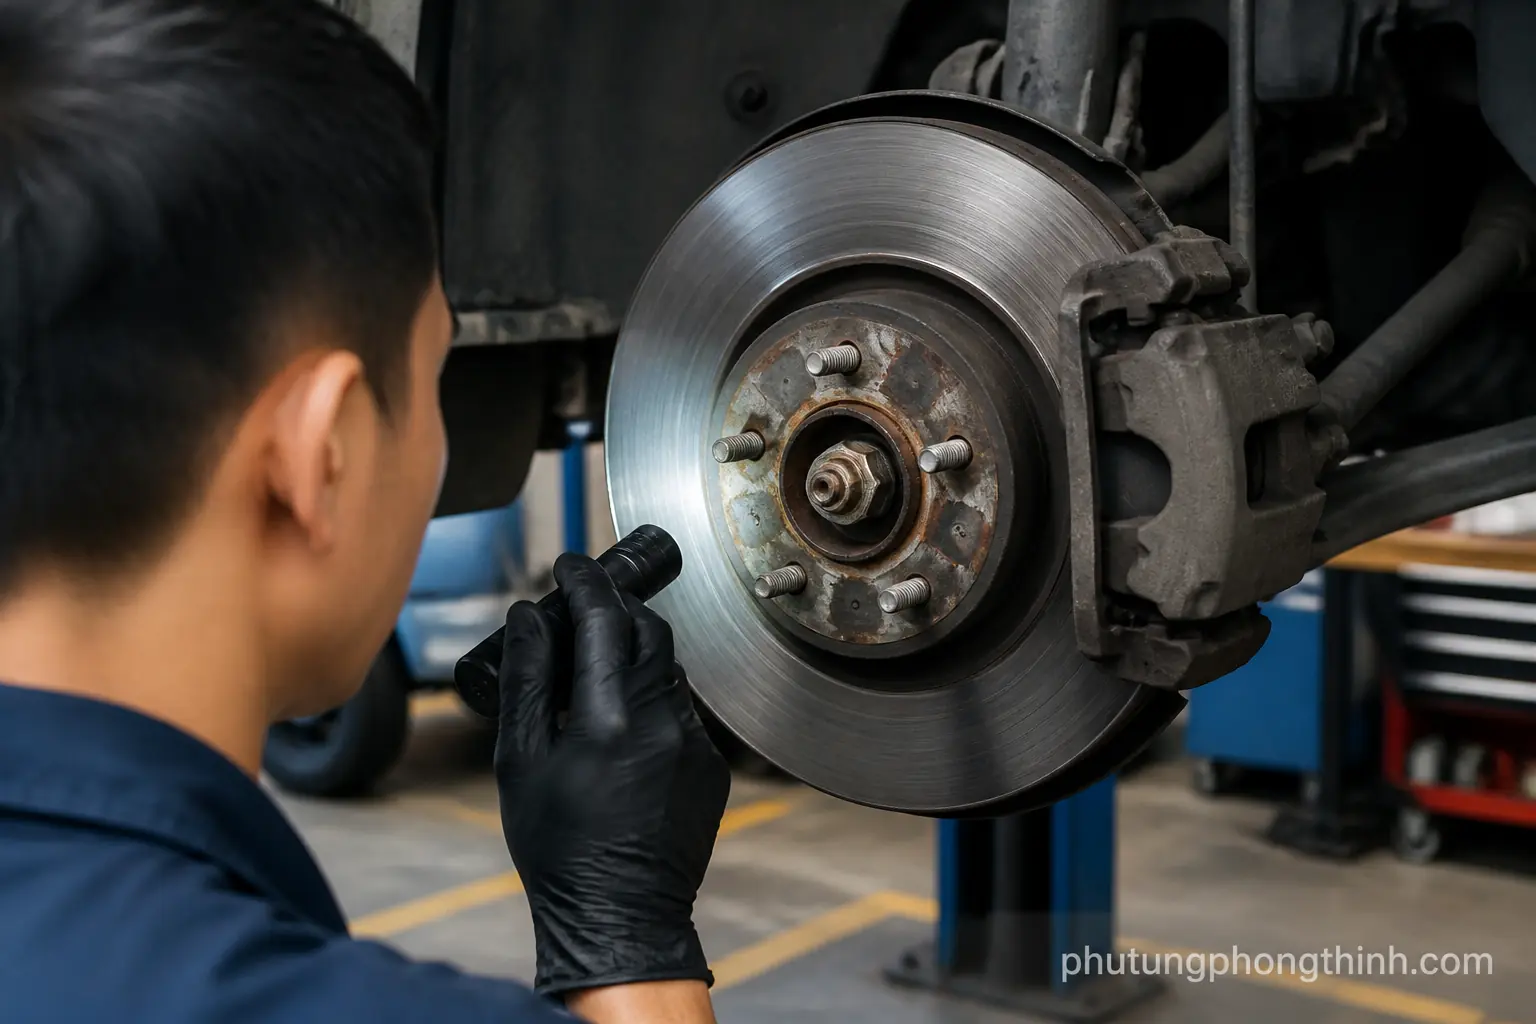
If the rotor surface is still salvageable, keep a pad- or rotor-safe abrasive on hand for a light scuff. An optional flashlight is useful for inspection, and a clean tray helps keep parts organized while you work.

- Brake cleaner, jack and stands, lug wrench, gloves, eye protection, and a lint-free rag.
- A pad or rotor-safe abrasive for a light scuff if the surface is still salvageable.
- Optional flashlight for inspection and a clean tray to keep parts organized.
Step-by-step DIY cleaning process
Start by securing the car, removing the wheel, and inspecting the rotor, pads, and surrounding hardware. Then spray brake cleaner onto the rotor surface and wipe away the residue with a lint-free rag.
If the contamination is light, lightly scuff the rotor in a crosshatch pattern to restore a uniform finish. Keep the cleaner away from rubber parts and avoid soaking the caliper hose or pad backing plates.
As you work, look for an even matte finish instead of glossy spots. Reclean if residue remains, then spin the rotor by hand to check for obvious drag or rubbing noise before reassembling carefully and doing a cautious low-speed test.

- Secure the car, remove the wheel, and inspect the rotor, pads, and surrounding hardware.
- Spray brake cleaner onto the rotor surface and wipe away residue with a lint-free rag.
- If contamination is light, lightly scuff the rotor in a crosshatch pattern to restore a uniform finish.
- Keep cleaner away from rubber parts and avoid soaking the caliper hose or pad backing plates.
- Look for an even matte finish instead of glossy spots.
- Reclean if residue remains, then spin the rotor by hand to check for obvious drag or rubbing noise.
- Finish by reassembling carefully and performing a cautious low-speed test.
How to inspect brake rotors for damage
Cleaning is only part of the job; the rotor still needs a careful brake rotor inspection. Look for deep grooves, hot spots, blue discoloration, cracks, and heavy glazing, because those signs suggest heat damage or wear that cleaning cannot fix.
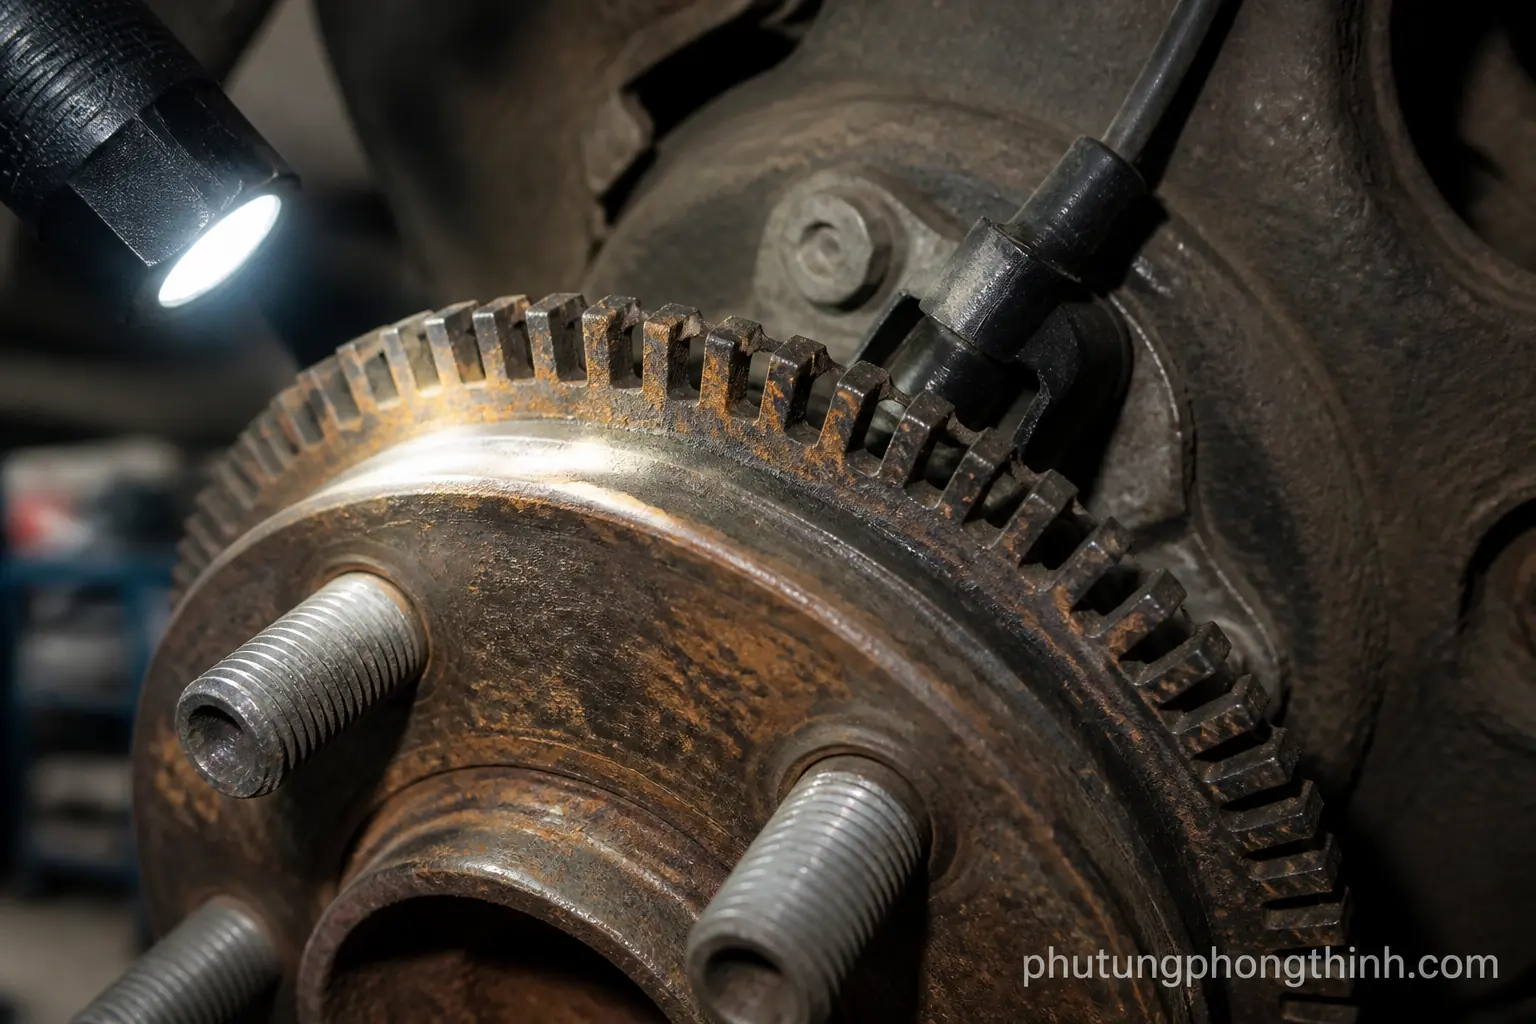
Also inspect the wheel hub and mounting face for rust or debris that could cause uneven rotor contact. Compare both sides of the rotor surface for uneven wear or stubborn contamination, and note whether the brake rotor feels smooth or damaged enough to affect braking.
Severe scoring, heat damage, or thickness issues are not solved by cleaning. Persistent vibration after cleaning can point to rotor runout or another brake issue, and in some cases a wheel bearing assembly may also need attention if the hub is no longer running true.
- Check for deep grooves, hot spots, blue discoloration, cracks, and heavy glazing.
- Inspect the wheel hub and mounting face for rust or debris that could cause uneven rotor contact.
- Compare both sides of the rotor surface for uneven wear or stubborn contamination.
- Severe scoring, heat damage, or thickness issues are not solved by cleaning.
- Persistent vibration after cleaning can point to rotor runout or another brake issue.
When to replace pads or rotors instead of cleaning
There is a point where cleaning is no longer enough. Oil-soaked or brake-fluid-soaked rotors often need replacement because contamination can soak into the friction surface and keep causing problems even after cleaning.
Contaminated pads usually must be replaced as well, since pad friction material can hold residue and lead to repeat noise or poor stopping. If wear is uneven or the rotor is below spec, a brake rotor replacement guide or a professional inspection is the safer next step.
Prevent future brake rotor contamination
The best way to avoid the same repair twice is to keep lubricants off the rotor, pads, and hub face during service. Careful handling during brake repair makes a big difference in long-term brake performance.
After any brake work, inspect for brake fluid leak symptoms and fix the source quickly if you see dampness or odor. When installing new pads and rotors, use careful cleaning habits so transferred material does not create a glazed rotor again.
- Keep lubricants off the rotor, pads, and hub face during service.
- Inspect for brake fluid leak symptoms after any brake work and fix the source quickly.
- Use careful cleaning habits around new pads and rotors so transferred material does not create a glazed rotor again.
FAQ about cleaning contaminated brake rotors
Can brake cleaner alone clean a lightly contaminated rotor? Yes, if the contamination is minor and the surface is otherwise healthy, brake cleaner plus a lint-free rag may be enough to remove residue before you decide whether a light scuff is needed.
Is cleaning a rotor the same as learning how to clean brake pads? Not exactly. Rotors can sometimes be cleaned if the contamination is light, but contaminated brake pads often need replacement because they hold residue inside the pad material.
Should squeaky brakes always be cleaned first? No. Squeaking can come from contamination, but it can also point to brake pad glazing, uneven wear, or a deeper brake issue, so the cause should be identified before deciding on repair.
What if the brakes still vibrate after cleaning? Persistent vibration can mean the rotor has runout, uneven thickness, or another related problem, and that usually calls for closer inspection rather than another cleaning pass.
How do I know if the contamination came from a leak? Look for wetness, strong odor, or reduced braking after service. Brake fluid leak symptoms near the caliper or hose area are a strong warning sign that the source needs repair before the brakes can be trusted again.
Frequently Asked Questions
Can brake cleaner alone clean a lightly contaminated rotor?
Yes, if the contamination is minor and the rotor surface is otherwise healthy, brake cleaner and a lint-free rag may remove the residue. If the finish is still patchy or glossy afterward, a light scuff and reinspection may be needed.
Is cleaning a rotor the same as cleaning brake pads?
No. Rotors can sometimes be cleaned if contamination is light, but contaminated brake pads often need replacement because residue can stay embedded in the pad friction material.
Should squeaky brakes always be cleaned first?
No. Squealing can come from contamination, but it can also point to brake pad glazing, uneven wear, or another brake issue. The cause should be identified before deciding on the repair.
What if the brakes still vibrate after cleaning?
Persistent vibration can mean the rotor has runout, uneven thickness, or another related problem. That usually calls for a closer inspection instead of repeated cleaning.
How do I know if the contamination came from a leak?
Look for wetness, odor, or sudden braking changes after service. Brake fluid leak symptoms near the caliper or hose area are a strong sign that the source needs repair before the brakes are trusted again.