Sticking Brake Caliper: Rebuild or Replace?
How to replace a brake caliper safely
If you are learning how to replace a brake caliper, the job usually includes removing the old unit, installing the replacement, bleeding the brakes, and confirming that everything works safely before the car goes back on the road. This guide focuses on disc brakes and the kind of tools most DIY home garages already have.
Brake safety matters at every step, so the vehicle must be securely supported before you begin. A sticking brake caliper can show up as pulling to one side, dragging brakes, uneven pad wear, or a soft or leaking brake feel, but the real cause is not always the caliper itself. Sometimes the slide pins or a brake hose are the problem, so this guide walks through diagnosis, removal, installation, and bleeding in order.
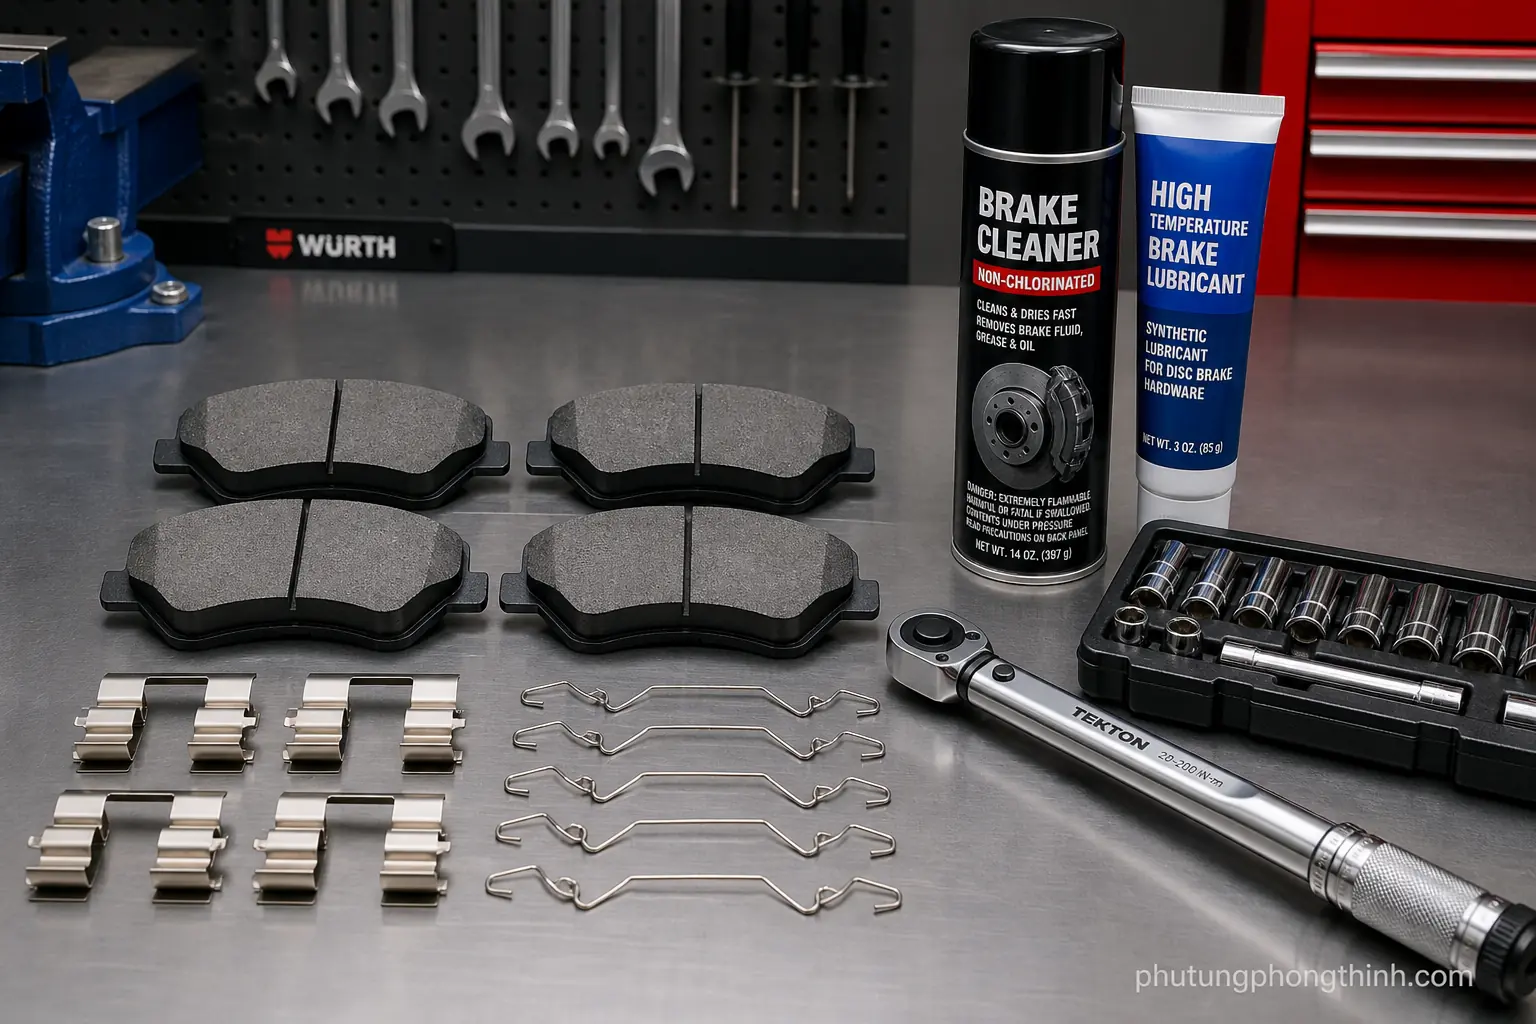
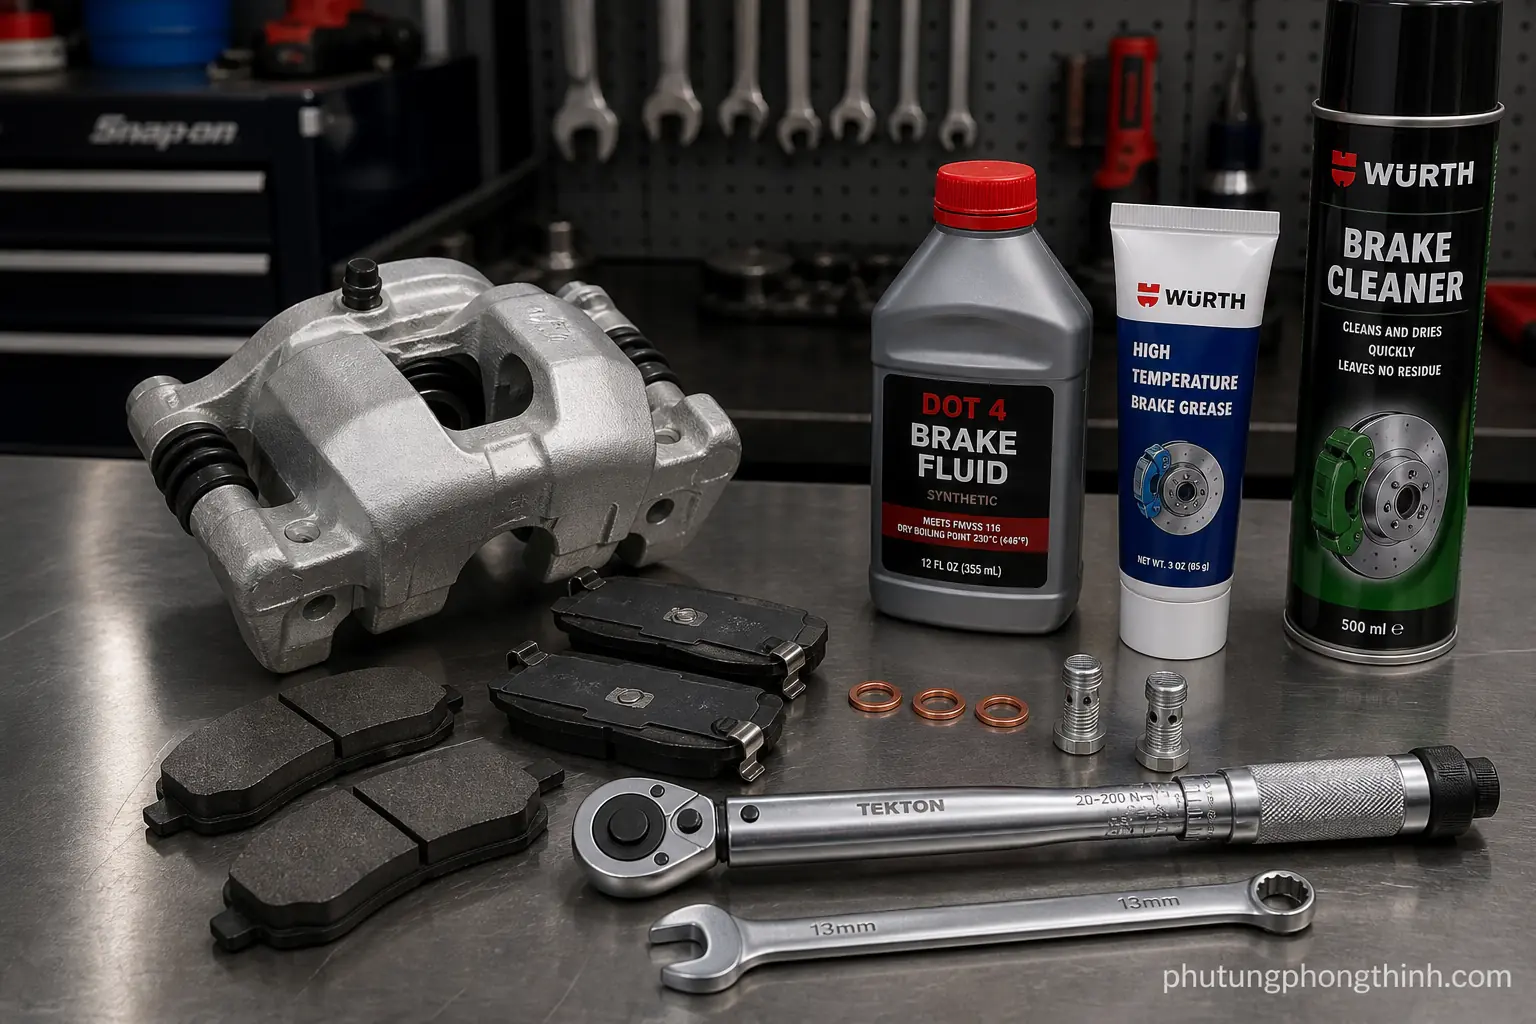
Before you start, gather jack stands, a lug wrench, line wrench, brake cleaner, a catch pan, bungee cord, torque wrench, and gloves. You should also have the replacement caliper, fresh brake fluid, new pads if needed, new crush washers where required, and high-temperature brake grease for the slide pins and caliper hardware.
Diagnose the problem before you remove the caliper

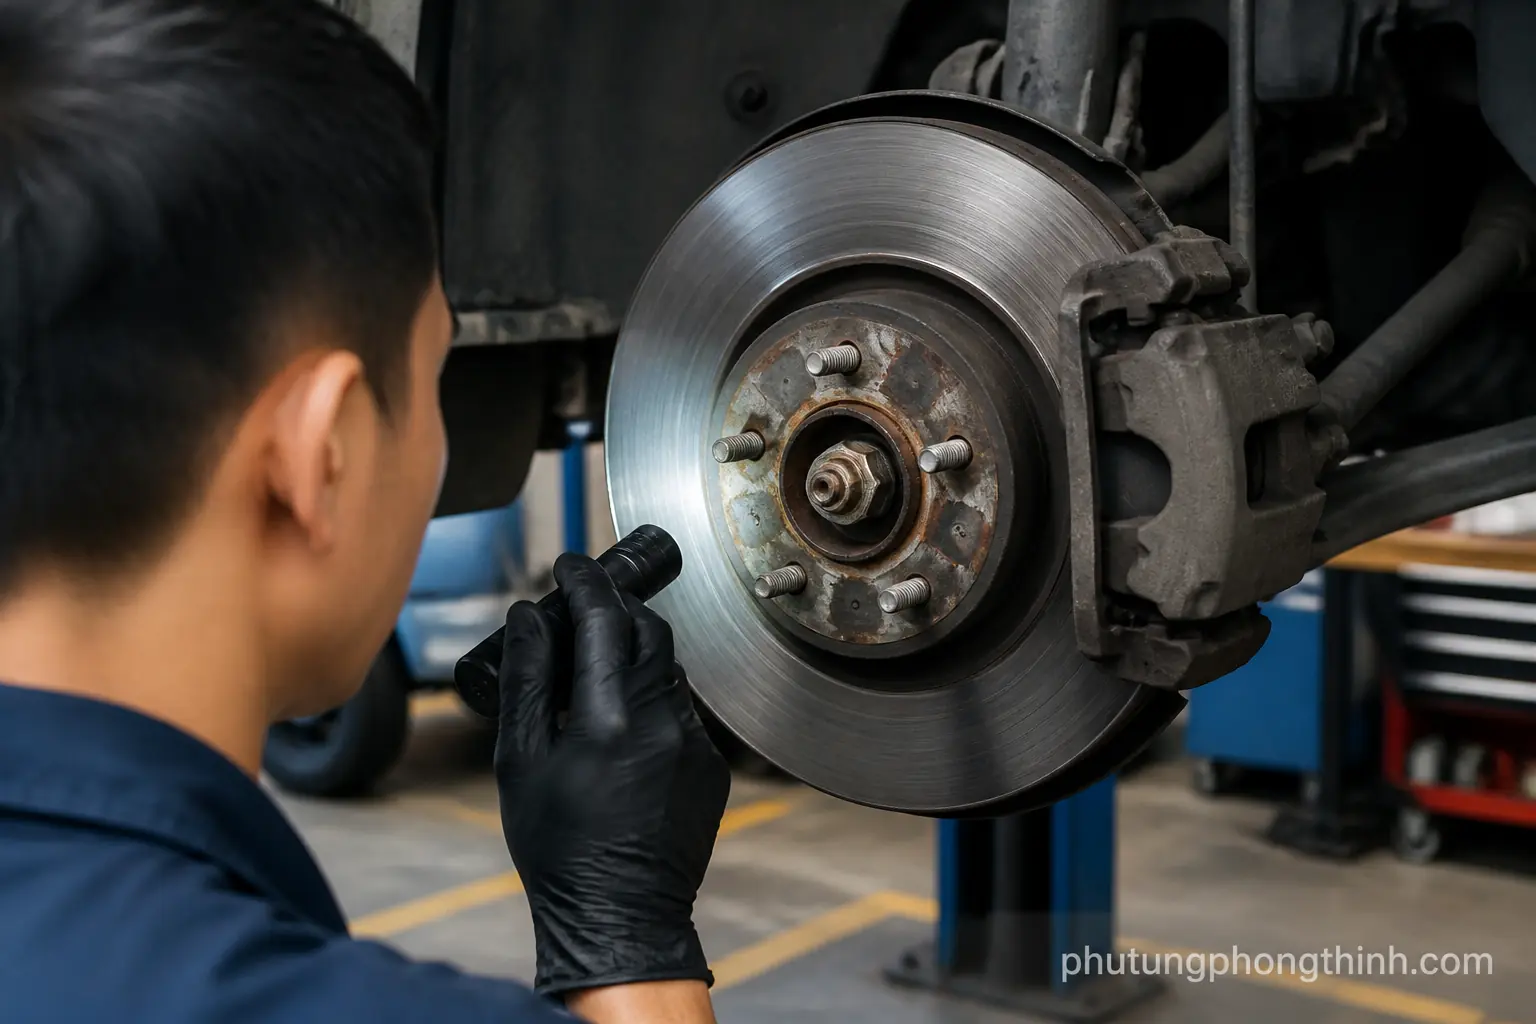
Before removing anything, confirm that the caliper is really the source of the braking issue. Check for excess heat at one wheel after a short drive, look for uneven pad wear, and see whether the wheel drags when the vehicle is safely lifted and spun by hand. It also helps to inspect the brake fluid reservoir and look for any external leaks around the caliper or hose.
A collapsed brake hose can mimic a bad caliper by holding pressure when the pedal is released, and seized slide pins can create the same symptoms. Inspect the slide pins and caliper bracket for corrosion, sticking, or torn boots. If only the pins are seized, cleaning and lubrication may fix the problem without replacing the whole caliper.
Remove the old brake caliper
- Loosen the lug nuts, raise and secure the vehicle, then remove the wheel.
- Remove the caliper bolts and support the caliper so the brake hose is not strained.
- If you disconnect the hose, catch fluid loss and keep dirt out of the line.
- Inspect the caliper bracket, pads, rotors, and slide pins for wear or damage.
- Note where crush washers are used, and do not reuse old ones.
- Check the bleeder screw for corrosion before reassembly.
Work slowly so the brake hose is never hanging by its own weight. Once the caliper is off, take a close look at the caliper bracket, pads, rotor, and slide pins for damage or wear that could explain the original complaint. If the hose connection uses crush washers, the old washers should be discarded, and the bleeder screw should be checked for corrosion before the new caliper goes on.
Install the new caliper and prepare the hardware
Install or transfer the caliper bracket and pads exactly as the vehicle design requires, then apply high-temperature brake grease only to the specified slide pin and contact areas. Torque all fasteners to specification, and keep grease or brake fluid off the friction surfaces.
If the hose fitting uses banjo hardware, install new crush washers. Route the hose without twists, make sure the bleeder screw sits in the correct position, and top off the brake fluid reservoir before bleeding so air is not drawn into the system.
Bleed the brakes and verify pedal feel

After caliper replacement, bleed the brakes to remove any air that entered the system. A helper can press the brake pedal while you open the bleeder screw, then close it before the pedal is released. Keep an eye on the fluid level throughout, because a firm brake pedal is the goal.
- Check every connection for leaks at the caliper, hose, and bleeder screw.
- Repeat bleeding until the pedal feels firm and consistent.
- If the pedal is spongy, air is still trapped or a leak remains.
Use fresh brake fluid if needed, and do not let the reservoir run low during the process. If the pedal never firms up, something is still wrong in the hydraulic system and the leak or trapped air needs to be found before driving.
Road test and check for dragging brakes
Once the system is sealed and the pedal feels right, take a cautious low-speed test in a safe area. Confirm that braking is straight and even, and listen for noise or vibration. If one wheel feels hot or the vehicle still pulls, stop and recheck the fluid level and fastener tightness.
If the brake still drags after replacement, revisit the slide pins, hose collapse, and caliper bracket fit. Symptoms of a seized caliper can overlap with rotor or pad problems, so a more complete brake inspection may be needed if the issue does not clear up.
Brake caliper rebuild vs replace: when each makes sense
A rebuild can make sense when the housing is reusable and the issue is mainly seal wear, but replacement is usually the better choice when corrosion or internal damage is present. Labor time, parts availability, and reliability all matter, and many DIYers choose replacement because it is faster and more predictable.
If pad wear is uneven or the parts are near the end of their life, it may be smart to replace brake pads and rotors at the same time. Servicing the slide pins and inspecting the caliper bracket can help prevent repeat sticking and support long-term braking performance and safety.
For owners who are already handling broader maintenance, the same careful approach applies to other reliability items such as a genuine coolant circulation pump or an OEM radiator fan assembly, where using the right replacement part helps keep the vehicle dependable.
FAQ about brake caliper replacement
Frequently Asked Questions
How long does it take to replace one brake caliper?
For one wheel, a DIY brake caliper replacement often takes about 1 to 3 hours, depending on rust, access, and whether the brake line must be opened. If the system also needs bleeding or additional brake service, it can take longer.
Should both calipers on the same axle be replaced together?
Not always, but it is often a good idea if both sides have similar wear, mileage, or corrosion. Replacing them as a pair can help keep braking feel and pad wear more even.
Do you always need to bleed brakes after replacing a caliper?
Yes, if the hydraulic line was opened or air may have entered the system, bleeding is required. Even when the line is not fully disconnected, checking pedal feel and bleeding as needed is important.
How do I know if the problem is the caliper or the brake hose?
A caliper issue often shows up as a sticky piston, uneven pad wear, or a wheel that stays hot. A collapsed hose can hold pressure after the pedal is released, so if the brake drags and then releases differently under pressure checks, the hose should be inspected too.
Can I drive with a sticking brake caliper?
It is not a good idea. A sticking caliper can overheat the brakes, damage pads and rotors, reduce fuel economy, and affect control. The vehicle should be repaired before normal driving continues.