Replace Rear Brake Hardware: 2026 DIY Guide
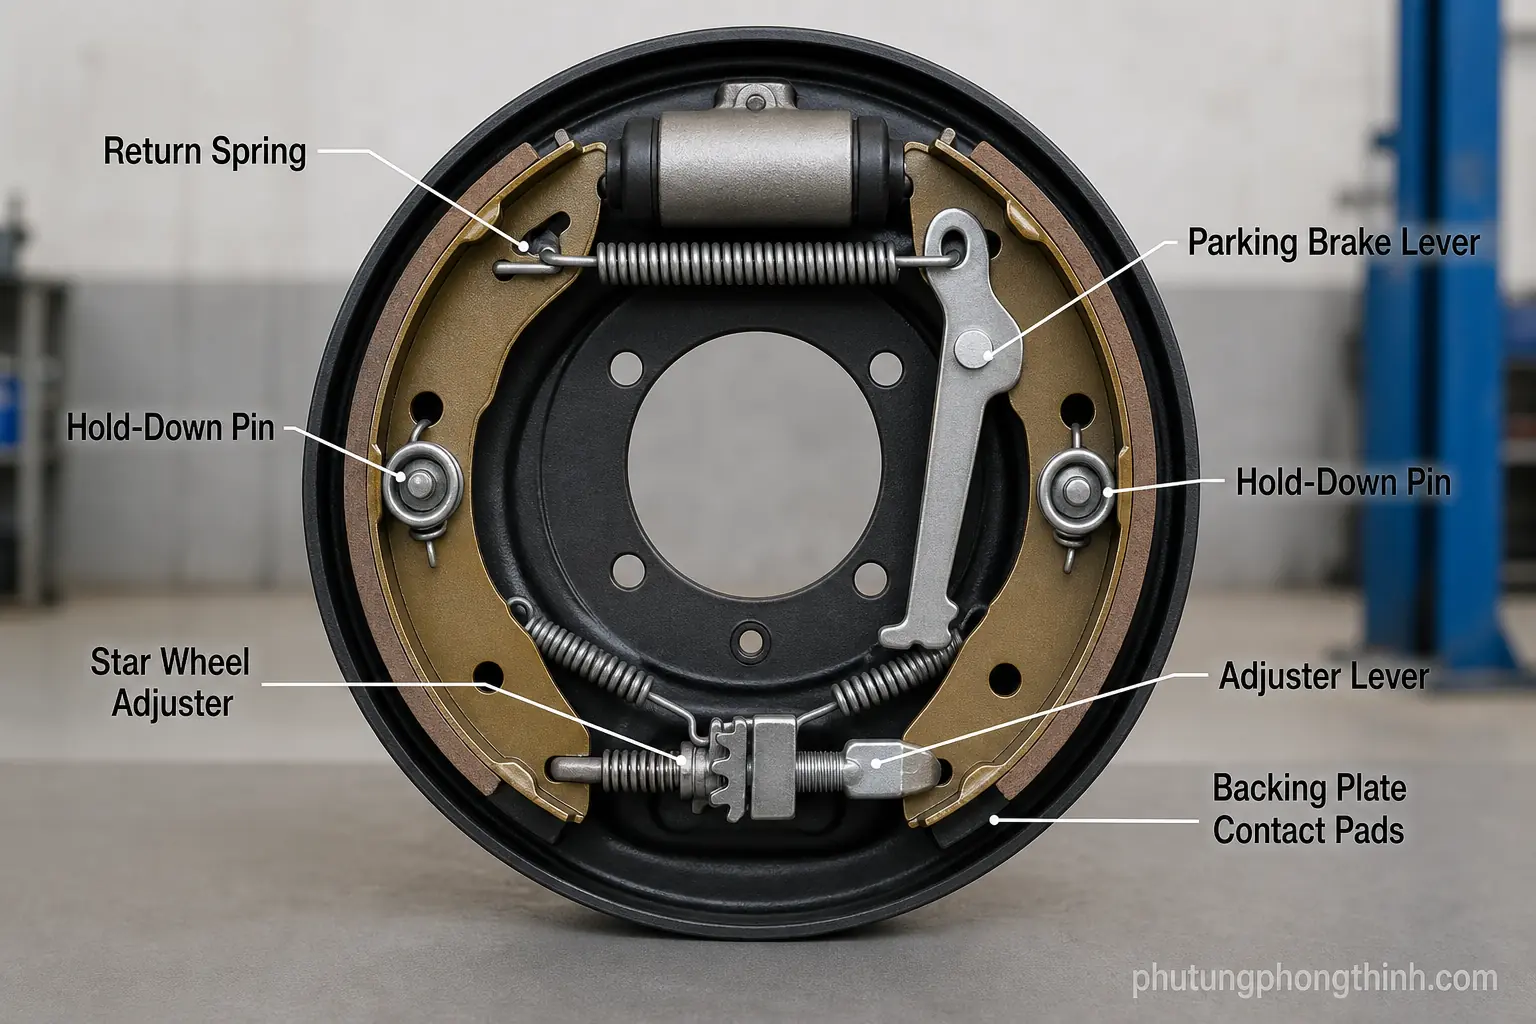
What rear brake hardware does and when to replace rear brake hardware
If you need to replace rear brake hardware, it helps to know what those small parts actually do. In drum and drum-in-hat systems, the hardware includes the return springs, hold-down pins, clips, levers, and adjuster pieces that keep the shoes aligned and moving correctly.
When these parts rust, weaken, or bend, the brakes can squeal, pull unevenly, drag after release, or leave the parking brake feeling weak. Hardware is often replaced during rear brake shoe replacement, and it is smart to do it whenever the shoes are already off the vehicle.
Signs your rear brake hardware is worn or damaged
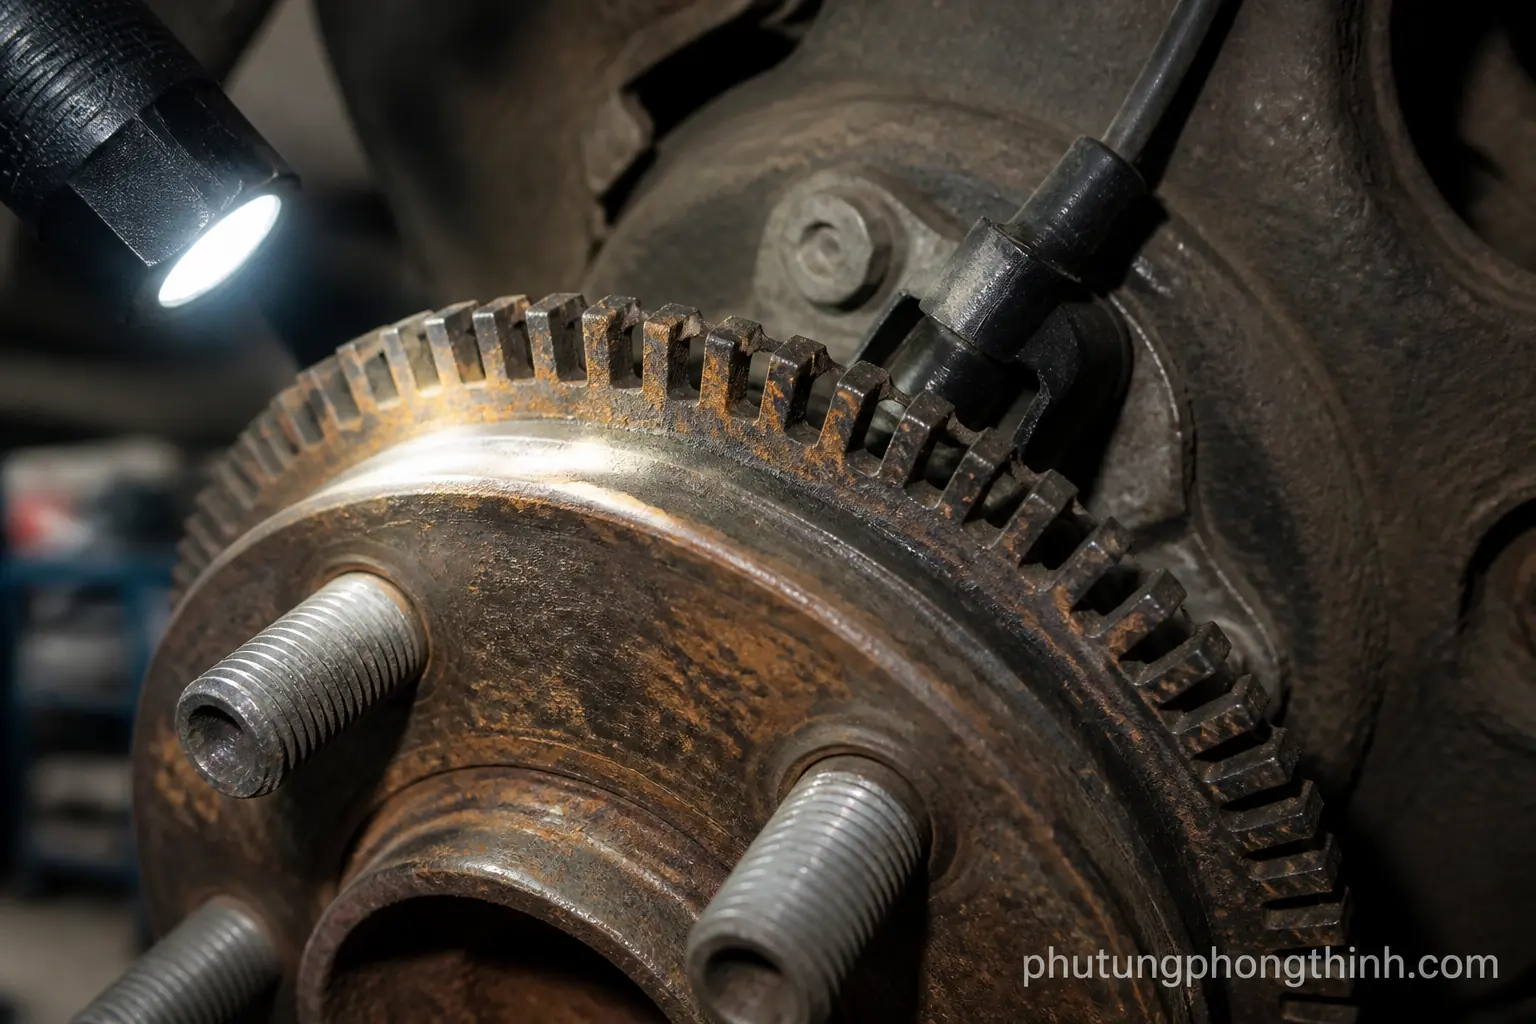
Worn hardware usually shows itself before you ever open the drum. Common signs include squealing, clunking, poor self-adjustment, or a parking brake won’t release complaint after the pedal or lever is let go.
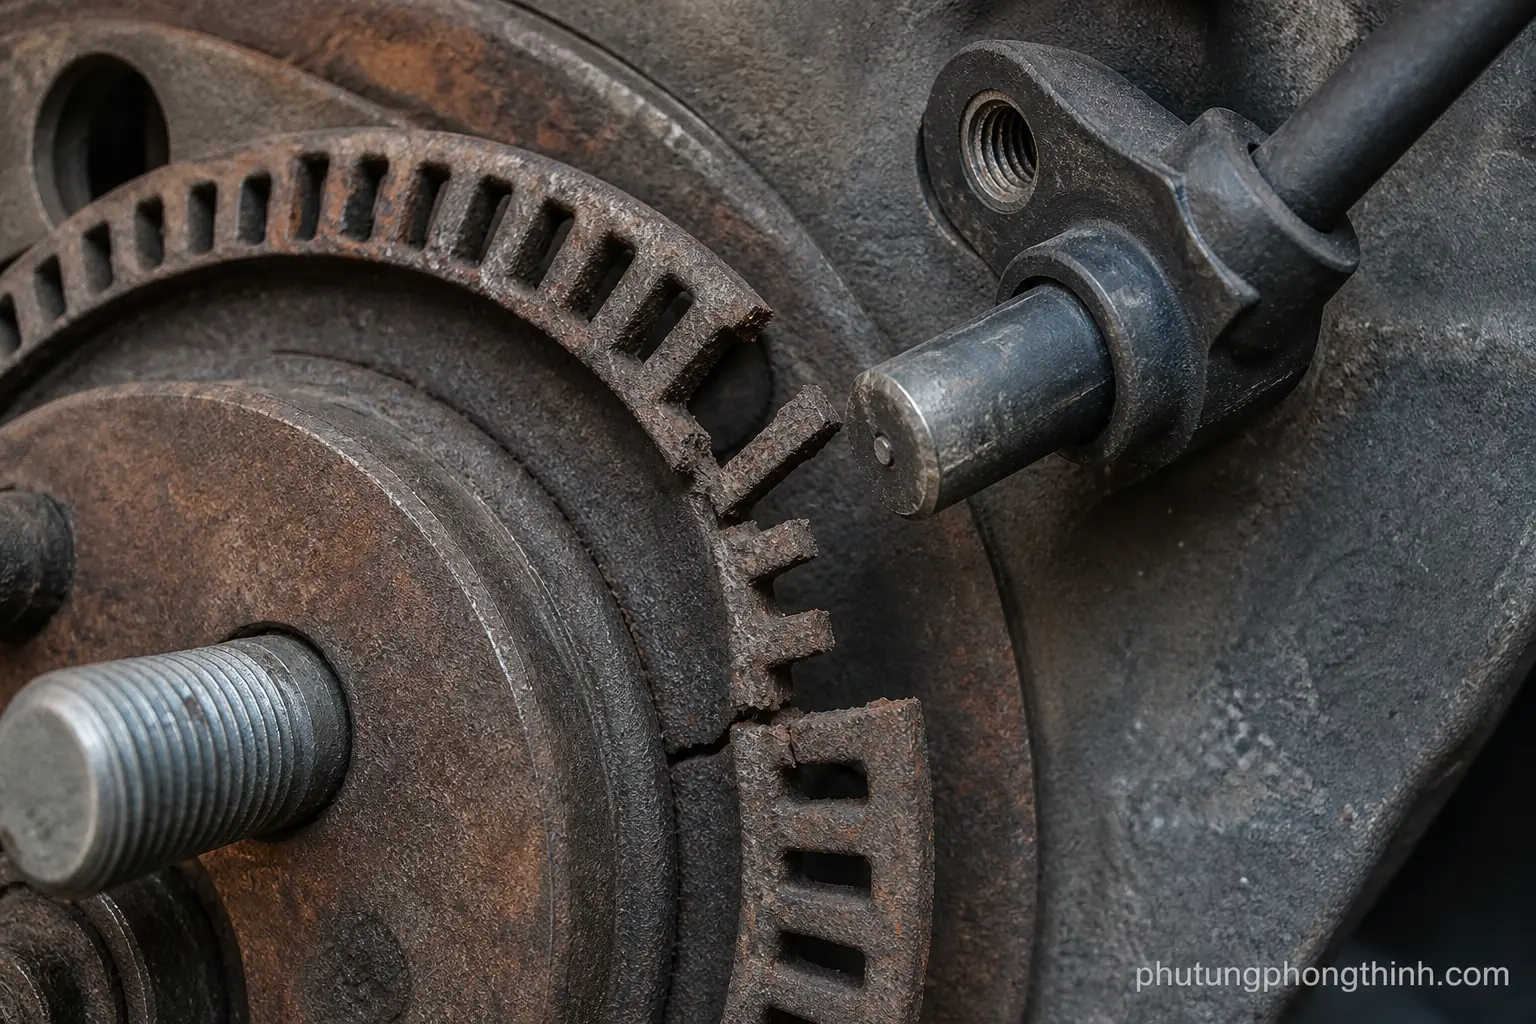
Rusted return springs, bent hold-down pins, seized adjuster parts, and damaged anti-rattle clips are all common problems. Sticking hardware can also create rear brake dragging causes, especially when the contact points no longer let the shoes return fully.

- Listen for squealing, clunking, or scraping that changes when the parking brake is applied.
- Look for rusted return springs, bent hold-down pins, and seized star wheel adjuster parts.
- Check for damaged anti-rattle clips or hardware that no longer sits squarely on the backing plate.
- Watch for dragging brakes or a parking brake that does not release cleanly.
Tools, parts, and safety steps before you start
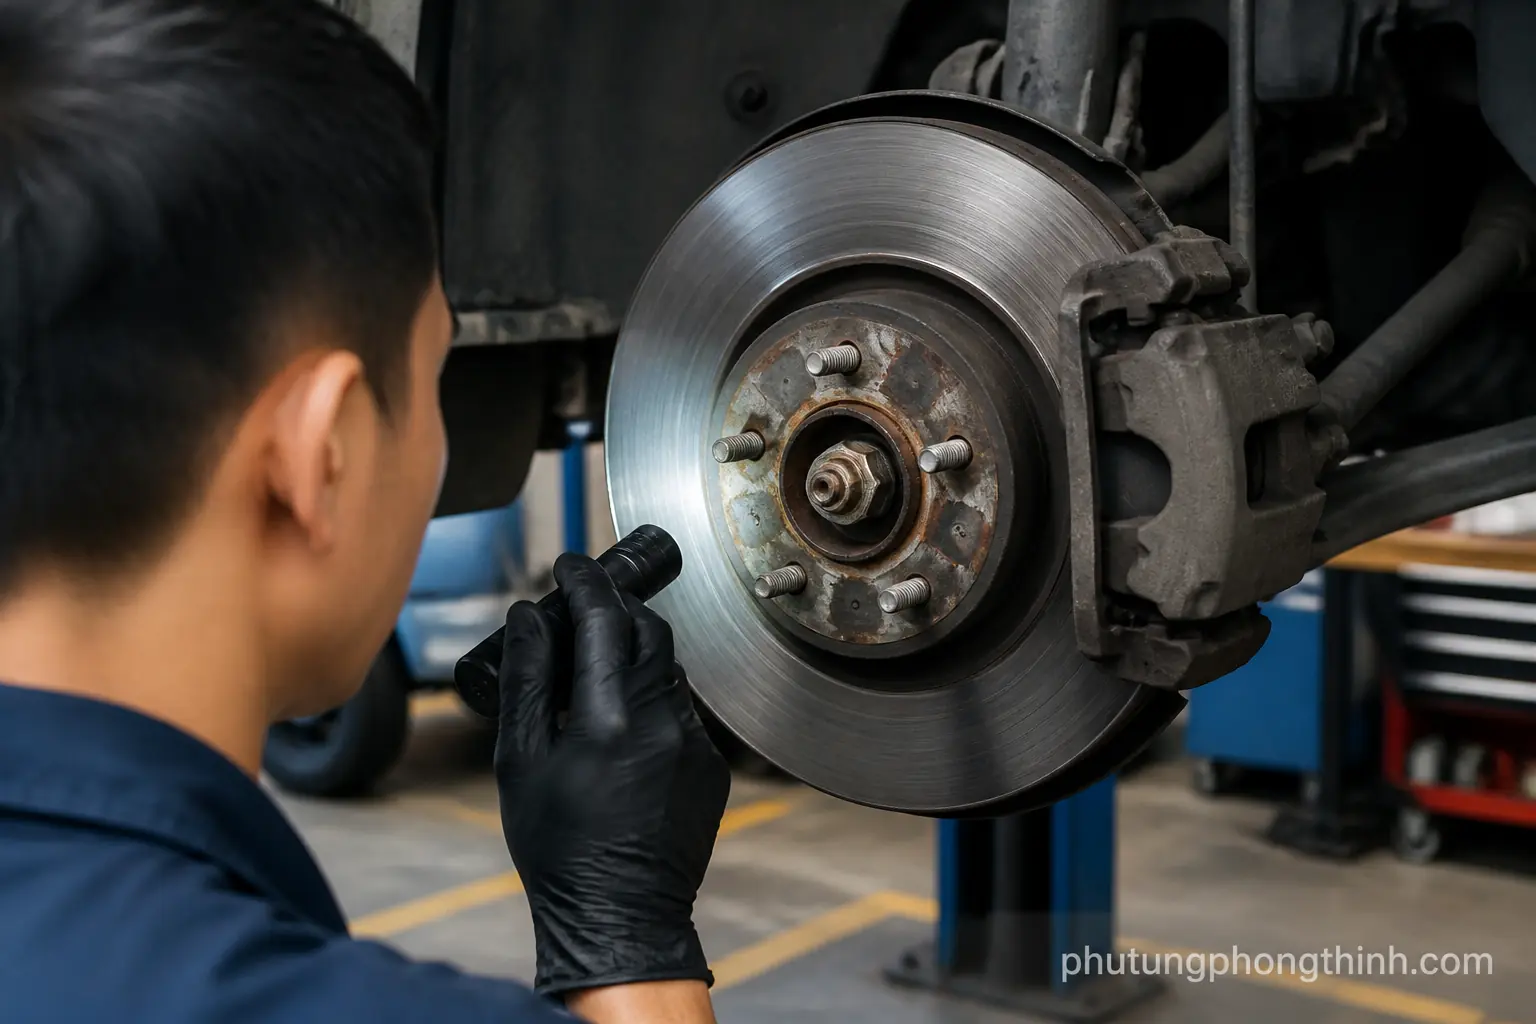
Before you begin, secure the vehicle on jack stands, chock the wheels, and remove the wheel only after the car is stable. Brake work is easier and safer when you take the time to work cleanly and keep the parts organized.
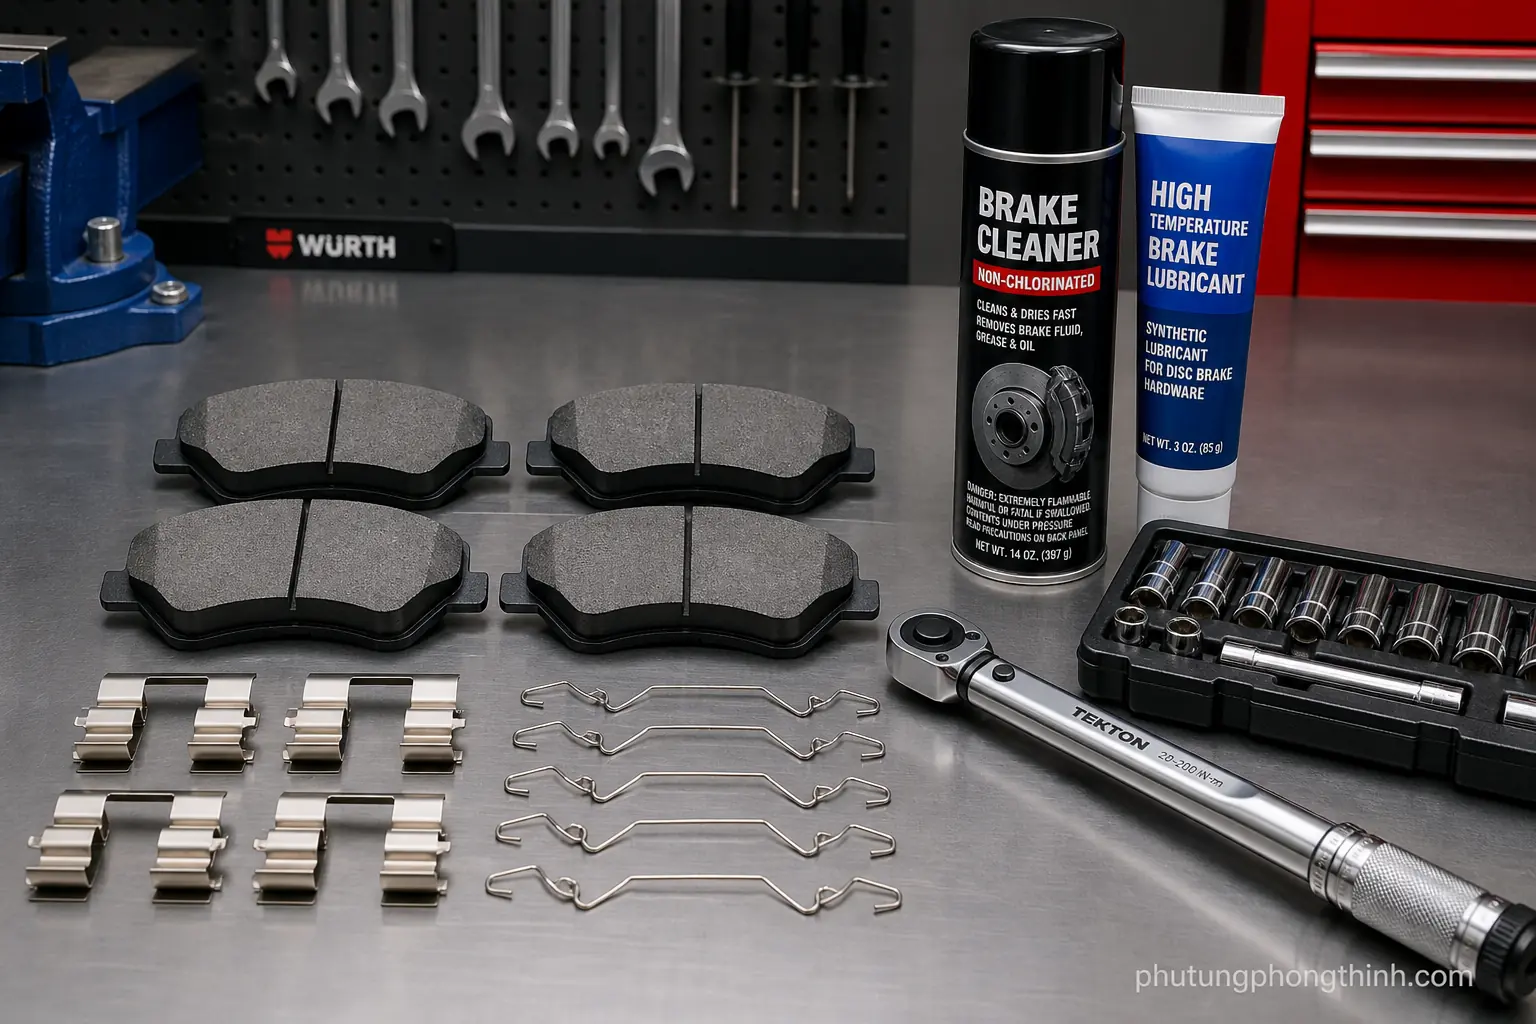
Most jobs call for a brake spring tool, pliers, a screwdriver, brake cleaner, and a torque wrench. A drum brake hardware kit is usually the simplest way to get new clips and springs, and high-temperature brake grease belongs only on the contact points that need it.
If you are also replacing other vehicle parts during maintenance, it is wise to keep the job organized by system; for example, a related ignition part may be on the same shopping list for a different service, but the brake hardware itself still needs its own attention.
- Use jack stands and wheel chocks before any brake disassembly.
- Gather brake spring tools, pliers, a screwdriver, brake cleaner, and a torque wrench.
- Have a drum brake hardware kit, replacement clips or springs, and high-temperature brake grease ready.
How to replace rear brake hardware step by step
Start by removing the drum or rotor hat and taking a quick photo of the spring and lever layout before pulling anything apart. That reference helps you put the return springs, adjuster lever, and parking brake lever back in the correct positions.
Replace the return springs, hold-down pins, adjuster lever, star wheel adjuster parts, and parking brake lever hardware in the same orientation they came off. Clean the backing plate contact pads, remove rust, and apply a thin film of high-temperature brake grease where the shoes slide.
As you reassemble, make sure the shoes sit correctly against the wheel cylinder and backing plate, and confirm the self-adjuster moves freely. The parking brake mechanism should release without binding, and the drum should go back on without forcing any part out of place.

- Remove the drum or rotor hat and document spring and lever locations first.
- Install new return springs, hold-down pins, adjuster parts, and parking brake hardware in the correct orientation.
- Clean backing plate contact pads and use only a thin film of high-temperature brake grease where the shoes slide.
- Verify the shoes seat correctly, the self-adjuster moves freely, and the parking brake releases.
Rear drum brake adjustment and post-install checks
After you replace rear brake hardware, the shoes usually need a final adjustment. Set the rear drum brakes so they lightly drag, then back off just enough that the wheel turns freely without binding.
Star wheel adjuster direction can vary by side and by vehicle design, so do not assume both sides adjust the same way. Afterward, check wheel spin, pedal height, and parking brake hold to make sure the brakes feel even.

If the adjustment is right, the wheel should spin with slight resistance, the pedal should feel consistent, and the parking brake should hold without dragging when released.
Common mistakes to avoid during brake hardware replacement
Do not reuse stretched springs or mix left and right parts, because small orientation errors can create uneven braking or a noisy self-adjuster. Contaminated friction surfaces and too much grease on the hardware can also cause trouble.
Before you close everything up, inspect for a wheel cylinder leak or damaged shoe lining. Those problems need to be fixed first, or the new hardware will not solve the real issue.
- Never reuse stretched springs or mix left and right components.
- Avoid grease on friction surfaces and use only a light amount on approved contact points.
- Fix wheel cylinder leaks and damaged shoe lining before final assembly.
When to replace shoes, wheel cylinders, or parking brake parts too
Hardware replacement often makes sense as part of a larger brake service. If the brake shoes are worn, glazed, or uneven, replace them at the same time so the new parts can work against a proper friction surface.
Wheel cylinder leaks or stuck pistons call for hydraulic service, and that usually means you will need to bleed brakes after wheel cylinder replacement. On drum-in-hat parking brake systems, corroded or seized parts may also need separate replacement if the mechanism will not move freely.
In a corrosion-prone wheel area, protecting the surrounding components matters too; for owners who are also addressing body-side wear, a wheel-well protection liner can help reduce mud, water, and road debris around the brake area.
- Replace brake shoes when linings are worn, glazed, or uneven.
- Service wheel cylinders if they leak or stick, then bleed the system afterward.
- Inspect drum-in-hat parking brake parts for corrosion or seizure.
Frequently Asked Questions
How often should rear brake hardware be replaced?
Rear brake hardware is usually replaced whenever the drum brakes are serviced and the springs, clips, or adjuster parts show corrosion, weakening, or damage. There is no fixed mileage interval that fits every vehicle, so inspection matters more than the calendar.
Is a brake hardware kit worth replacing during shoe service?
Yes. A hardware kit is usually a low-cost way to refresh springs, clips, and adjuster pieces that have already spent years under heat and road salt. Replacing them during shoe service helps restore proper shoe return and reduces the chance of repeat work.
What if the parking brake still drags after new hardware is installed?
Recheck the cable, lever movement, star wheel adjustment, and shoe-to-drum clearance. A dragging parking brake can also point to a seized cable, misadjusted shoes, or a wheel cylinder problem that was not corrected during reassembly.
Should both rear sides be rebuilt at the same time?
Usually yes. Doing both sides together helps keep braking balanced and prevents uneven shoe return or adjustment. It also makes it easier to compare the parts side by side during reassembly.
Can I replace only the broken spring or clip?
You can, but replacing the full hardware set is usually better because the other springs and clips have experienced the same heat and corrosion. Matching all the wear items at once is the safer long-term choice.