How to Test Engine Coolant Temperature Sensor: 6 Checks
How to Test Engine Coolant Temperature Sensor: what you need first
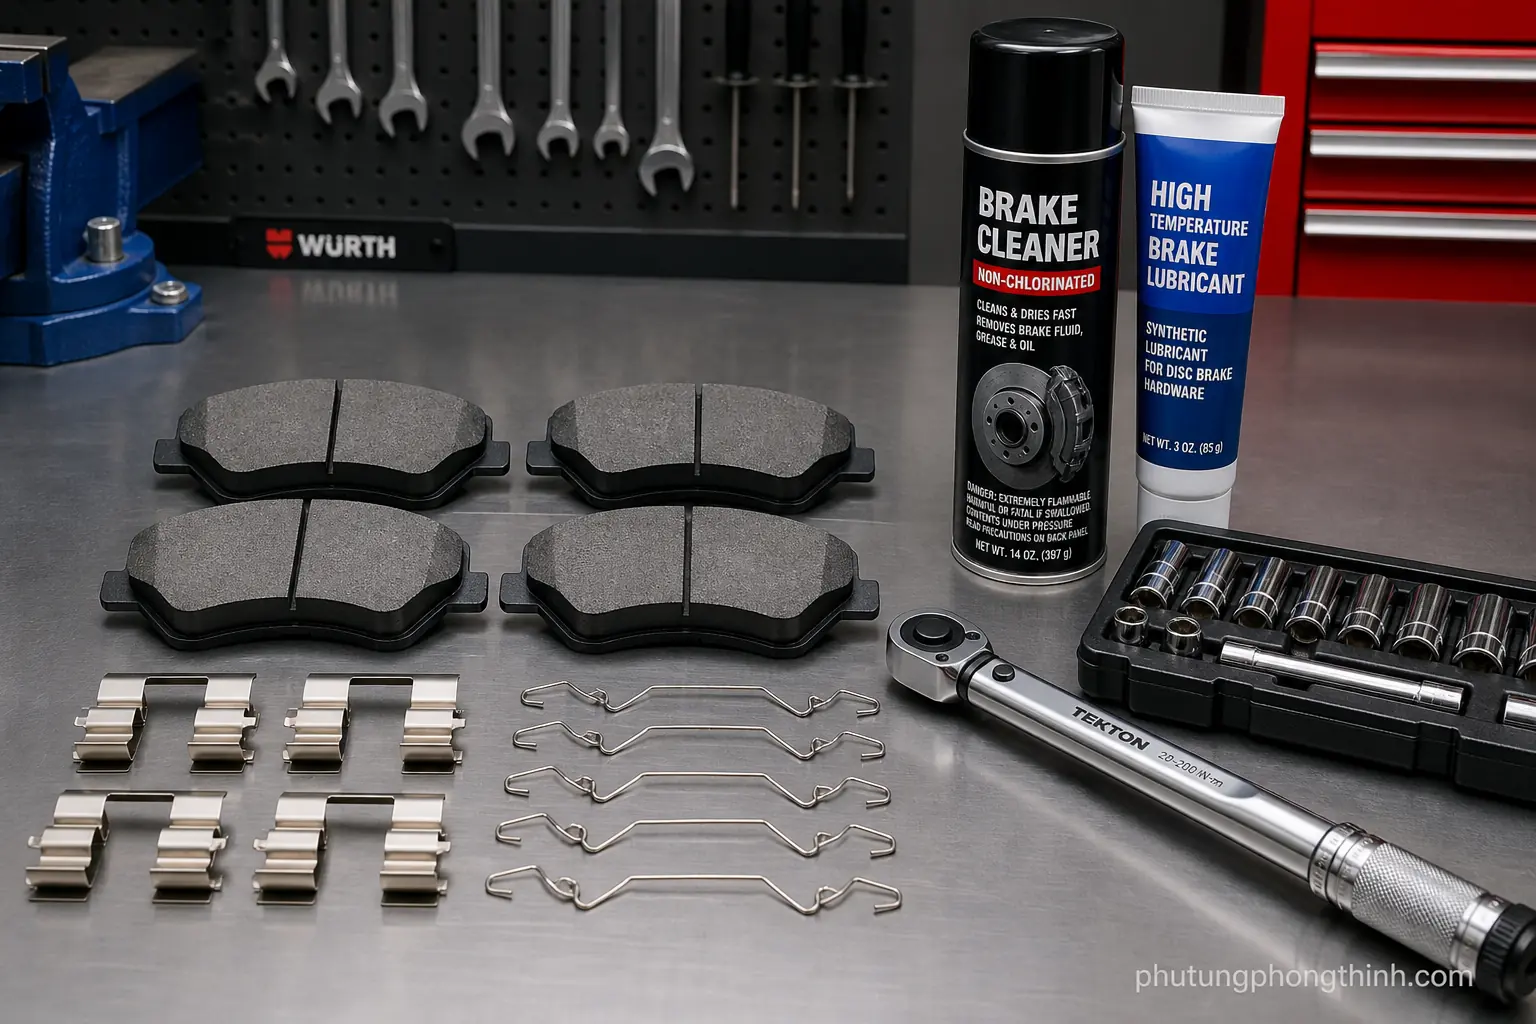
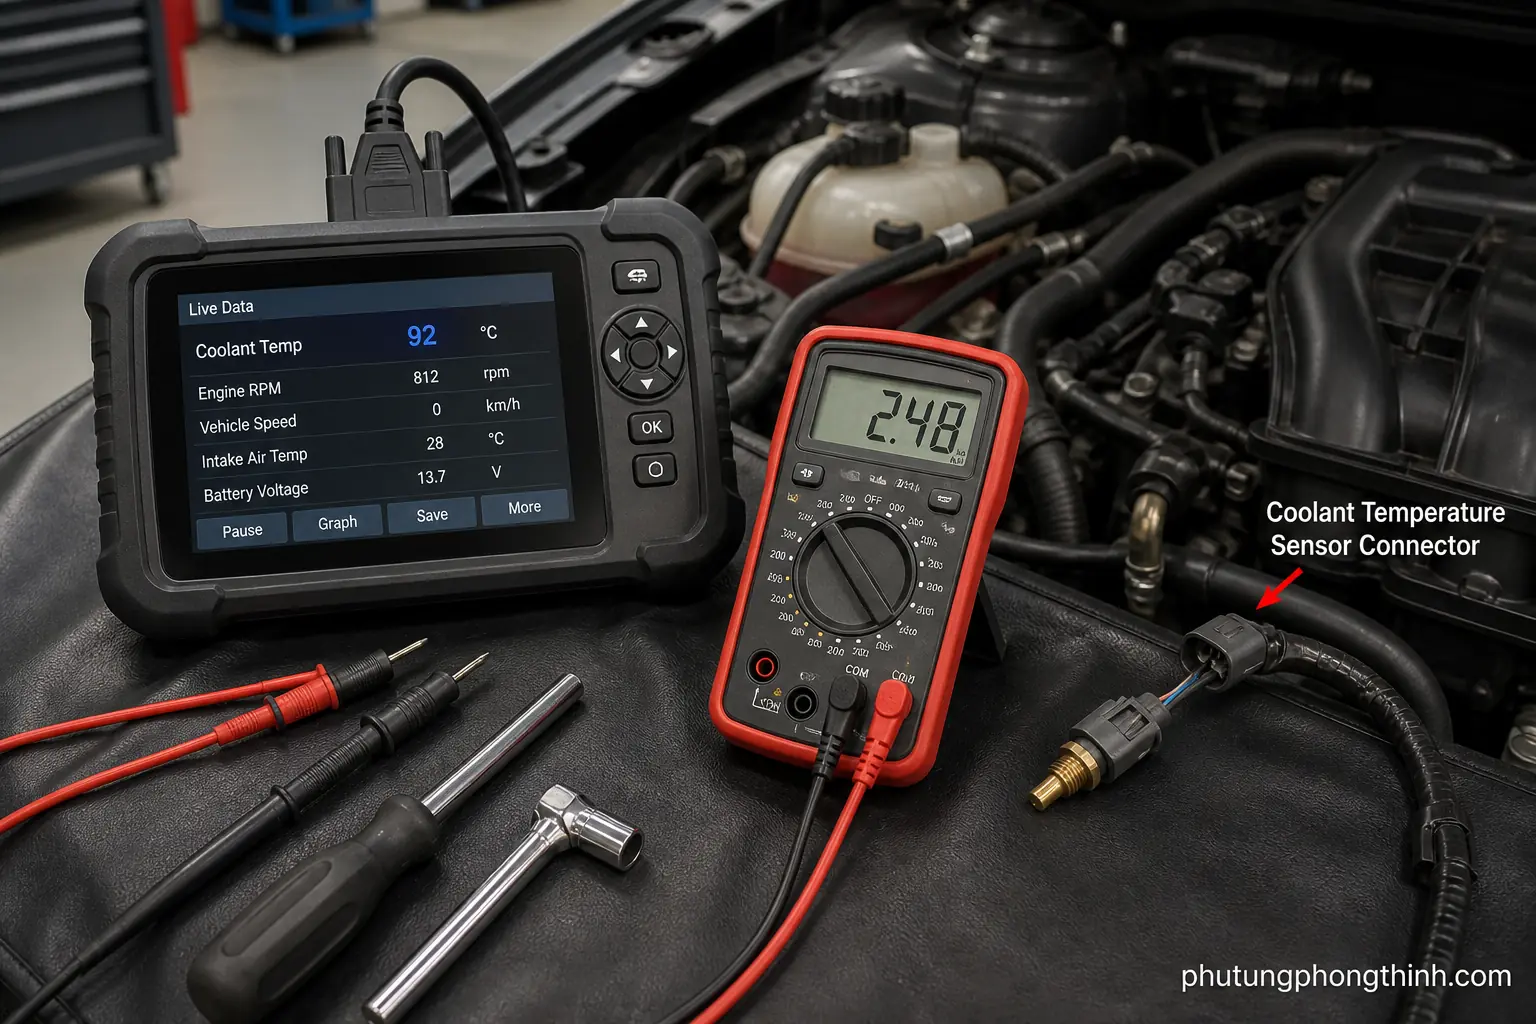
If you want to know how to test engine coolant temperature sensor problems the right way, the goal is simple: confirm the fault before replacing parts. A scan tool, multimeter, wiring diagram, and basic hand tools are enough for most ECT sensor diagnosis, and it helps to check the engine safely from a cold start whenever possible.
Before you condemn the sensor, start with a few sanity checks. Make sure the coolant level is correct and look for leaks or air pockets that can skew readings. Confirm the thermostat and overall cooling system are behaving normally, because low coolant or a stuck thermostat can make the ECT sensor look guilty when the real issue is elsewhere.
- Confirm the ECT fault before buying parts.
- Use a scan tool, multimeter, wiring diagram, and basic hand tools.
- Check the engine cold first when you can do so safely.
- Rule out low coolant, leaks, air pockets, and thermostat issues.
Check 1: compare scan tool live data to engine temperature
Start with scan tool live data and watch the coolant temperature reading before the engine starts and during warm-up. On a cold engine, the reported temperature should be close to ambient temperature. If it is far off, or if the reading jumps, flat-lines, or shows unrealistic values, that points to a sensor, wiring, or connector problem.
As the engine warms up, the temperature should rise smoothly. Erratic data can indicate a failing thermistor or a poor connection. A P0118-style high-voltage fault often shows an implausibly cold reading, so the live data pattern matters as much as the code itself.
Check 2: inspect the connector, reference voltage, and ground circuit
Next, inspect the connector closely for corrosion, bent pins, loose fit, or coolant intrusion. Use a wiring diagram to identify the reference voltage and ground circuit, then verify both at the connector before you condemn the sensor. This step separates engine sensors that are actually failed from simple wiring damage.
A back-probe test is often the cleanest way to check the circuit without damaging the terminals. Watch the meter or scan data while you do a wiggle test on the harness. If the reading changes when the harness moves, the problem is usually in the wiring or connector rather than the ECT sensor itself.

- Inspect for corrosion, bent pins, loose terminals, and coolant intrusion.
- Use a wiring diagram to identify reference voltage and ground circuit.
- Back-probe pins to check voltage without damaging the connector.
- Perform a wiggle test while watching readings for intermittent faults.
Check 3: test the ECT sensor resistance with a multimeter
The resistance test is the core multimeter test for a thermistor-style ECT sensor. Unplug the connector and measure resistance across the sensor terminals, then compare the reading at ambient temperature and again after the engine or sensor warms up. Because the sensor is a thermistor, resistance should drop as temperature rises.
Use an ECT sensor resistance chart to match your ohms reading to the approximate temperature. If the reading is far outside the chart range, the sensor is likely bad. An open or shorted sensor can trigger fault codes and also skew fan control, so this step is important before replacement.

| Test condition | What you expect | What a bad result suggests |
|---|---|---|
| Cold engine | Resistance that matches ambient temperature on the chart | Open, short, or inaccurate sensor reading |
| Warming engine | Resistance drops steadily as temperature rises | Sticking thermistor or failing sensor element |
| Hot engine | Lower resistance than when cold | Reading far outside chart range |
Check 4: confirm the thermostat and cooling fan behavior
Now separate sensor faults from cooling system behavior that can look similar on the dash or scan tool. Verify that the thermostat opens normally as coolant warms, and check whether the cooling fan comes on at the expected temperature. Fan logic depends on accurate coolant temperature input, so a bad signal can affect fan operation.
Overheating, poor heater output, or a fan that never comes on can point to either the sensor or the thermostat, depending on the rest of the evidence. If you are following a cooling fan not working diagnosis, remember that the cooling system may be the real issue instead of the ECT sensor.
- Check that the thermostat opens as the engine reaches operating temperature.
- Confirm the cooling fan turns on when it should.
- Use heater output and dash behavior as supporting clues only.
- Separate cooling system faults from sensor faults before replacing parts.
Check 5: decide whether the sensor or wiring is the actual fault
At this point, put the scan data, resistance results, and circuit checks together. Stable scan readings with a bad resistance test point to sensor failure, while erratic readings that change during a wiggle test usually point to wiring or connector damage. After any repair, retest to make sure the temperature reading stays stable.
If the tests prove the sensor is bad, engine temperature sensor replacement is the next step. Clear the codes afterward and verify normal warm-up behavior. A correct repair should restore consistent temperature readings and proper fan operation. After that, routine maintenance like a genuine Mazda oil filter replacement can help keep the engine in good shape after the repair.
Common symptoms and fault-code clues
People usually start testing the sensor because of engine coolant temperature sensor symptoms like hard starting, rich running, poor fuel economy, overheating warnings, or fan issues. A bad reading can alter cold-start fueling and cooling fan control, which is why the symptom pattern matters.
A persistent P0118 or similar code supports the diagnosis, but it does not prove the sensor is bad by itself. If the circuit looks suspect, learning how to diagnose P0118 code is the next logical step, and the final answer should come from live data and meter tests rather than the dashboard alone.
- Hard starting or rough cold running
- Rich fuel mixture or poor fuel economy
- Overheating warnings or odd gauge behavior
- P0118 or related coolant temperature fault codes
- Fan control problems tied to bad temperature input
Once the diagnostic work is done, you can also compare the result with other vehicle needs; for example, an OEM mud flap set is unrelated to ECT testing, but it may be worth noting only after the troubleshooting is complete.
FAQ: ECT sensor testing questions
How do you know if the ECT sensor is bad without a scan tool?
You can still test it with a multimeter by checking resistance at the sensor and comparing it to a resistance chart for the current temperature. If the value is open, shorted, or far outside the expected range, the sensor is likely faulty. You should also inspect the connector and wiring so you do not mistake a circuit problem for a bad sensor.
What resistance should an ECT sensor have when cold or hot?
It depends on the specific sensor and temperature, which is why an ECT sensor resistance chart matters. In general, resistance is higher when the engine is cold and lower when the engine is hot. The exact value should match the chart for the measured temperature as closely as possible.
Can a bad thermostat cause the same symptoms as a bad coolant temperature sensor?
Yes. A stuck thermostat can create overheating, slow warm-up, or strange temperature behavior that looks like a sensor fault. That is why thermostat operation should be checked along with the sensor and wiring.
Should the engine be cold or warm for testing?
Cold is best for the first scan tool comparison because the reading should match ambient temperature. Then warm the engine for resistance and live data checks so you can see whether the sensor changes smoothly as coolant temperature rises.
Frequently Asked Questions
How do you know if the ECT sensor is bad without a scan tool?
You can still test it with a multimeter by checking resistance at the sensor and comparing it to a resistance chart for the current temperature. If the value is open, shorted, or far outside the expected range, the sensor is likely faulty. You should also inspect the connector and wiring so you do not mistake a circuit problem for a bad sensor.
What resistance should an ECT sensor have when cold or hot?
It depends on the specific sensor and temperature, which is why an ECT sensor resistance chart matters. In general, resistance is higher when the engine is cold and lower when the engine is hot. The exact value should match the chart for the measured temperature as closely as possible.
Can a bad thermostat cause the same symptoms as a bad coolant temperature sensor?
Yes. A stuck thermostat can create overheating, slow warm-up, or strange temperature behavior that looks like a sensor fault. That is why thermostat operation should be checked along with the sensor and wiring.
Should the engine be cold or warm for testing?
Cold is best for the first scan tool comparison because the reading should match ambient temperature. Then warm the engine for resistance and live data checks so you can see whether the sensor changes smoothly as coolant temperature rises.