How to Test Brake Fluid: Color, Moisture & Safety Tips
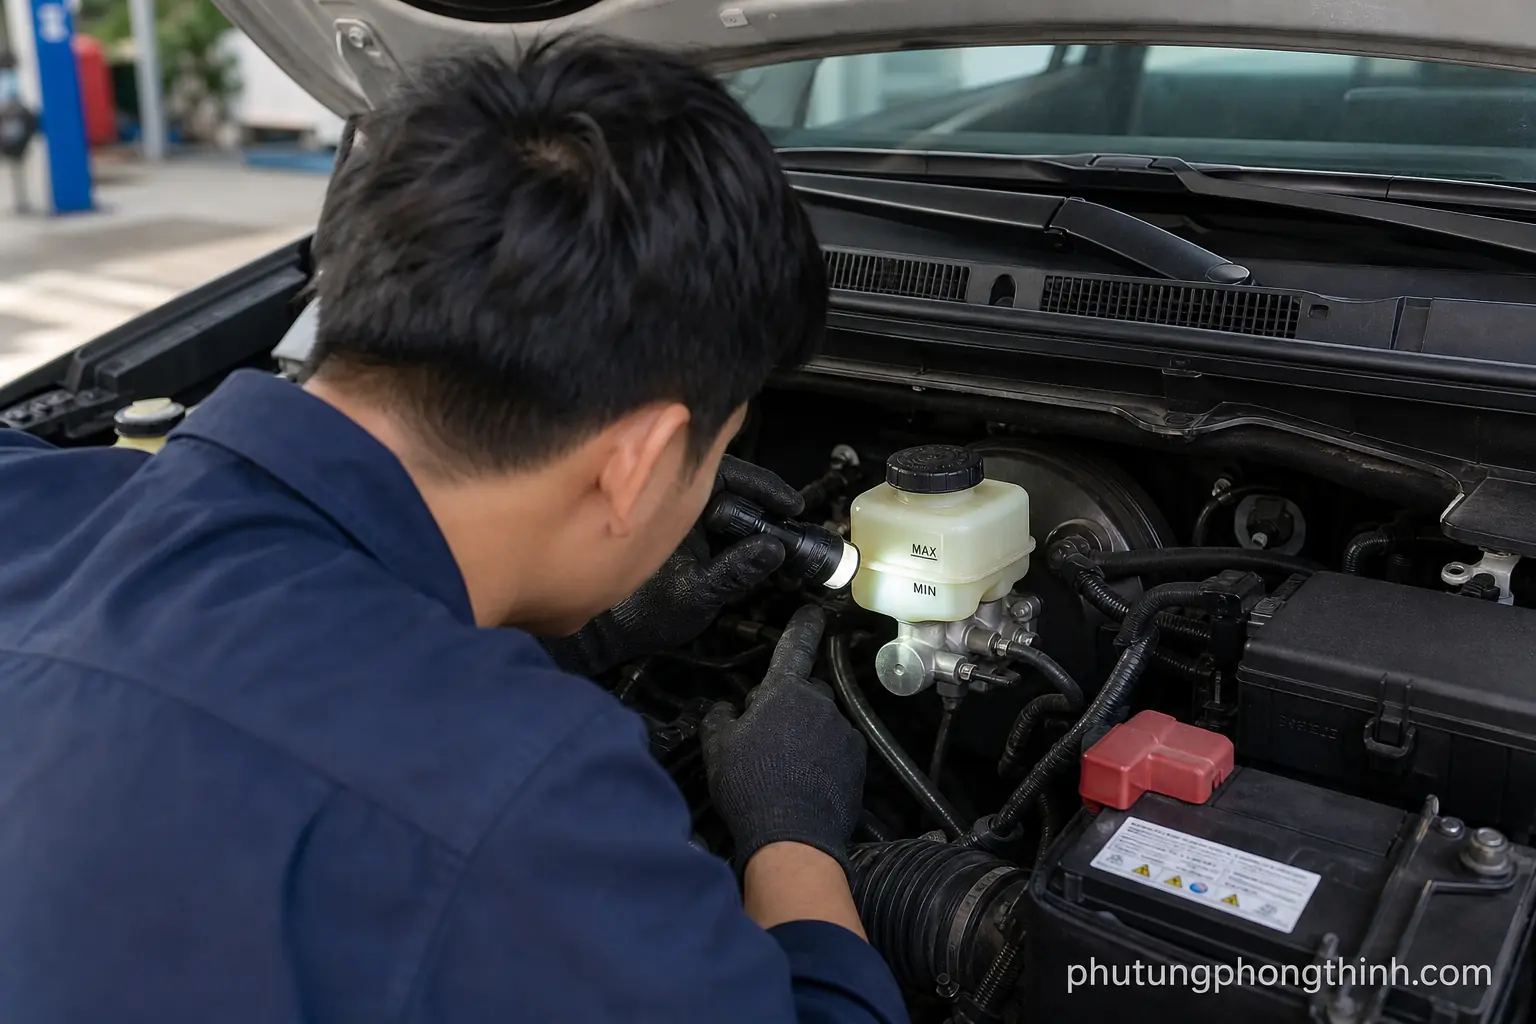
How to test brake fluid safely at home
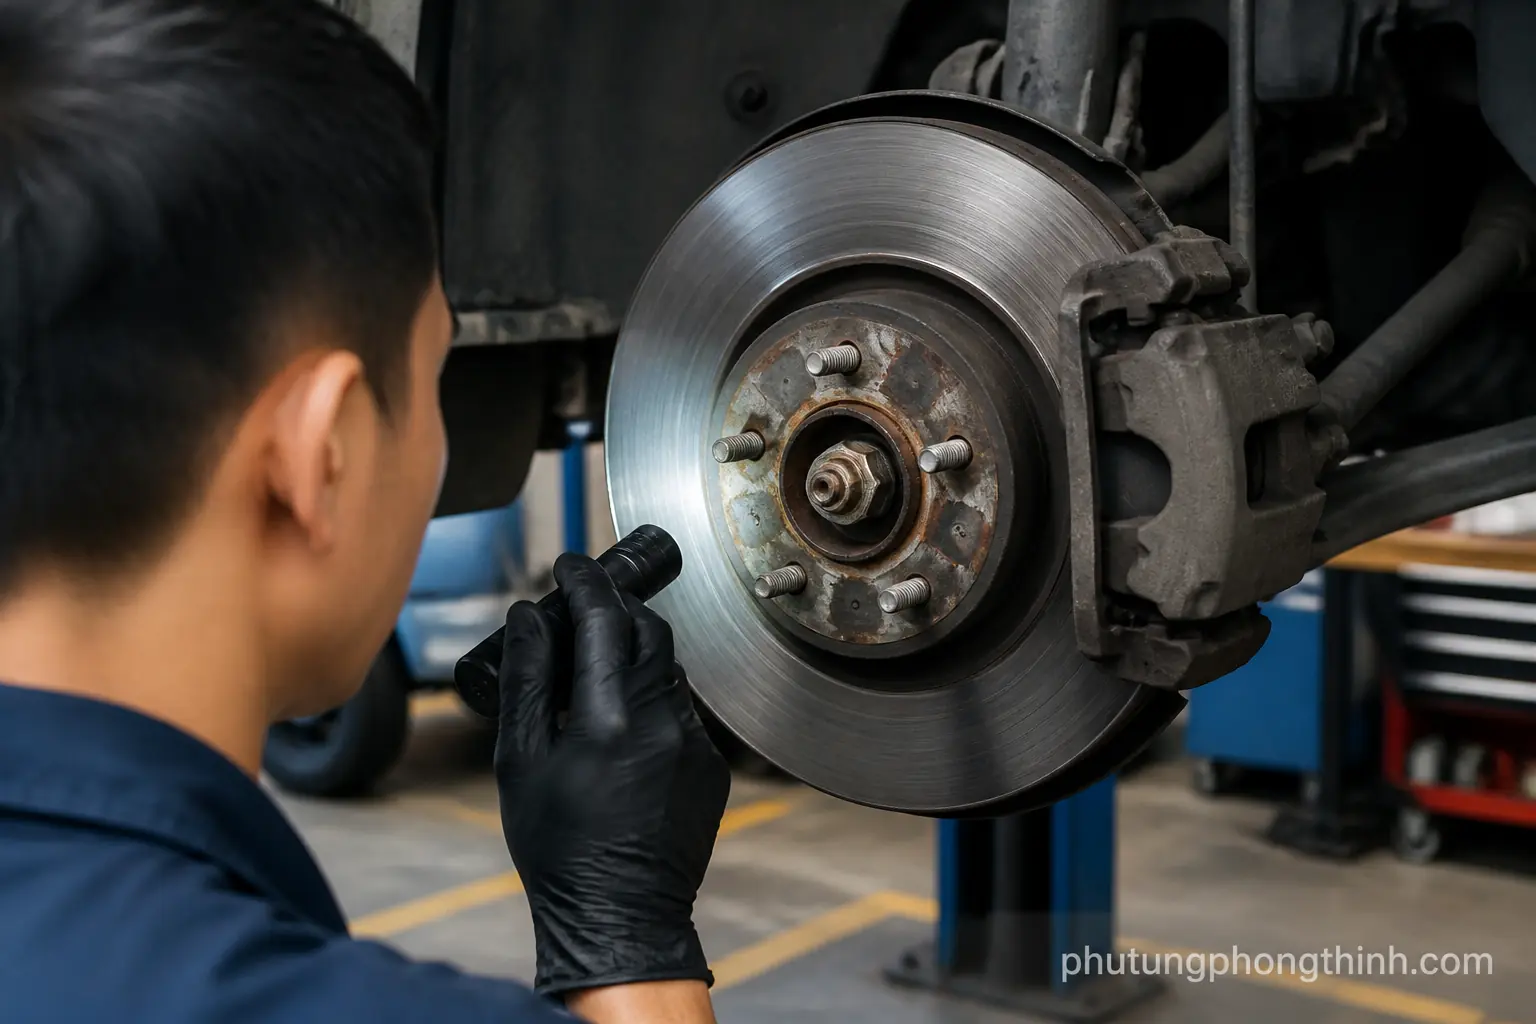
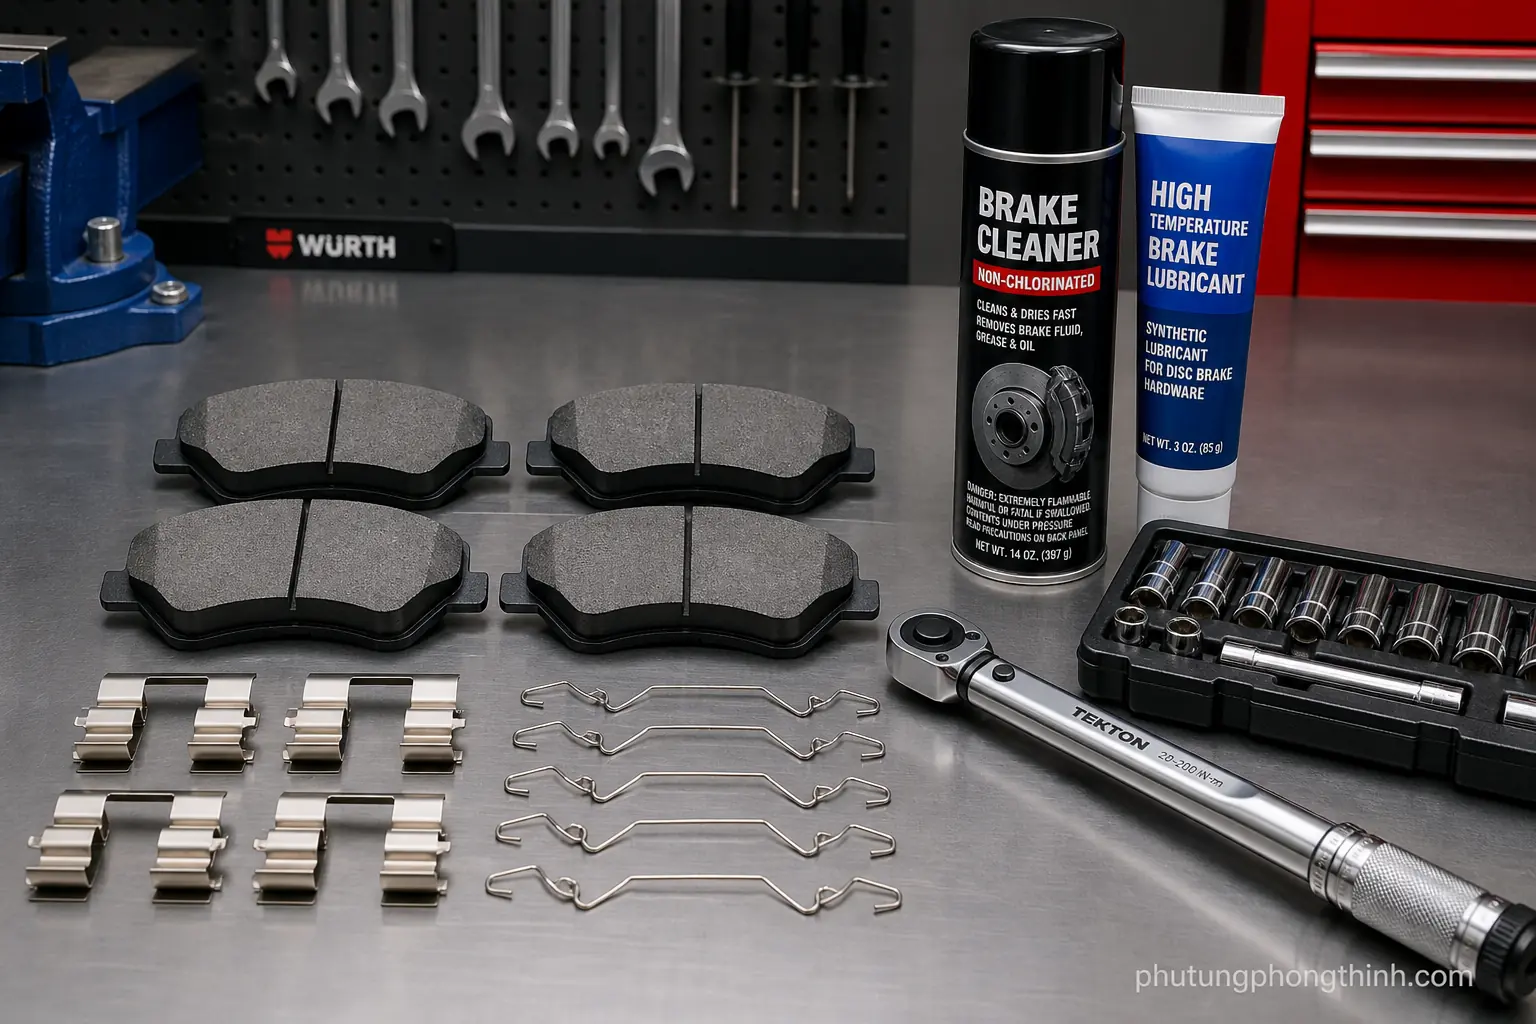
If you’re learning how to test brake fluid, the goal is to judge fluid condition, not to open up the brake system or perform repairs. A simple home check only takes basic tools like gloves, a flashlight, a clean rag, and either test strips or an electronic brake fluid tester. Work on level ground, keep dirt out of the reservoir, and be careful not to spill fluid on paint.
The quickest way to assess brake fluid is to inspect its color and clarity, check moisture content with strips or a tester, and verify the level in the master cylinder reservoir. None of those checks should be used alone; together, they give a much more reliable picture of brake system health.
This method works well for common glycol-based fluid types such as DOT 3, DOT 4, and DOT 5.1, so you can make a practical first pass before deciding whether service is needed.
What brake fluid color tells you
Brake fluid appearance can reveal a lot before you ever use a tool. Fresh fluid is usually clear to light amber, while dark brown fluid often points to age, heat exposure, or contamination. If the fluid looks cloudy or milky, moisture or another contaminant may be present and should be checked more closely.
Still, color is only a clue, not a final diagnosis. Compare what you see with mileage, service history, and pedal feel, because brake fluid can darken over time even when the brakes still feel normal.

How to check moisture content with strips or a tester
The most reliable at-home brake fluid test is a moisture check with a test strip or an electronic brake fluid tester. Use it on a clean sample so contamination doesn’t affect the reading. This matters because brake fluid absorbs water from the air over time, and rising moisture content lowers the boiling point and weakens braking performance.
In practice, higher moisture readings usually mean the fluid should be serviced. Repeated hot braking can make contaminated fluid even riskier, so follow the tester’s scale rather than guessing from appearance alone.

How to check brake fluid level in the reservoir
Open the hood and locate the master cylinder reservoir, then read the fluid level against the MIN and MAX marks without opening the system any more than necessary. A level close to MIN can suggest pad wear, a leak, or another service issue that deserves attention.
Sudden drops in level can point to a leak and need immediate inspection, while a slightly lower level can happen as brake pads wear. Don’t top off blindly until you understand why the level changed.
Signs brake fluid needs flushing
When you combine color, moisture, and level, the warning signs become easier to trust. Dark fluid, high moisture, a soft pedal, a spongy pedal, or inconsistent braking all point toward the need for closer inspection. Contaminated fluid can also contribute to what causes soft brake pedal, especially when it has absorbed too much water. A brake fluid flush is often recommended when the fluid is old, discolored, or moisture-heavy.
- Check brake fluid more often as part of routine maintenance, even if nothing seems wrong.
- Flushing depends on vehicle use and manufacturer guidance, not just the calendar.
- Severe heat, towing, and stop-and-go driving can shorten service intervals.
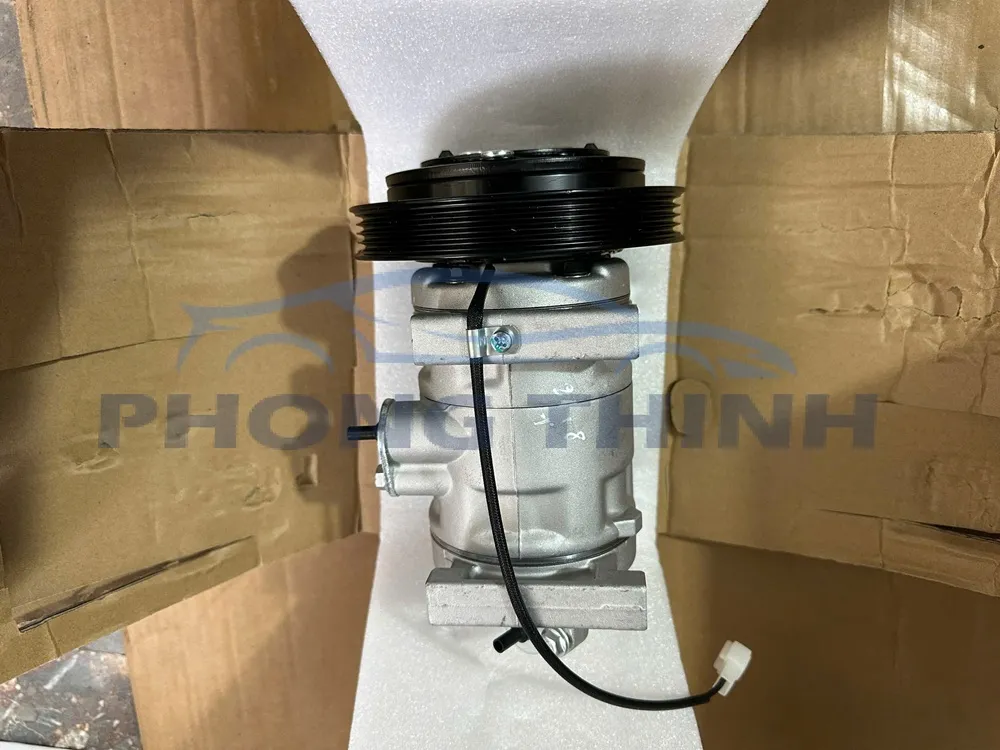
For vehicles that spend a lot of time under heat stress or heavy use, it helps to think about the bigger maintenance picture too, including parts like this vehicle cooling system part, because heat management and fluid care often go hand in hand.
Brake fluid color meanings by condition
| Fluid appearance | What it usually means | Next step |
|---|---|---|
| Clear to light amber | Usually fresh or still in acceptable condition | Monitor during routine maintenance |
| Dark brown | Often age, heat, or contamination | Run a moisture test and plan service if needed |
| Cloudy or milky | Possible moisture or other contamination | Test promptly and inspect further |
A visual check cannot identify every contamination type, but it is still useful for spotting how to tell if brake fluid is contaminated. If the fluid looks fresh and the level is normal, routine monitoring may be enough. Dark or cloudy fluid should prompt a moisture test and likely service planning, while any leak, strange pedal feel, or very old fluid should lead to inspection.
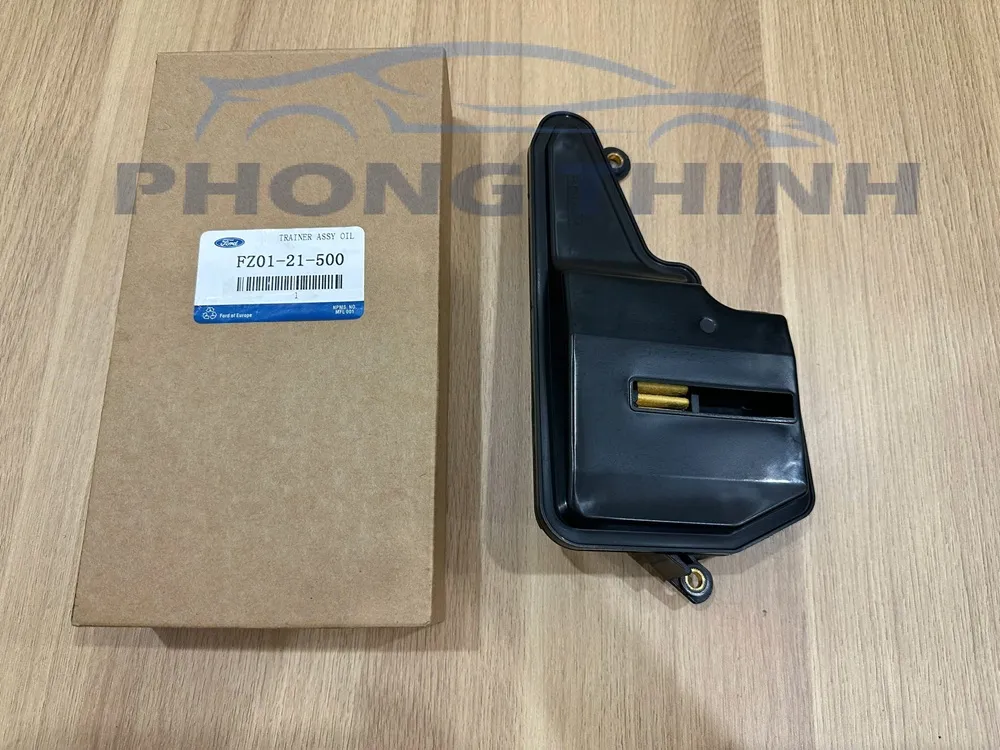
After you’ve checked the fluid, it’s a good time to stay on top of other routine care as well, including routine filter maintenance, because regular replacement habits help keep the whole vehicle in better condition.
Frequently Asked Questions
How often should brake fluid be checked?
Brake fluid is best checked as part of regular maintenance, such as during oil changes or other routine under-hood inspections. The exact schedule depends on the vehicle, driving conditions, and manufacturer guidance, but it should be inspected more often than it is flushed.
Can I test brake fluid without special tools?
Yes, you can do a basic visual check without special tools by looking at color, clarity, and level in the reservoir. For moisture content, though, test strips or an electronic tester are much more reliable.
What does dark brake fluid mean?
Dark brown brake fluid usually suggests age, heat exposure, or contamination. It does not always mean the brakes are failing, but it is a sign that the fluid should be checked more closely and may be due for service.
Is low brake fluid always a leak?
No. A slightly low level can happen as brake pads wear. A sudden drop, however, can indicate a leak and should be inspected right away.
When should brake fluid be flushed?
Brake fluid should be flushed when it is old, discolored, or shows high moisture content, or when the manufacturer’s maintenance schedule calls for it. Severe driving conditions like towing, heavy braking, or frequent stop-and-go use may shorten the interval.