How to Resurface Brake Rotors: 2026 DIY Guide
How to resurface brake rotors safely
If you are looking for how to resurface brake rotors, the big idea is simple: remove a very thin layer of metal to restore a flat, smooth braking surface. That can help with light grooves, uneven pad deposits, and brake pulsation, but it is not a cure-all.
Before any cutting begins, the key question is whether the rotor is still worth saving. Some rotors are better replaced than machined, especially if they are already near minimum thickness or show heavy damage. This guide is for DIYers who want a careful, measured process in 2026.
Tools, measurements, and safety checks
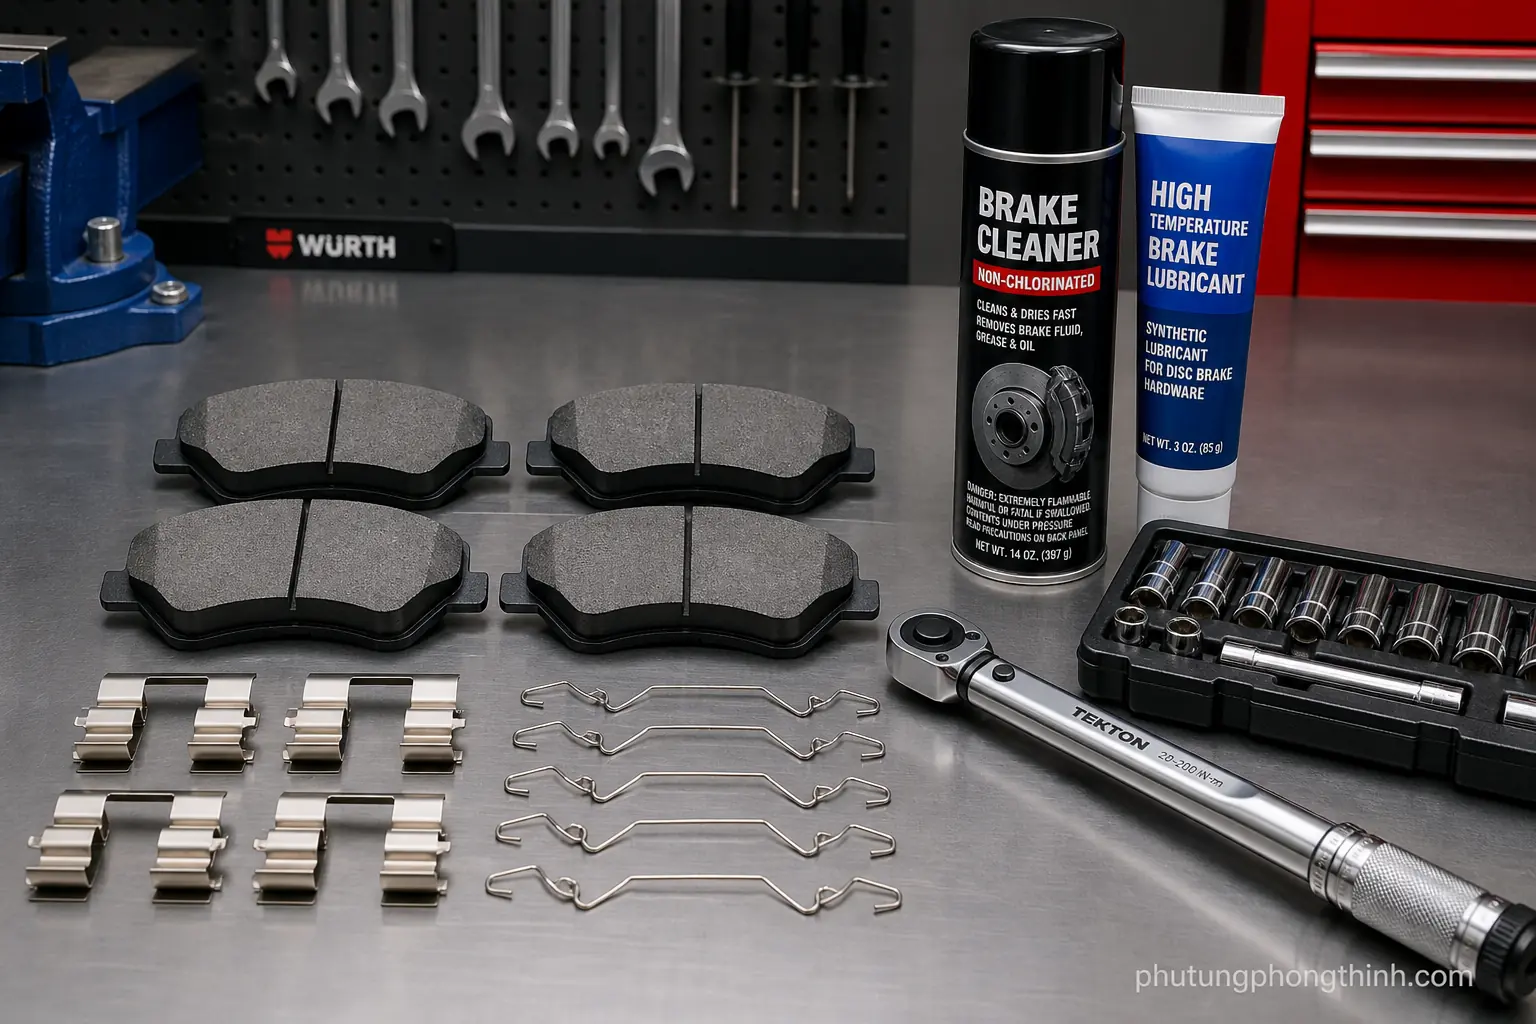
Before you start brake repair, gather the basics: a rotor micrometer, dial indicator, torque wrench, brake cleaner, jack stands, and wheel chocks. You will also want gloves and eye protection, because brake service creates metal dust and sharp edges.
- Measure rotor thickness before and after machining.
- Check lateral runout so you do not machine a bad setup.
- Support the vehicle securely before removing any wheels.
- Clean the work area so dirt does not affect measurements.
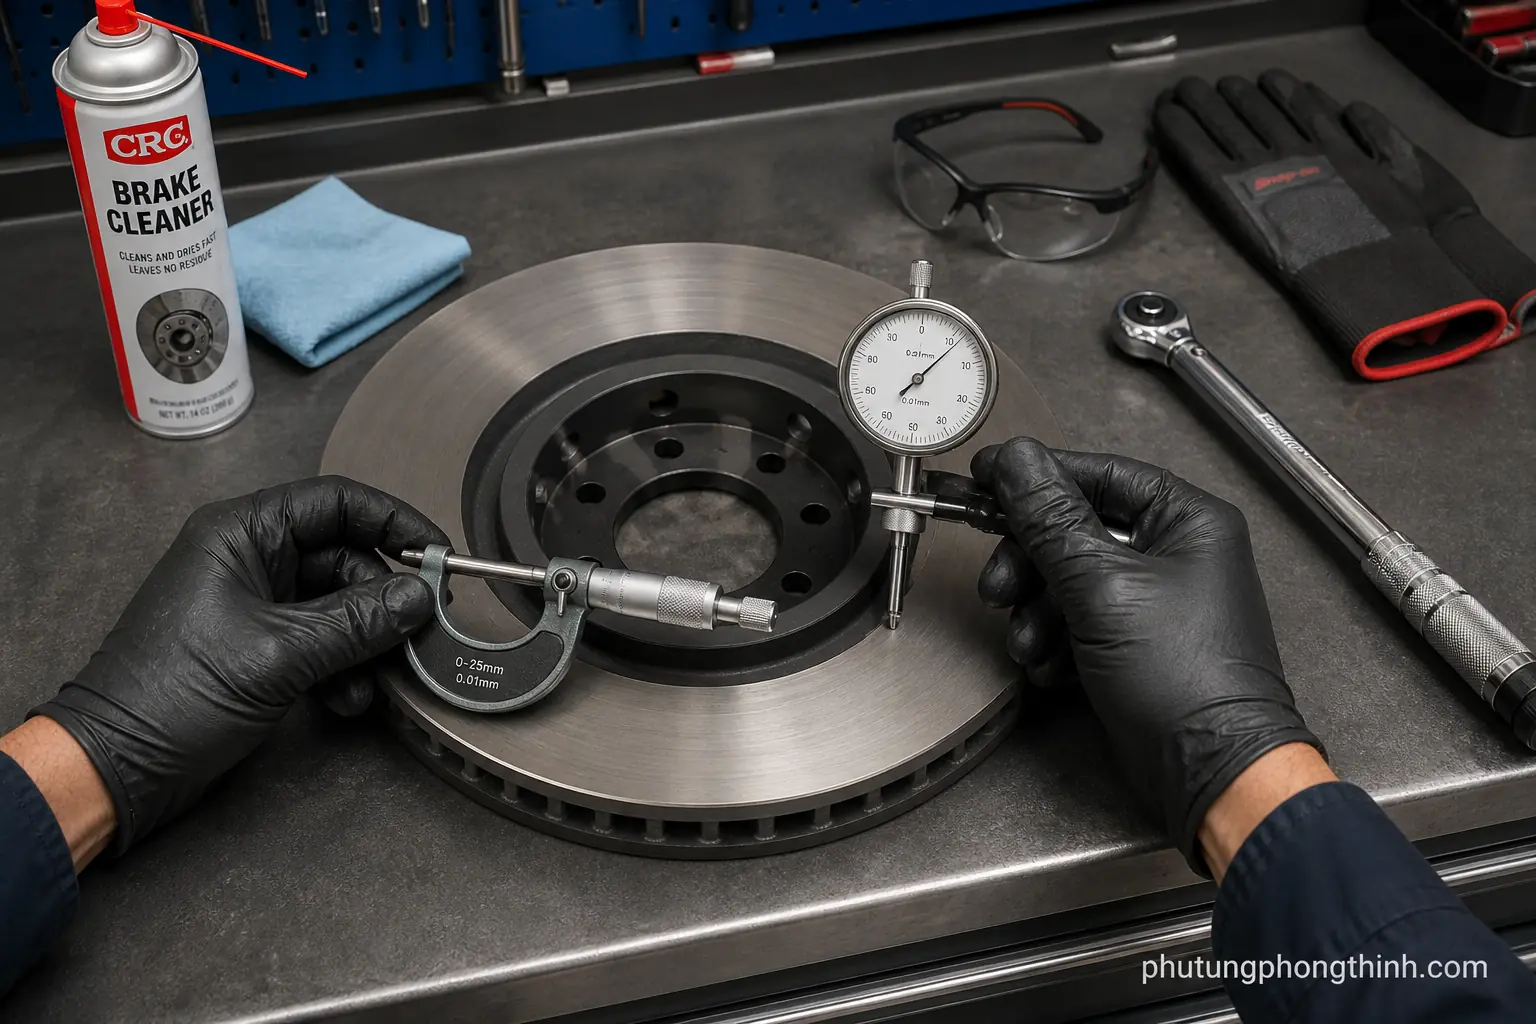
Check rotor thickness and decide if it can be machined
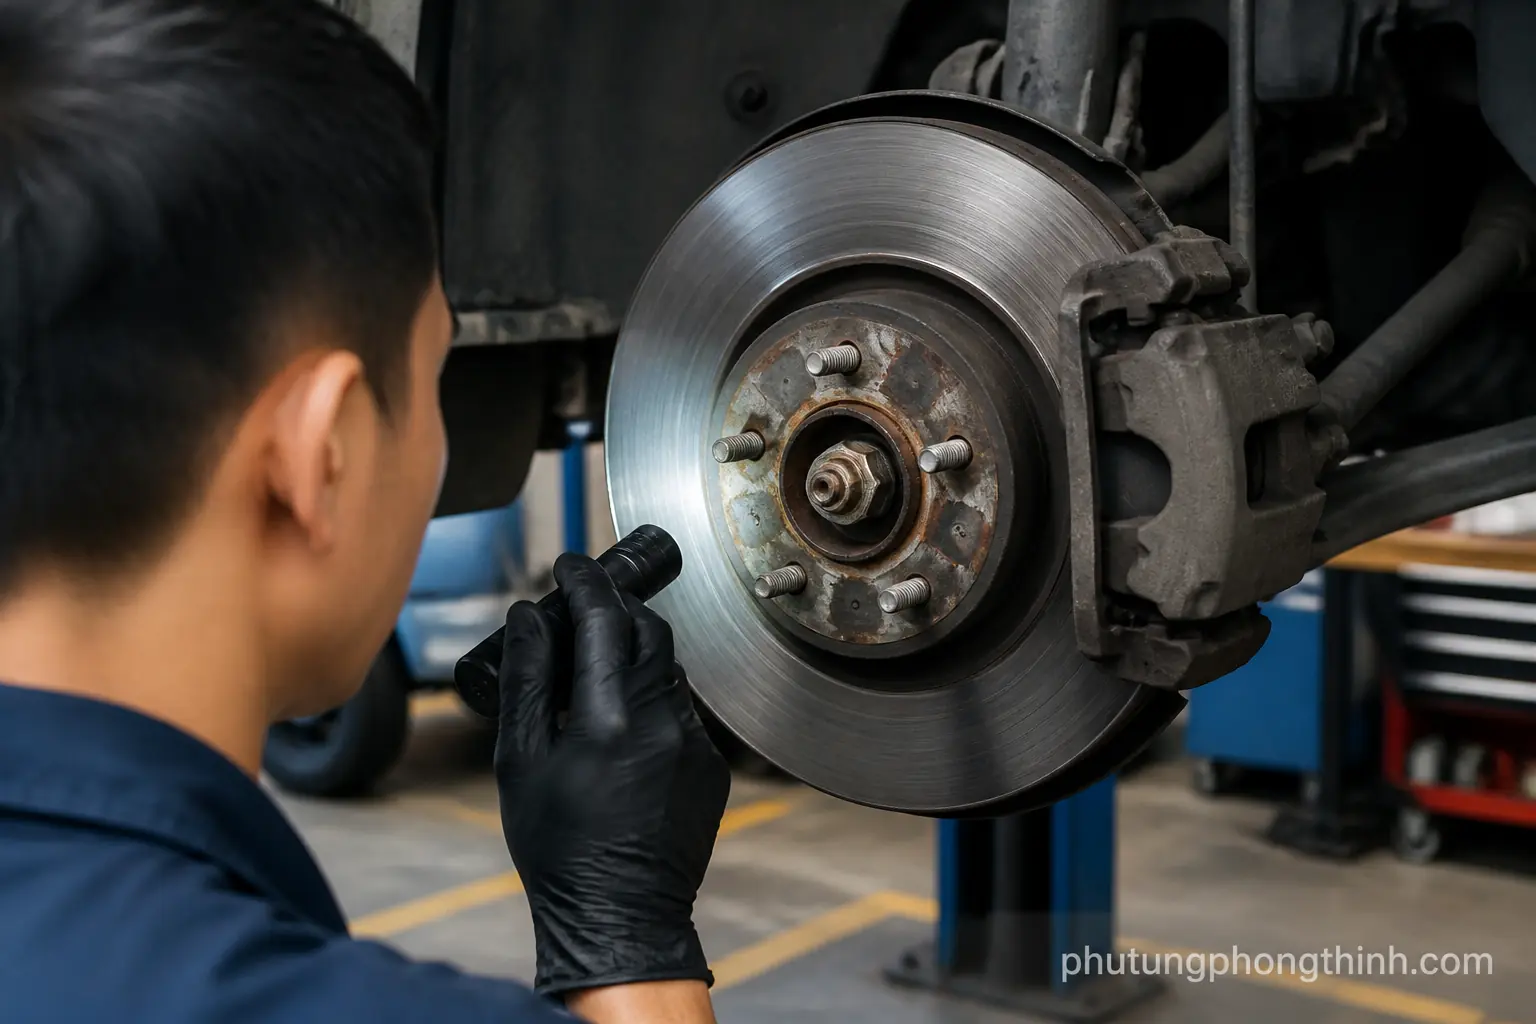
Start by measuring rotor thickness at several points around the face, not just in one spot. A rotor micrometer helps you see whether wear is even or whether the disc has taper that could affect brake feel.
Compare your readings with the manufacturer’s minimum thickness and discard thickness. If the rotor is too close to spec, has deep scoring, heat spots, or obvious damage, replacement is usually the safer choice than rotor machining.
Measure lateral runout and inspect the hub
Next, use a dial indicator to check lateral runout. Excess runout can cause vibration, uneven pad transfer, and the same pedal pulse you were trying to fix in the first place.
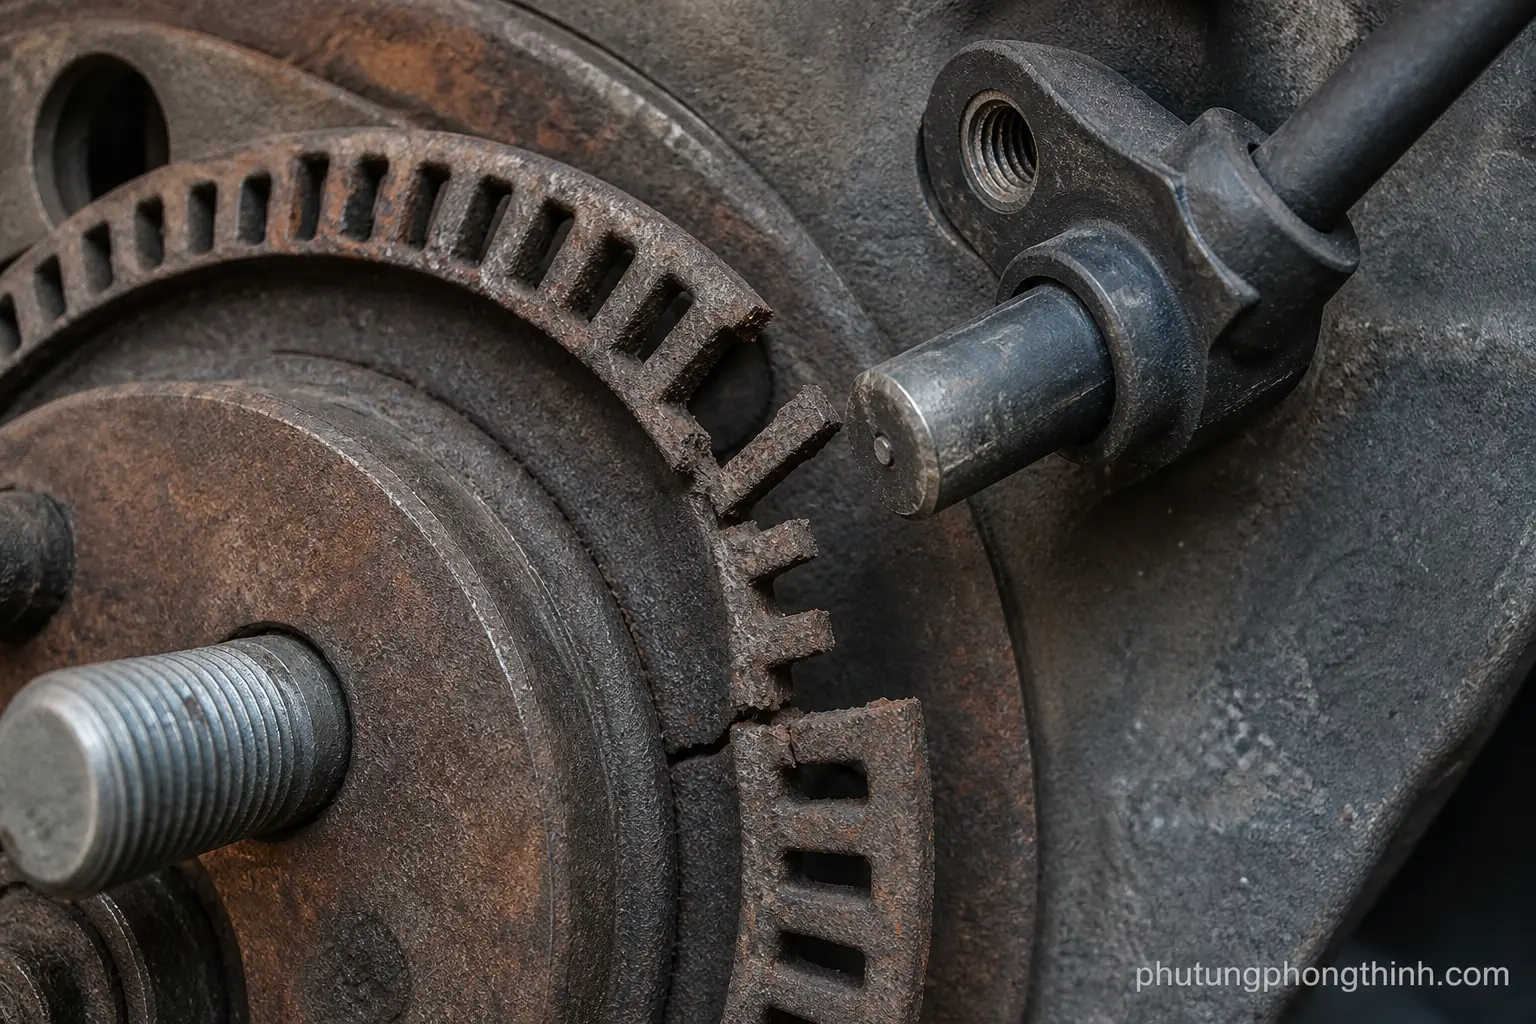
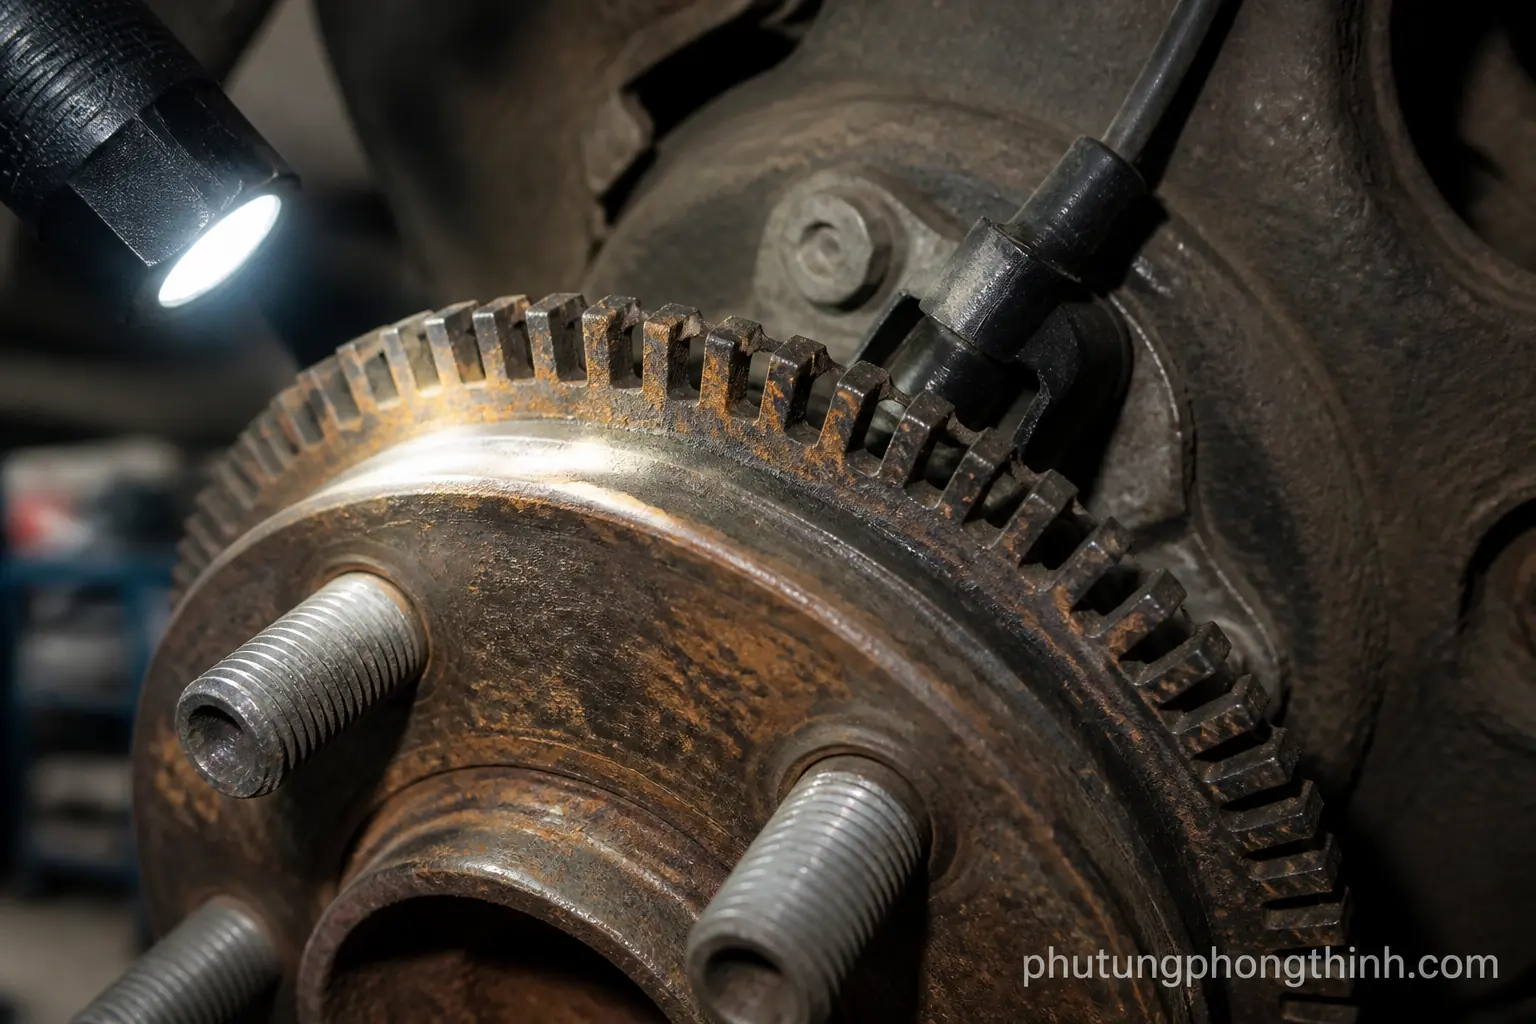
Do not overlook the hub face. Rust, dirt, or corrosion there can create false rotor runout even when the rotor itself is fine. Also make sure the caliper slide pins move freely and the hardware is not sticking before final assembly.

Bench lathe vs on-car rotor resurfacing
Bench lathe resurfacing is the traditional shop approach. The rotor is removed and cut on a brake lathe, which can produce a precise finish when the machine is set up correctly.
On-car resurfacing cuts the rotor while it is mounted on the hub. That can better match the rotor to the hub assembly and may reduce issues caused by stacked tolerances. The right method depends on cost, access to equipment, setup time, and the accuracy you need.
| Method | Best for | Tradeoffs |
|---|---|---|
| Bench lathe | Clean, controlled rotor machining with the rotor removed | Requires removal and a properly set up brake lathe |
| On-car resurfacing | Matching rotor and hub as an assembly | More setup complexity, but can help with runout-related concerns |
Step-by-step resurfacing and reinstall process
After machining, clean the rotor thoroughly to remove metal dust and residue. Then reinstall the rotor and brake components in the correct order, and torque the wheel nuts properly so you do not reintroduce runout.
Check pad fitment, lubricate contact points where appropriate, and confirm the caliper slide pins are working smoothly. Once everything is back together, take a careful test drive with gradual braking rather than hard stops.
That final break-in matters. Pad bedding helps the pads and resurfaced rotors mate correctly, which can reduce noise and prevent uneven transfer layer issues. Unless the bedding procedure specifically calls for it, avoid aggressive stops right away.
- Clean the rotor after cutting.
- Reassemble and torque everything to spec.
- Verify pad movement and caliper operation.
- Finish with a gentle road test and proper bedding.

While you are finishing up the job, it is also a sensible time to inspect related components such as a related Mazda CX-9 part if the vehicle has other maintenance needs.
Common problems after rotor resurfacing
If brakes pulsate after rotor service, the cause is often not the rotor cut itself. Dirty hub faces, uneven wheel torque, or residual runout can all bring back the same symptoms.
Common brake rotor runout symptoms include pedal pulsation, steering wheel shake, and noise during light braking. In many cases, the better fix is to recheck installation steps rather than cut the rotor again.
- Recheck hub cleanliness and rotor seating.
- Confirm wheel nuts were torqued evenly.
- Inspect for leftover runout or sticking hardware.
- Look at the rest of the front-end for noise sources.
If the shake seems more like a wheel-speed vibration than a brake issue, a worn front wheel bearing can also be part of the diagnosis.
FAQ about resurfacing brake rotors
How do you know when brake rotors need replacing instead of resurfacing? If the rotor is below minimum thickness, too close to discard thickness, deeply scored, heat damaged, or still causing runout issues after proper setup, replacement is usually the better option.
How do you measure brake rotor thickness correctly at home? Use a rotor micrometer and measure at several points around the braking surface, keeping clear of any outer lip. Compare the lowest reading with the manufacturer specification, since that is the safest number to trust.
Do you need new pads after resurfacing rotors? Not always, but new or freshly serviced pads often help the rotor and pad surfaces bed in evenly. Whatever pads you use, follow a proper bedding procedure so the transfer layer forms smoothly and the brakes settle in without noise.
Frequently Asked Questions
How do you know when brake rotors need replacing instead of resurfacing?
If the rotor is below minimum thickness, too close to discard thickness, deeply scored, heat damaged, or still causing runout issues after proper setup, replacement is usually the better option.
How do you measure brake rotor thickness correctly at home?
Use a rotor micrometer and measure at several points around the braking surface, keeping clear of any outer lip. Compare the lowest reading with the manufacturer specification, since that is the safest number to trust.
Do you need new pads after resurfacing rotors?
Not always, but new or freshly serviced pads often help the rotor and pad surfaces bed in evenly. Whatever pads you use, follow a proper bedding procedure so the transfer layer forms smoothly and the brakes settle in without noise.