How to Replace Brake Pads: DIY Steps, Tips, and Torque
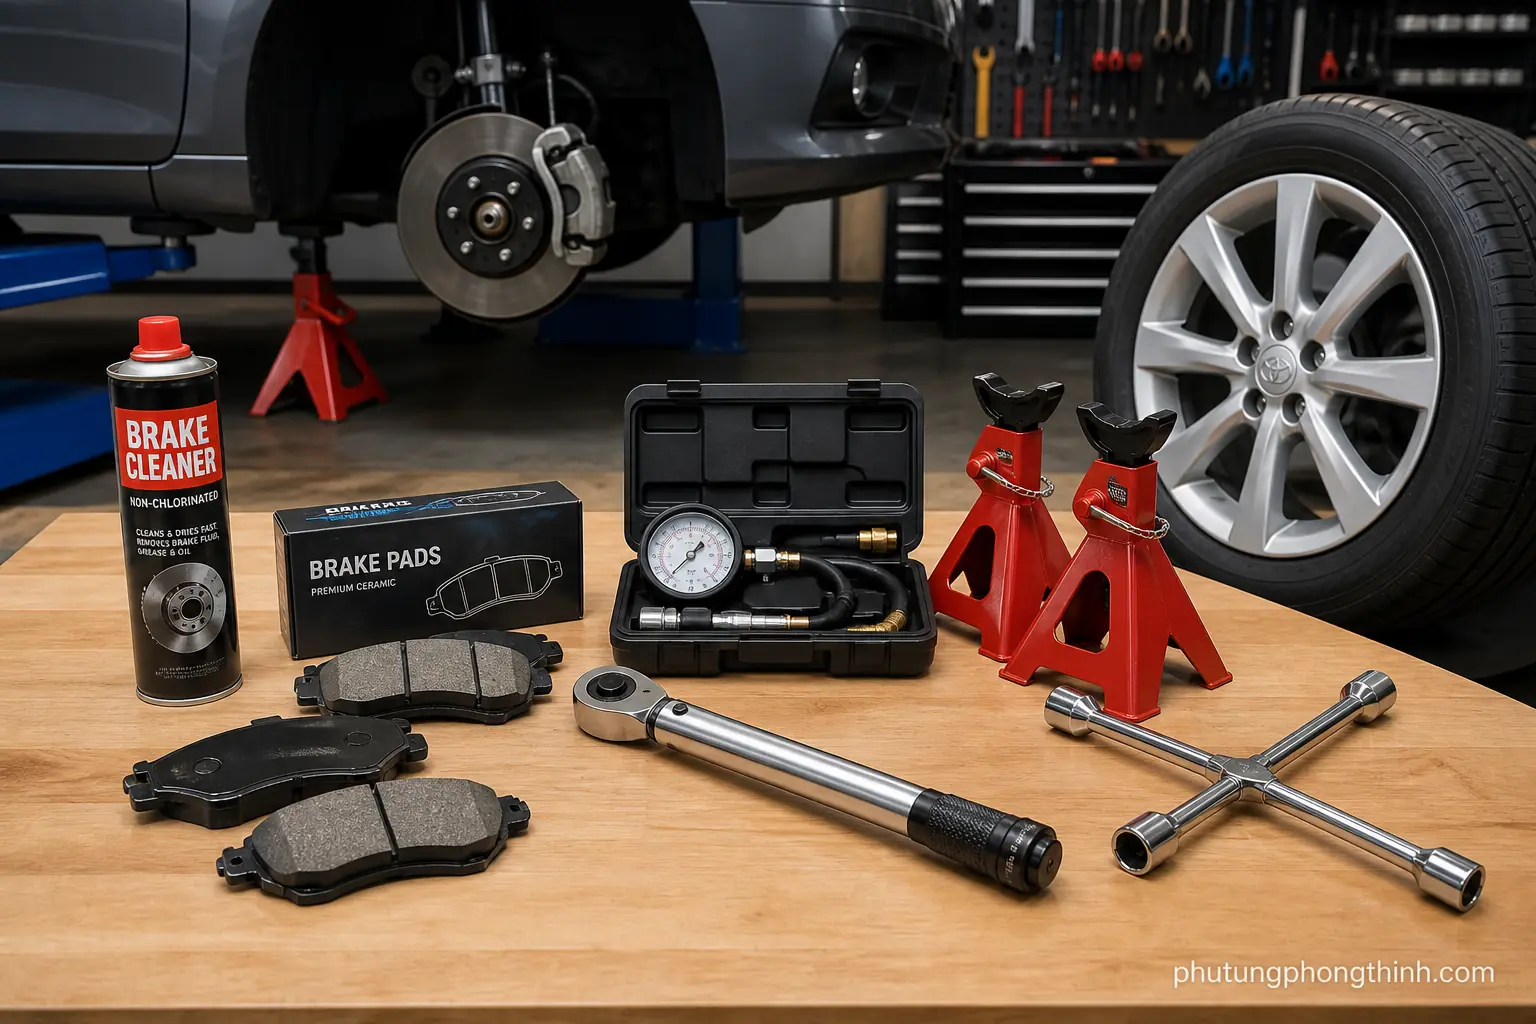
How to replace brake pads safely: tools, parts, and prep
If you're learning how to replace brake pads, start by understanding the job before a single bolt comes off. This guide focuses on disc brakes with a floating caliper setup, where the pads, caliper, and bracket all need to work together smoothly. In most cases, you should service axle pairs together so braking stays balanced side to side, and you should inspect the rotors and hardware before reassembly if wear, scoring, or corrosion is visible.
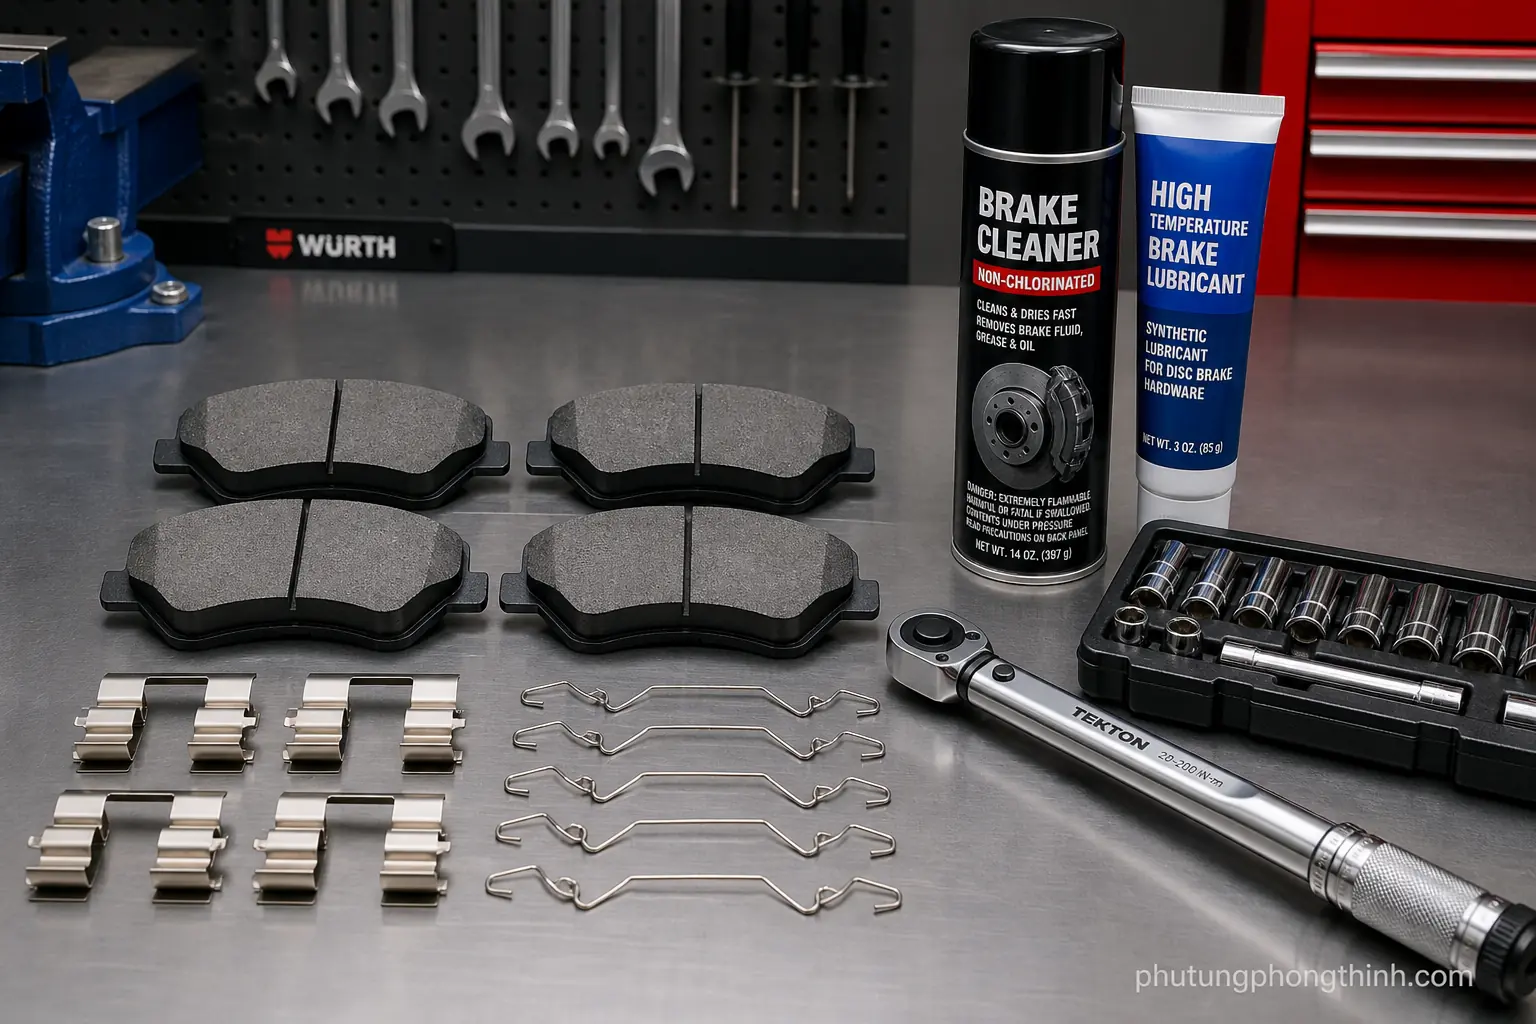
Have the right tools and supplies ready before you begin: jack stands, wheel chocks, a lug wrench, basic hand tools, a piston compression tool or suitable retraction method, high-temperature brake caliper lubricant, brake cleaner, replacement pads, new hardware if needed, and a torque wrench. Being prepared makes the brake pad replacement process safer and much less frustrating.
Work on a level surface and secure the vehicle properly before lifting it. Check the brake fluid reservoir level before pushing the pistons back, because fluid can rise as the caliper is compressed. If the vehicle has an electronic parking brake, review the service mode procedure first. And before disassembly, confirm the pads, hardware, and any related parts fit the vehicle exactly.
- Jack stands, wheel chocks, lug wrench, and basic hand tools
- Piston compression tool or suitable retraction method
- High-temperature brake caliper lubricant and brake cleaner
- Replacement pads, new hardware if needed, and a torque wrench
How to replace brake pads step by step
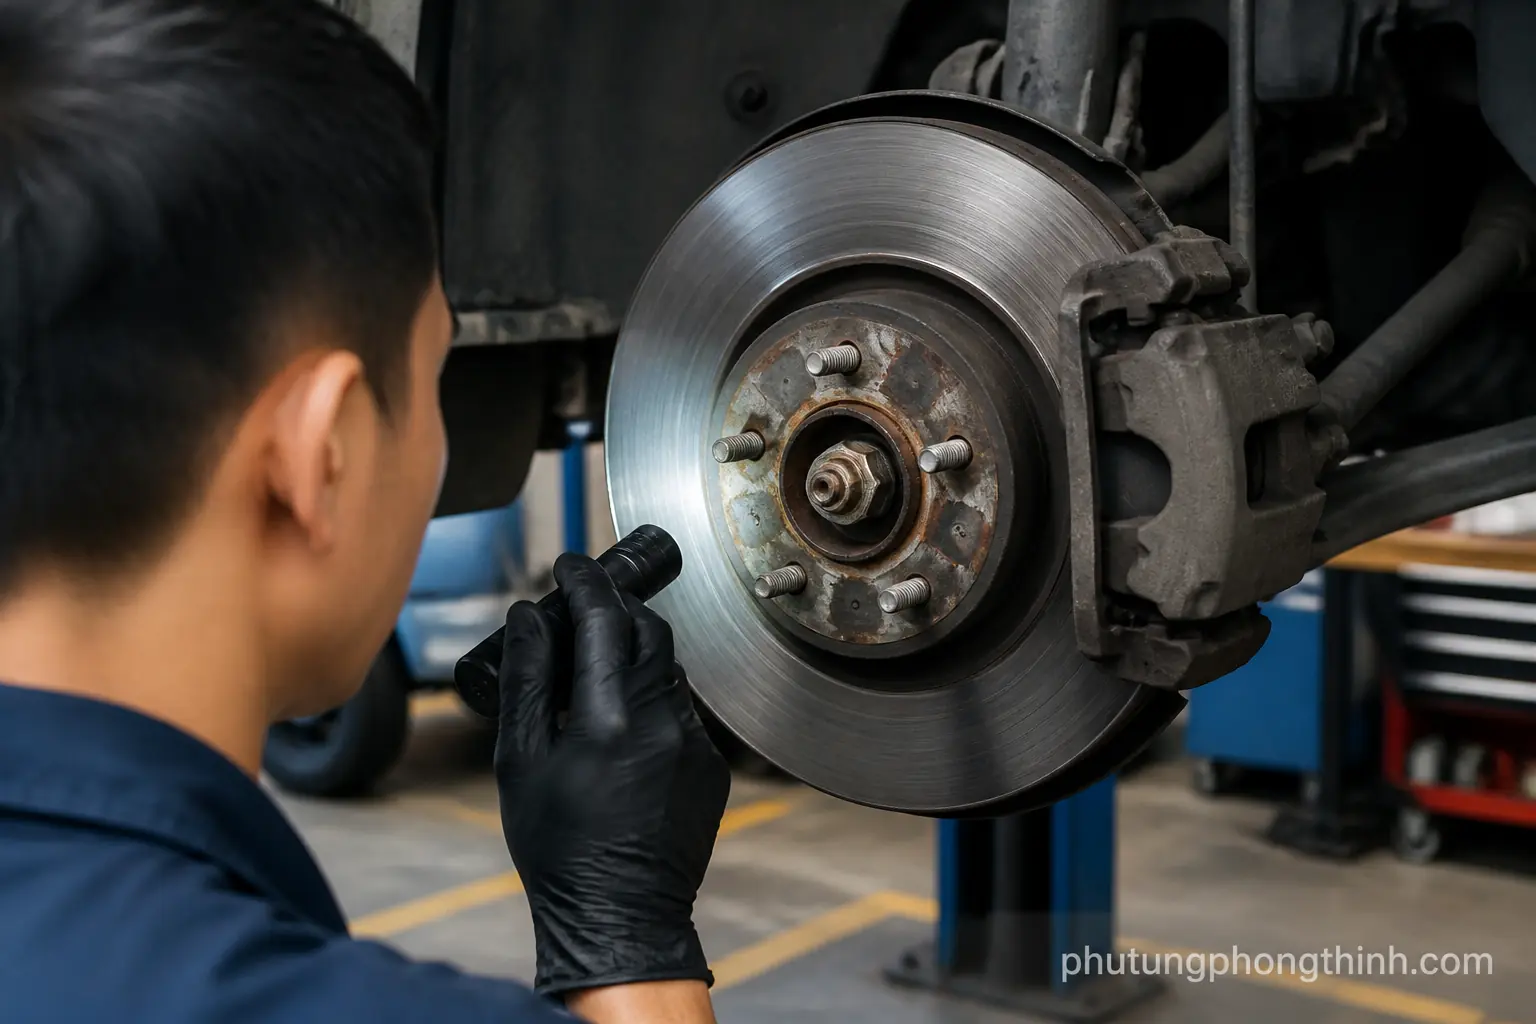
Begin by loosening the lug nuts, raising the vehicle, and removing the wheel. Then remove the guide pin bolts and support the caliper so the brake hose is not stretched or twisted. With the caliper out of the way, inspect the caliper bracket, abutment clips, and pad contact points, and compare the inner and outer pad wear indicators while everything is apart.
Clean the slide points and apply a thin layer of brake-safe grease where the pads and hardware contact the bracket. Install the new pads and anti-rattle hardware in the correct orientation, then compress the piston fully before refitting the caliper. Once everything is back together, reinstall the fasteners and torque the bolts to specification so the brake pad installation stays secure and quiet.
After reassembly, reinstall the wheel and tighten the lug nuts in a star pattern. Pump the brake pedal until it feels firm again, then check the brake fluid level once more after piston compression. Before lowering the vehicle completely, verify the wheel spins freely and nothing drags.
- Loosen lug nuts, raise the vehicle, and remove the wheel
- Remove guide pin bolts and support the caliper without stressing the hose
- Inspect the caliper bracket, abutment clips, and pad contact points
- Compare inner and outer pad wear indicators during disassembly
- Clean and lubricate slide points with brake-safe grease
- Install new pads and anti-rattle hardware correctly
- Compress the piston fully before refitting the caliper
- Reinstall hardware and torque bolts to specification
- Reinstall wheels and torque lug nuts in a star pattern
- Pump the brake pedal until it feels firm
- Check brake fluid level again after piston compression
- Verify the wheel spins freely and nothing drags

Torque specs, hardware checks, and rotor inspection
Correct torque matters because brake fasteners do more than hold parts in place; they also affect safety, noise, and service life. Use the manufacturer torque specs for guide pin bolts and wheel lugs, and avoid overtightening, which can damage threads or distort components. After installation, look for uneven pad seating, since a pad that does not sit squarely can create noise or pull.
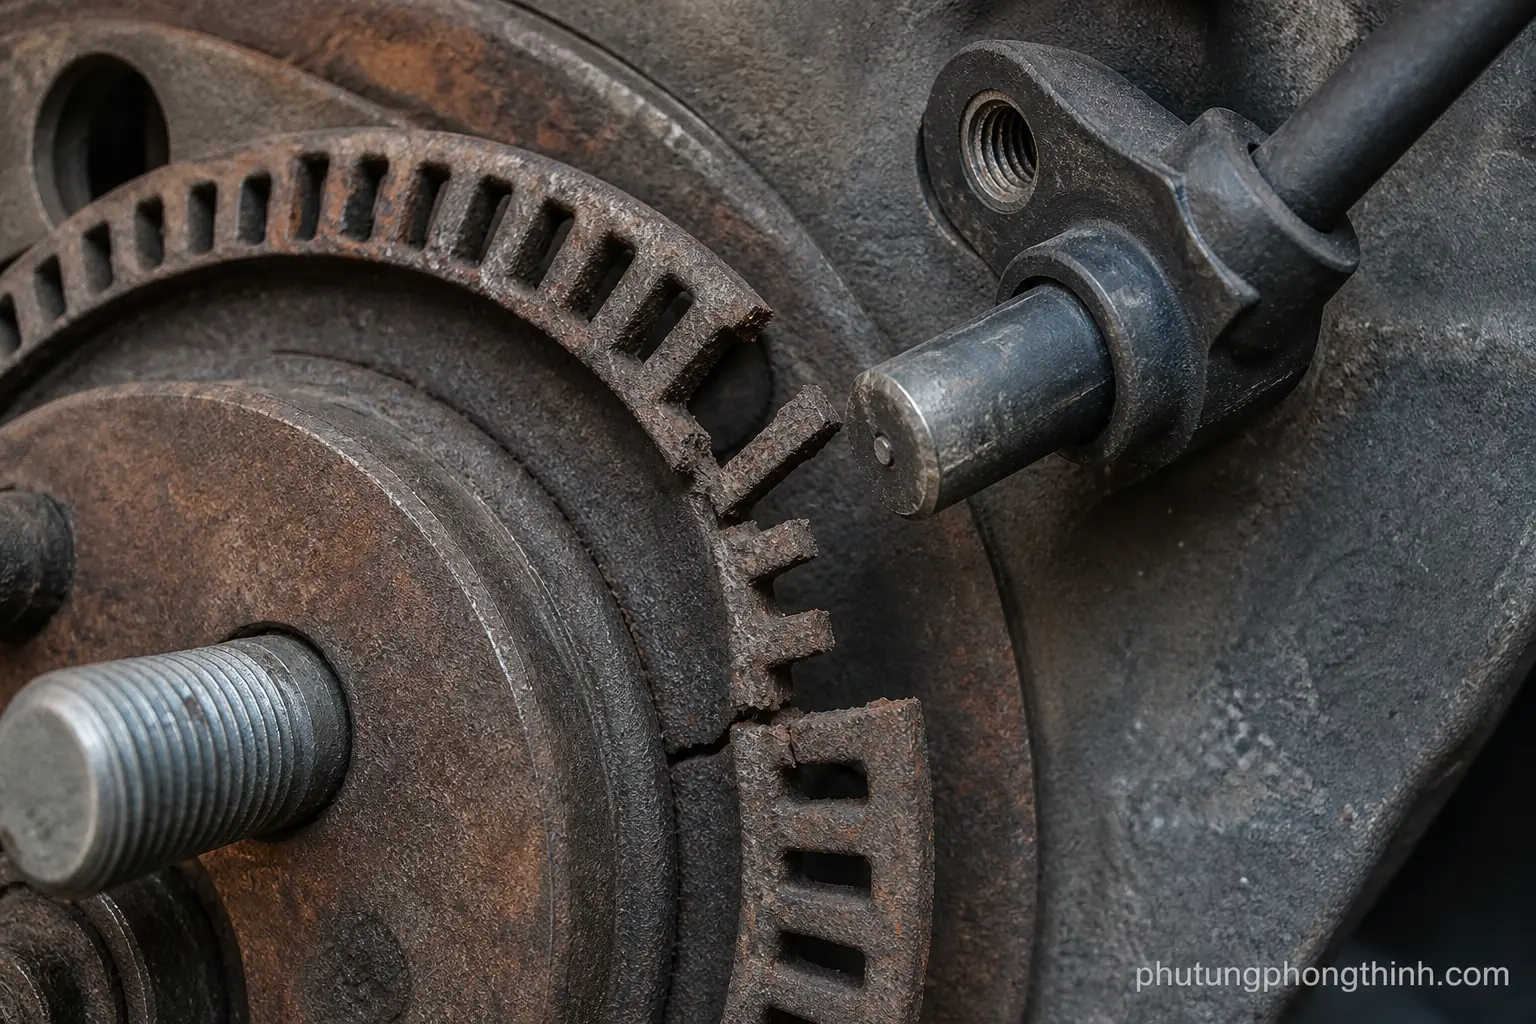
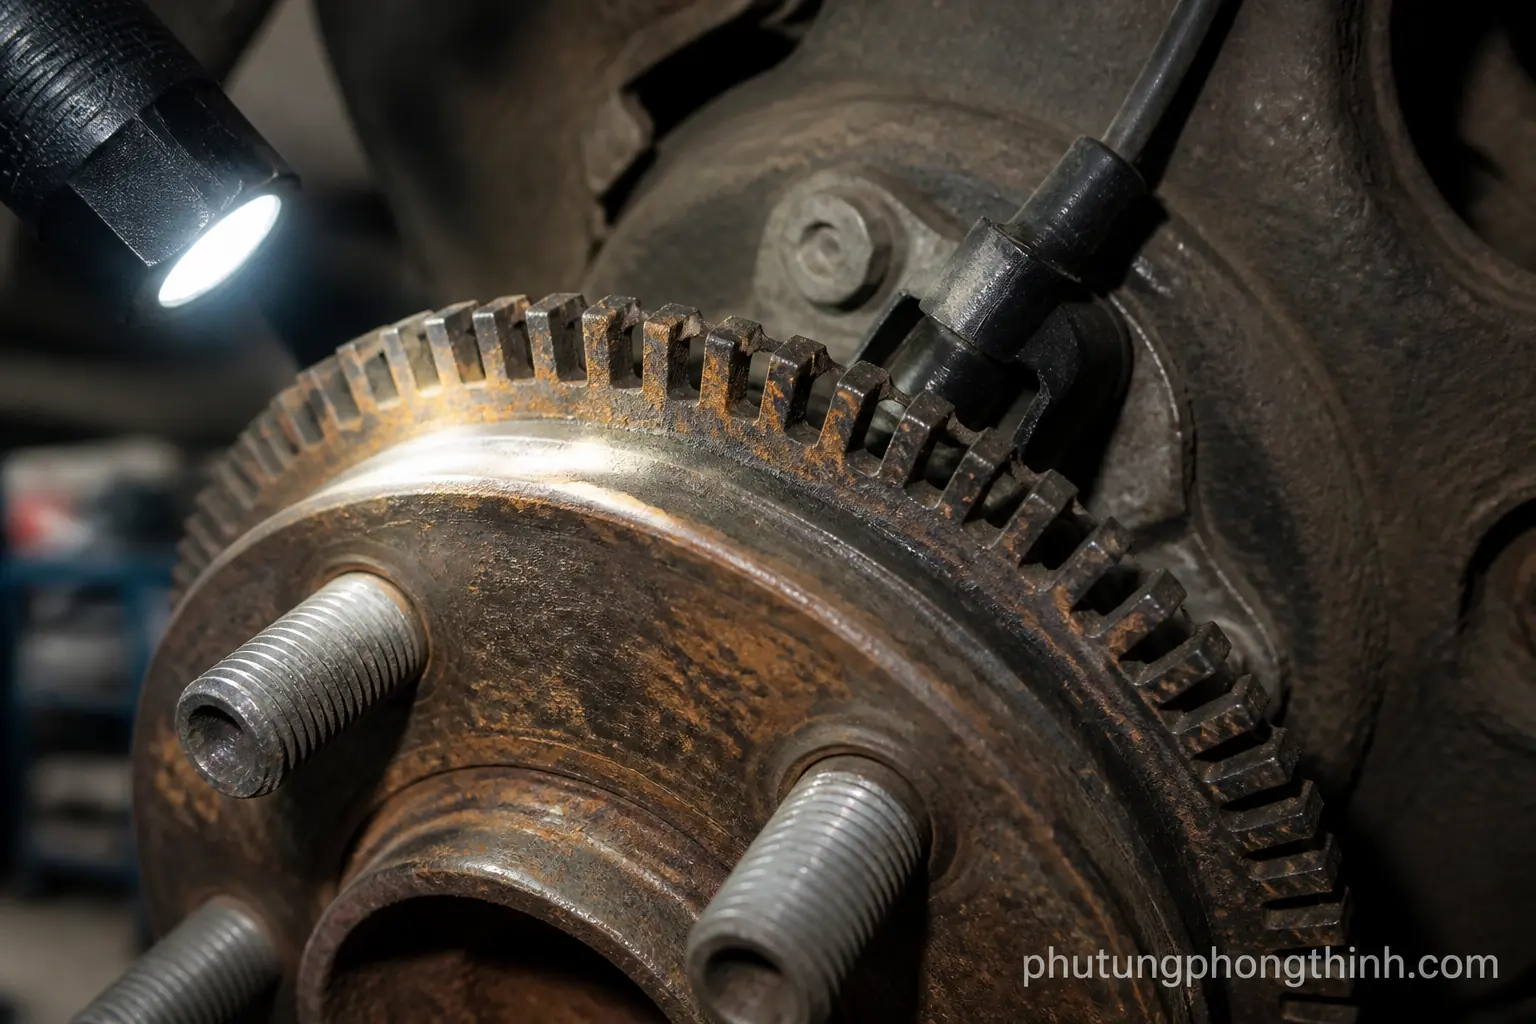
Some hardware should be replaced instead of reused. Worn abutment clips, anti-rattle hardware, and damaged pins are common reasons for poor brake feel or squeal. Inspect for torn boots, sticky slide pins, and corrosion on the bracket surfaces. In some cases, a careful cleanup of the caliper bracket is enough; in others, the wear is severe enough that replacement makes more sense.
Rotor condition also matters when you decide how far a brake service should go. Measure rotor thickness and look for scoring, cracking, or heat spots before putting the job back together. This is the right moment for how to inspect brake rotors, because not every pad change should stop at the pads. If the rotors are worn beyond service limits, the repair may turn into how to change brake pads and rotors at the same time.
- Use manufacturer torque specs for guide pin bolts and wheel lugs
- Avoid overtightening that can damage threads or calipers
- Replace worn abutment clips, anti-rattle hardware, and damaged pins
- Look for torn boots, sticky slide pins, or corroded bracket surfaces
- Measure rotor thickness and look for scoring, cracking, or heat spots
- Connect pad replacement with how to inspect brake rotors
- Note that some jobs may become how to change brake pads and rotors

After the brake job: bedding, test drive, and troubleshooting
New pads need time to settle into service, so follow a brake pad bedding procedure after installation. Start with a careful test drive and make a few gentle stops first before asking for harder braking. A faint smell or light noise during the first few stops can be normal, but it should fade as the parts seat properly.
If the pedal feels soft, the car pulls to one side, or you hear grinding, go back and recheck the installation. Those symptoms can point to brake pad wear symptoms, but they can also reveal a missed step during assembly. If the problem persists, the issue may be deeper and require brake caliper replacement or bleeding brakes before the system will behave correctly.
Finish with a final checklist. Recheck wheel torque after a short drive if the manufacturer recommends it, and confirm there are no leaks, warning lights, or abnormal heat at the wheels. If an electronic parking brake fault appears, stop and reinspect the job before driving farther.
When a pull or vibration seems unrelated to the pads themselves, it can also be worth looking at a front suspension replacement part as part of the broader diagnosis, since suspension wear can influence braking feel and road behavior.
- Follow a brake pad bedding procedure after installation
- Describe a careful test drive with gentle stops first
- Explain what normal initial pad smell or noise may look like
- Soft pedal, persistent pull, or grinding means recheck the install
- Link symptoms to brake pad wear symptoms versus installation errors
- Mention when a deeper issue may point toward brake caliper replacement or bleeding brakes
- Recheck wheel torque after a short drive if recommended
- Confirm no leaks, warning lights, or abnormal heat at the wheels
- Encourage reinspection if an electronic parking brake fault appears
Common brake pad replacement mistakes to avoid
One of the most common mistakes is mixing up axle pairs or reusing hardware that is already worn. That can lead to uneven braking, extra noise, or accelerated wear. Another problem is skipping proper cleaning and lubrication on the slide points, which can keep the caliper from floating smoothly and cause one pad to wear faster than the other.
People also run into trouble when they try to force the caliper back on without compressing the piston first. If the rotor condition was already poor and the pads were worn down severely, ignoring the rotor can leave the vehicle with new pads riding on a damaged surface. It is also easy to overfill the brake fluid reservoir before pushing the pistons back or to skip torque checks on both the caliper and wheel fasteners. For corrosion prevention around the wheel area, a wheel-well protection liner can help keep mud and debris from building up where brake components live.
- Mixing up axle pairs or reusing worn hardware
- Failing to clean and lubricate slide points correctly
- Forgetting to compress the piston before forcing the caliper on
- Ignoring rotor condition when pad wear is severe
- Overfilling the brake fluid reservoir before pushing pistons back
- Skipping torque checks on caliper and wheel fasteners
If you are unsure about any step, pause and verify the service information for your vehicle before driving.
FAQ about replacing brake pads
Frequently Asked Questions
How long do brake pads usually last?
Brake pad life varies widely based on driving style, vehicle weight, traffic, and terrain. Many pads last tens of thousands of miles, but inspection is more reliable than mileage alone. Check thickness regularly and replace pads when they are near the wear limit or when symptoms like noise or reduced braking appear.
Should brake pads always be replaced in pairs?
Yes, pads should be replaced on both sides of the same axle together. Replacing only one side can create uneven braking and inconsistent wear. Front and rear brake pads are separate axle pairs, so service each axle as a matched set.
When do rotors need to be replaced too?
Rotors should be replaced if they are below minimum thickness, cracked, heavily scored, or heat-damaged. If the surface is still within spec and in good condition, they may only need cleaning or resurfacing depending on the vehicle and service method. Always inspect rotors before installing new pads.
Is DIY brake pad replacement safe for beginners?
It can be safe for a careful beginner who has the right tools, a level workspace, and the vehicle-specific service information. The key risks are improper support, incorrect torque, brake hose damage, and missing a step during reassembly. If anything feels unclear, stop and get professional help before driving.
What is brake pad bedding and why does it matter?
Brake pad bedding is the controlled break-in process that helps the pad material transfer evenly onto the rotor surface. It improves initial performance, reduces noise, and can help prevent uneven deposits. Follow the pad manufacturer or vehicle service procedure after installation.