How to Replace Brake Pad Hardware: DIY Guide and Tips
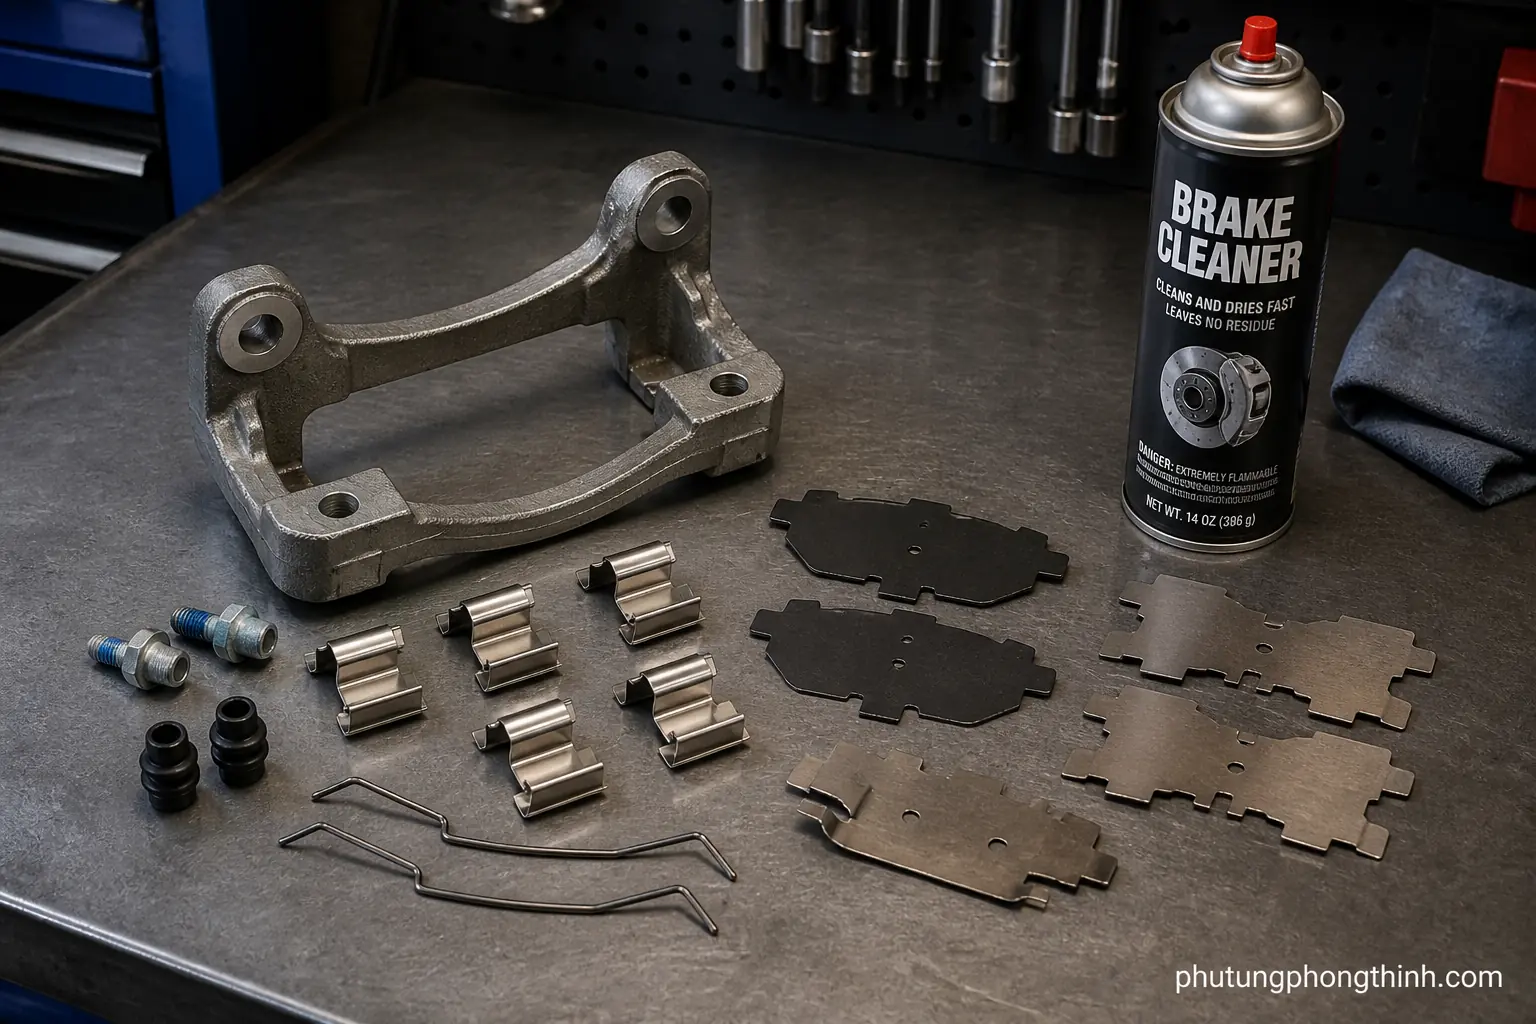
How to replace brake pad hardware: what it is and when to do it
If you are learning how to replace brake pad hardware, start by understanding that the job is about the small parts that let your brake pads move correctly in the caliper bracket. Brake pad hardware usually includes retaining clips, anti-rattle springs, and abutment shims, and those pieces help the pads slide without excess play.
When that hardware gets rusted, bent, or packed with debris, it can cause noise, uneven pad movement, and even dragging brakes. This guide covers a safe DIY replacement process for the hardware itself, not a full brake pad replacement. You may need the same approach if you are dealing with squeaking after pad replacement, pads sticking in the caliper bracket, or uneven wear, but heavily corroded brackets or damaged slide pins can mean the repair has to go further. Rear brake hardware replacement follows the same basic ideas, though the exact layout can vary by vehicle.
Tools, parts, and safety prep before you begin
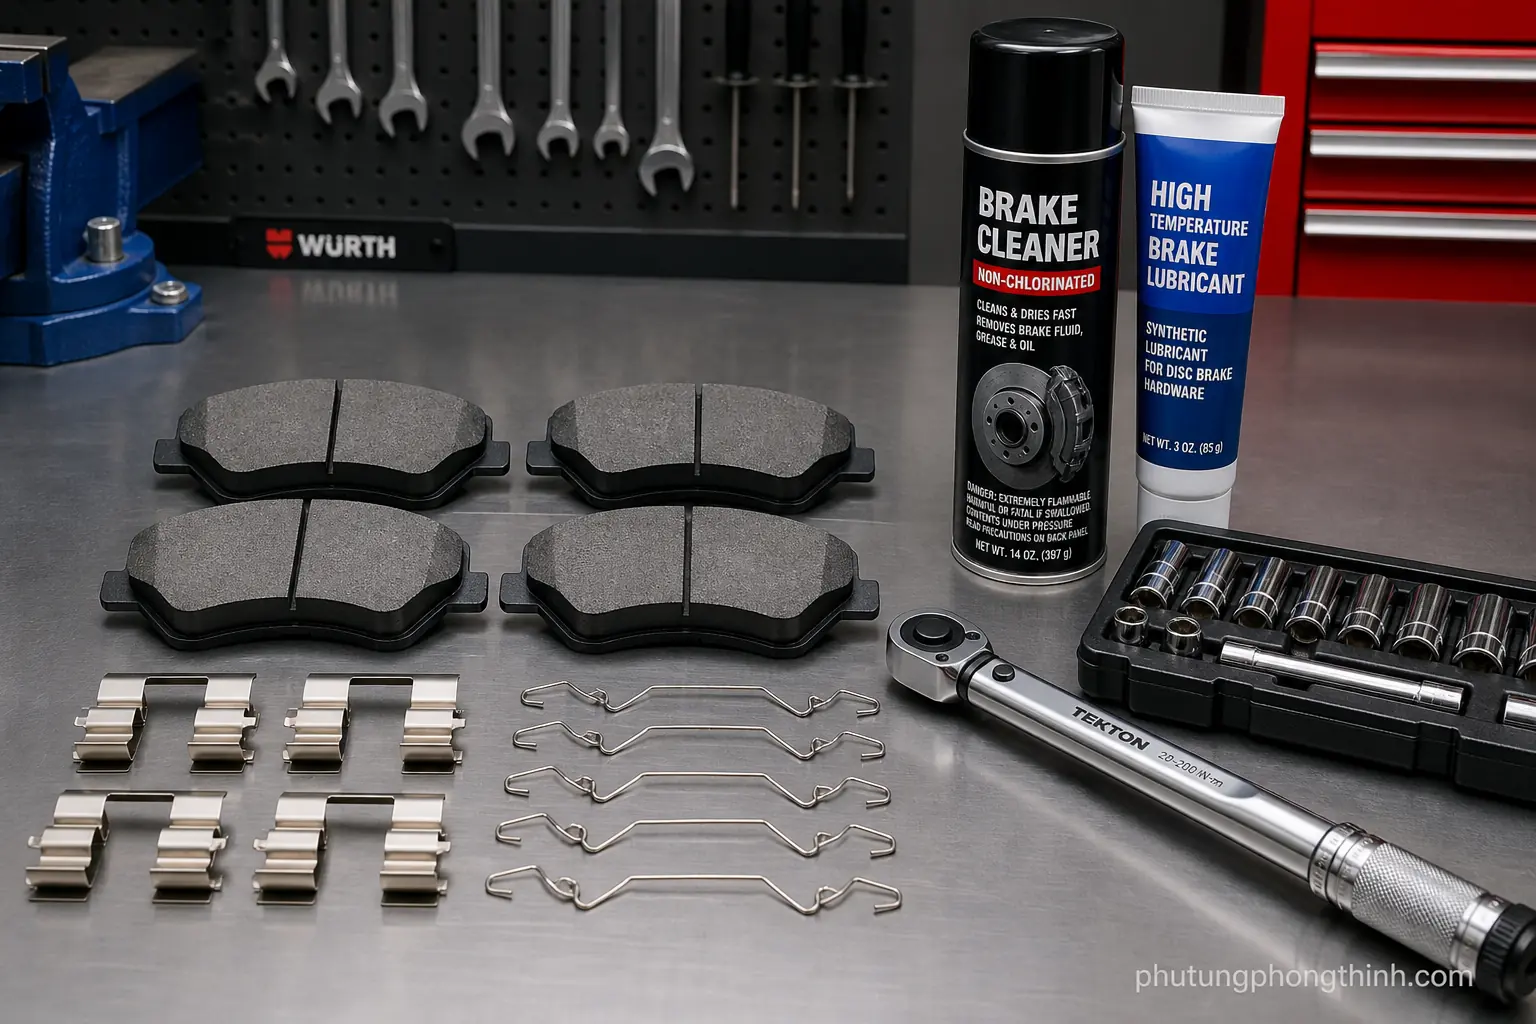
Before you start, gather a brake hardware kit, brake cleaner, brake lubricant, basic hand tools, and a bungee cord so the caliper can be supported safely while you work. Secure the car on level ground, lift and support it properly, and handle one corner at a time so the brake work stays organized and safe.
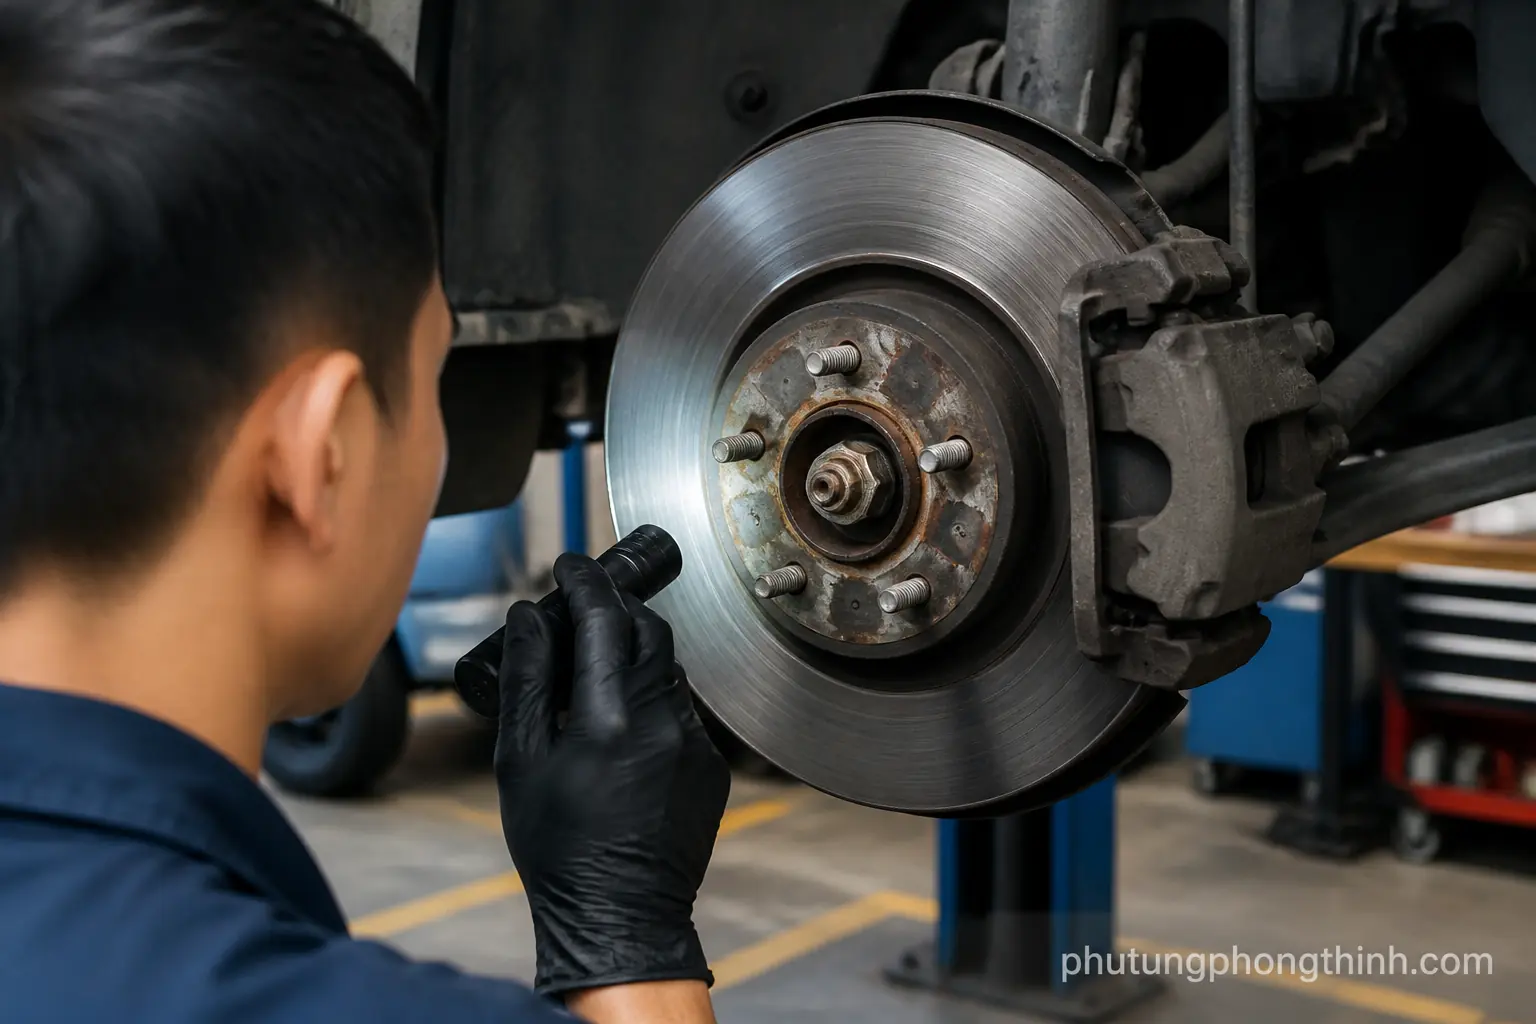
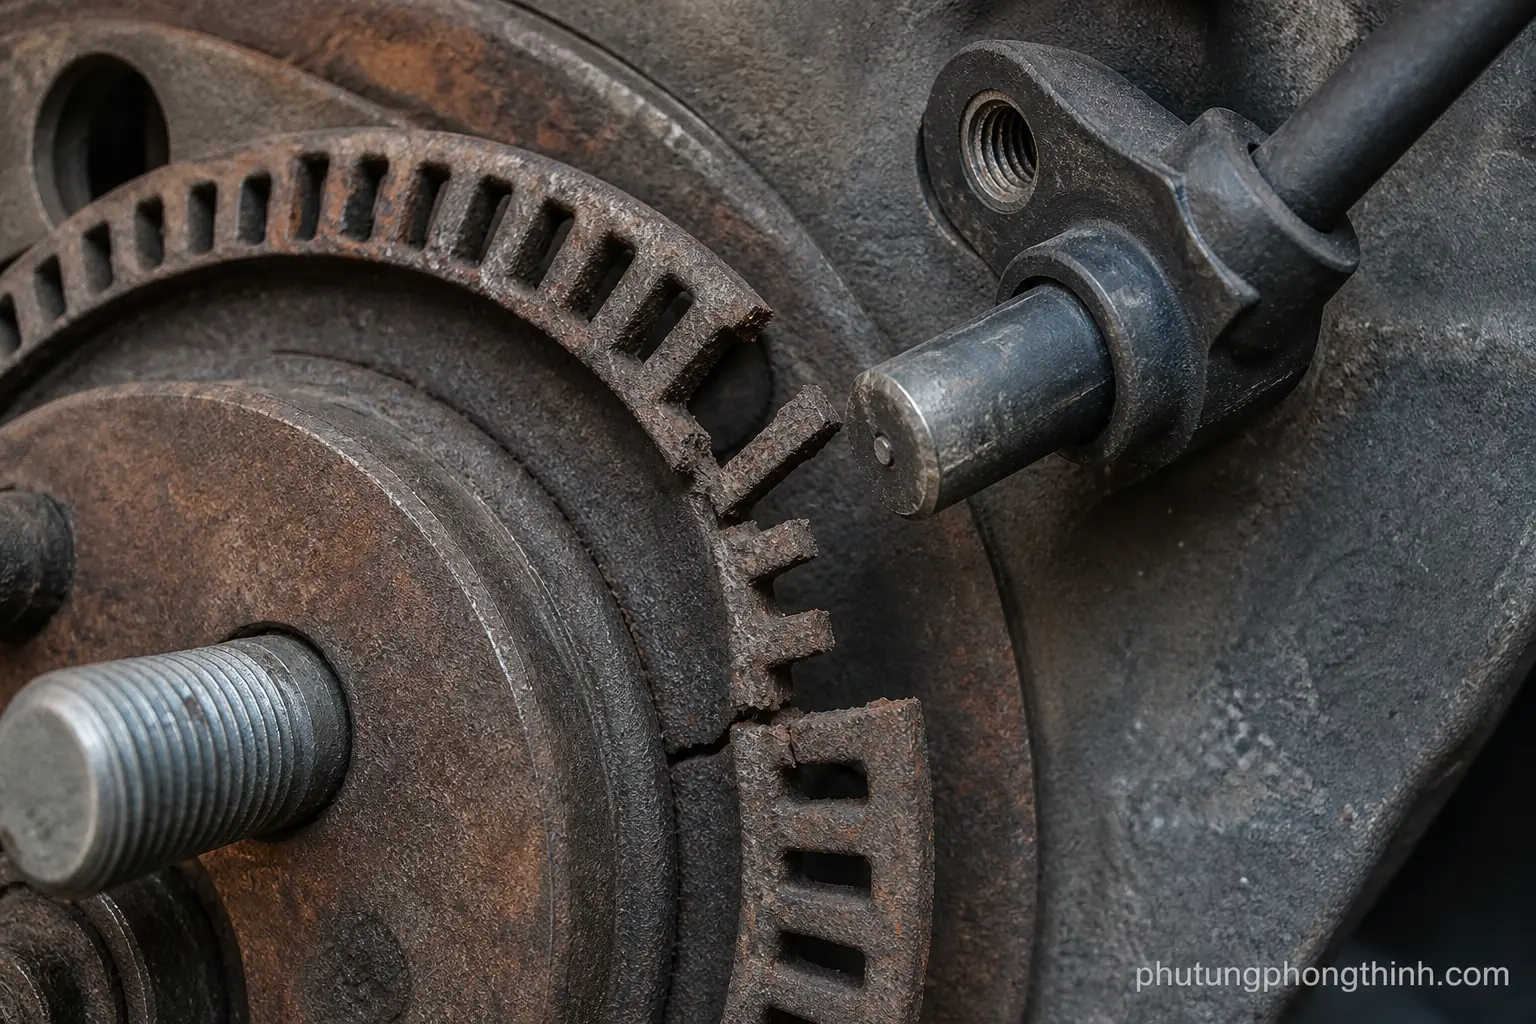
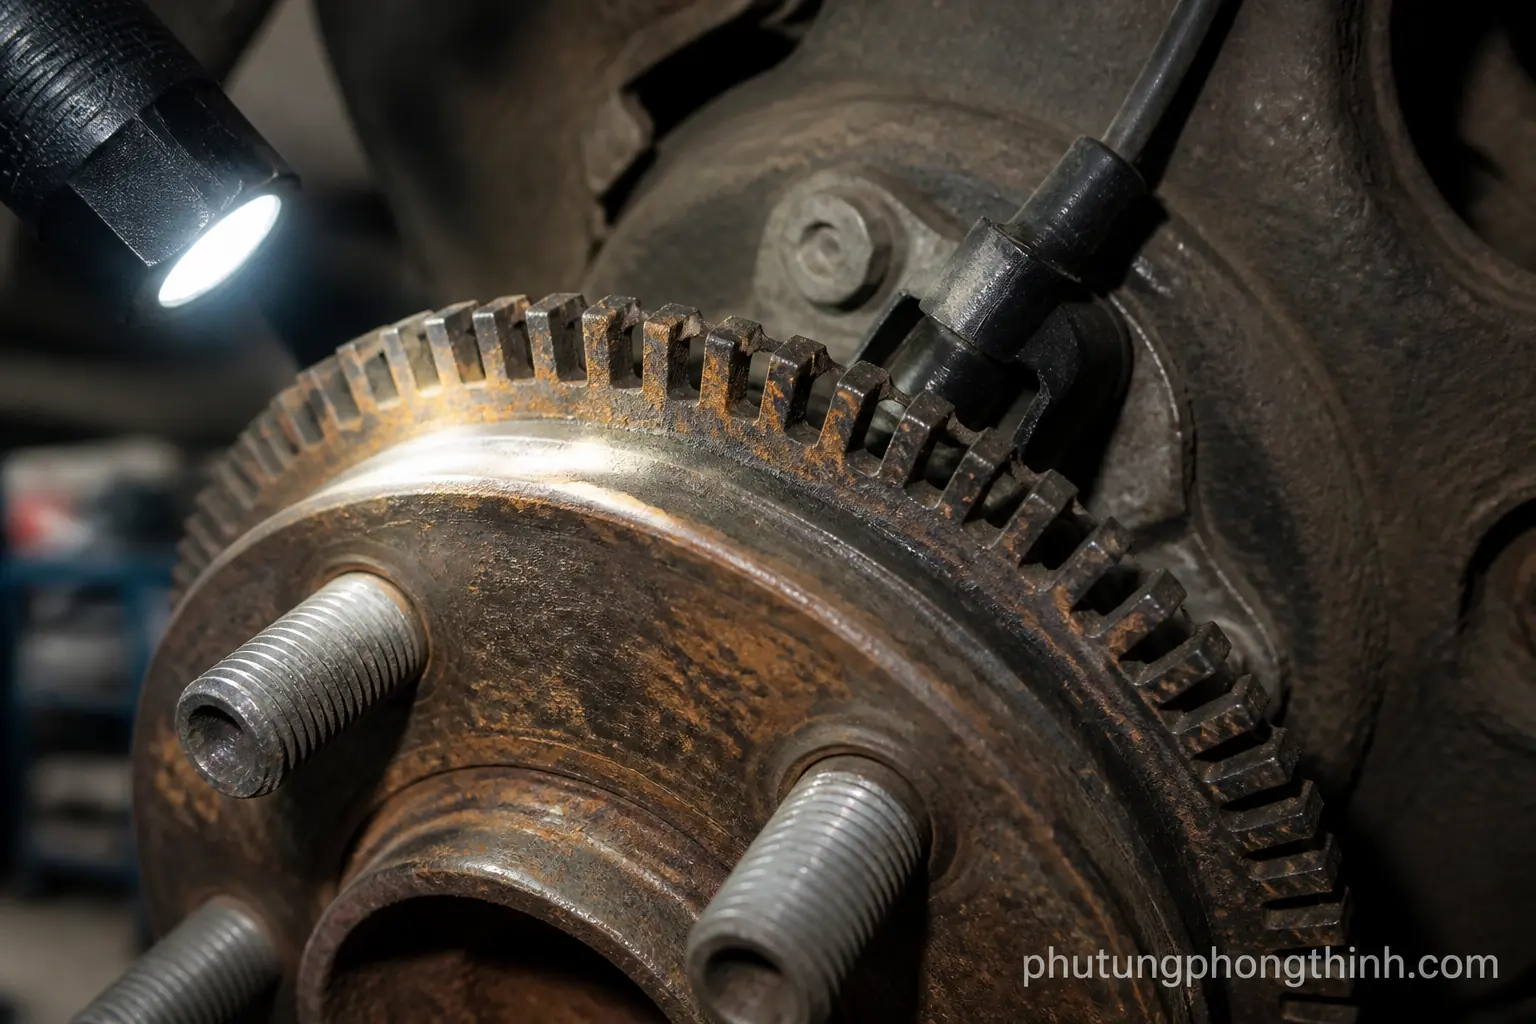
It also helps to inspect the parts you already have before installing anything new. Look at the stainless clips, abutment shims, retaining clips, and anti-rattle springs for rust, distortion, or wear, and check the slide pins and pad contact points for dried grease or sticking. If the caliper piston is seized or the caliper bracket is damaged, the repair plan changes and new hardware alone will not solve the problem.
- Brake hardware kit
- Brake cleaner
- Brake lubricant
- Basic hand tools
- Bungee cord for hanging the caliper
Step-by-step process to replace brake pad hardware

Begin by removing the wheel, caliper, and old pads so the bracket hardware is fully exposed. Clean the caliper bracket thoroughly with brake cleaner, then remove rust, dust, and debris from the pad lands so the new clips can sit flat and move correctly.
Install the new clips and shims in the correct orientation, making sure they seat fully in the bracket. Apply a thin layer of brake lubricant only where the pads contact the hardware and where the slide pins move, then reinstall the pads and caliper and verify that everything moves freely without binding.
- Remove the wheel, caliper, and old pads
- Clean the bracket and pad lands
- Install clips and shims correctly
- Lubricate only the proper contact points
- Reinstall and check for smooth movement
After assembly, make sure the pads glide smoothly in the bracket without excessive play. Confirm that the slide pins move evenly and the caliper is centered, then torque the fasteners to specification and repeat the process on the other side if needed.
How to clean a caliper bracket and prevent brake noise

Cleaning the caliper bracket is a big part of getting brake pad hardware replacement right because the new parts can only work well on a clean surface. Scrape corrosion from the bracket pad lands, then wipe away dust and old grease so the hardware can fit tightly and allow controlled movement. Clean contact points matter for long-term noise control, and deep rust or uneven bracket wear can mean replacement is smarter than reuse.
When you lubricate the assembly, use brake lubricant sparingly on the pad ears and the hardware contact areas only. Avoid getting grease on friction surfaces, pads, or rotors, because contamination can reduce braking performance and create new noise. Done correctly, the right amount of lubrication helps the brakes operate more quietly and reduces the chance of dragging.
Common mistakes, troubleshooting, and when to replace more parts
Most comeback repairs come from small setup mistakes. Misinstalled clips, dirty bracket seats, or bent hardware can make the brakes drag, while missing lubricant or worn shims often leads to squeaks after pad replacement. If the slide pins are seized or the caliper piston is sticking, the symptoms can look like bad hardware even when the problem is deeper.
That is the point where the repair should expand. Replace the caliper if the piston does not retract properly or if leaks are present, and remember that rear brake hardware replacement may follow different procedures on some vehicles. It is also smart to inspect the opposite side so both sides wear evenly and the brake feel stays balanced; if you are already doing broader maintenance, this is a good time to think about front suspension service as well.
- Check for misinstalled clips or bent hardware
- Look for dirty bracket seats and worn shims
- Inspect slide pins and caliper piston movement
- Replace the caliper if it leaks or sticks
- Inspect the opposite side for even wear
Sometimes brake noise is only one piece of a larger vehicle feel issue, and careful inspection can help you avoid replacing parts twice.
Final checks, road test, and maintenance tips
Before moving the car, pump the brake pedal to seat the pads and the piston. Then take a short test drive and check for normal pedal feel, no pulling, and no unusual noise. After the drive, reinspect for loose parts, fluid leaks, or heat buildup so you know the repair is holding up correctly.
For long-term results, recheck brake condition during future pad changes or tire rotations, keep the caliper bracket clean, and service the slide pins at the recommended intervals. Quality hardware and careful cleaning go a long way toward preventing repeat noise issues, and if you are planning broader upkeep, rear ride control parts can also be part of a sensible maintenance pass.
Good brake service is often about consistency: clean parts, correct lubrication, and a final check after the first drive.
For other maintenance needs, you can also review rear ride control parts as part of a larger vehicle inspection.
Frequently Asked Questions
How do I know if I need brake pad hardware replacement or just a cleaning?
If the clips, springs, or shims are still straight and not badly rusted, a thorough cleaning may be enough. If the hardware is bent, corroded, loose, or causing pad sticking, replacement is the better choice.
Do I need to replace brake pad hardware every time I change brake pads?
Not always, but it is often smart to replace it when the parts show rust, wear, or loss of spring tension. Fresh hardware helps the pads move correctly and can reduce noise and dragging.
Can bad brake hardware cause squeaking after pad replacement?
Yes. Worn or misinstalled clips, dirty contact points, or missing lubricant can all create squeaks even when the new pads are fine. The hardware and bracket condition matter as much as the pads themselves.
Should I replace slide pins at the same time as brake pad hardware?
Only if they are seized, badly corroded, or damaged. If the slide pins move smoothly and are in good condition, cleaning and proper lubrication may be enough.
Is rear brake hardware replacement different from front brake hardware replacement?
The basic steps are similar, but the layout and parking brake components can make the rear side different on some vehicles. Always follow the correct procedure for the specific brake design.