How to Replace Brake Booster Check Valve: Easy DIY Guide
How to Replace Brake Booster Check Valve: What It Does and Why It Fails
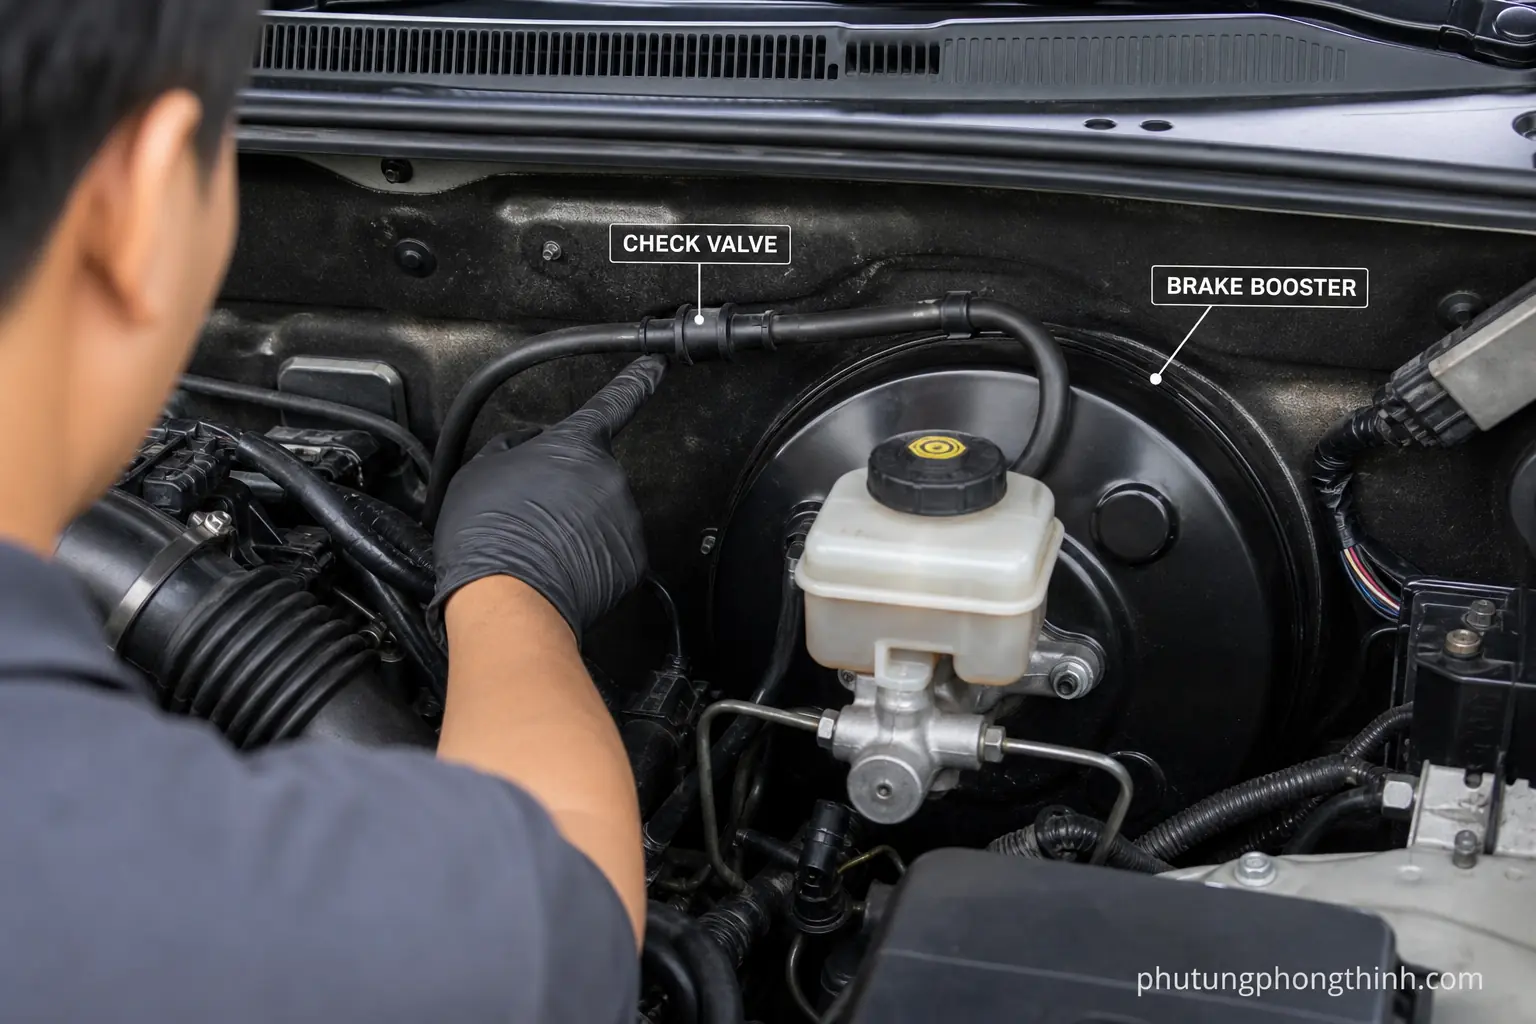
If you are wondering how to replace brake booster check valve, it helps to first understand what the part actually does. The check valve is a one-way valve in the vacuum system, and its job is to let vacuum into the brake booster while keeping stored vacuum from bleeding back out when the engine is off.
When it fails, brake assist can drop off quickly. That often shows up as a hard brake pedal, a hissing noise, or weak vacuum assist after shutdown or during repeated pedal presses. The good news is that the replacement is usually straightforward with basic hand tools, and the part is often located at the firewall near the brake booster. This guide covers diagnosis, removal, installation, and testing so you can finish the job with confidence.
Symptoms of a Bad Brake Booster Check Valve
- A hard brake pedal that takes more effort to stop the vehicle.
- A hissing noise that can point to a vacuum leak.
- Weak brake assist, especially after the engine has been shut off.
- Pedal changes after several repeated brake presses.
These symptoms can overlap with other hard brake pedal causes, so it helps to pay attention to when they happen. A failing one-way valve often shows up after the engine is off because the booster cannot hold stored vacuum, and sometimes the problem becomes obvious after a few pedal applications. That is why a quick vacuum leak diagnosis can save time before replacing parts that are still working.
Tools and Parts You’ll Need
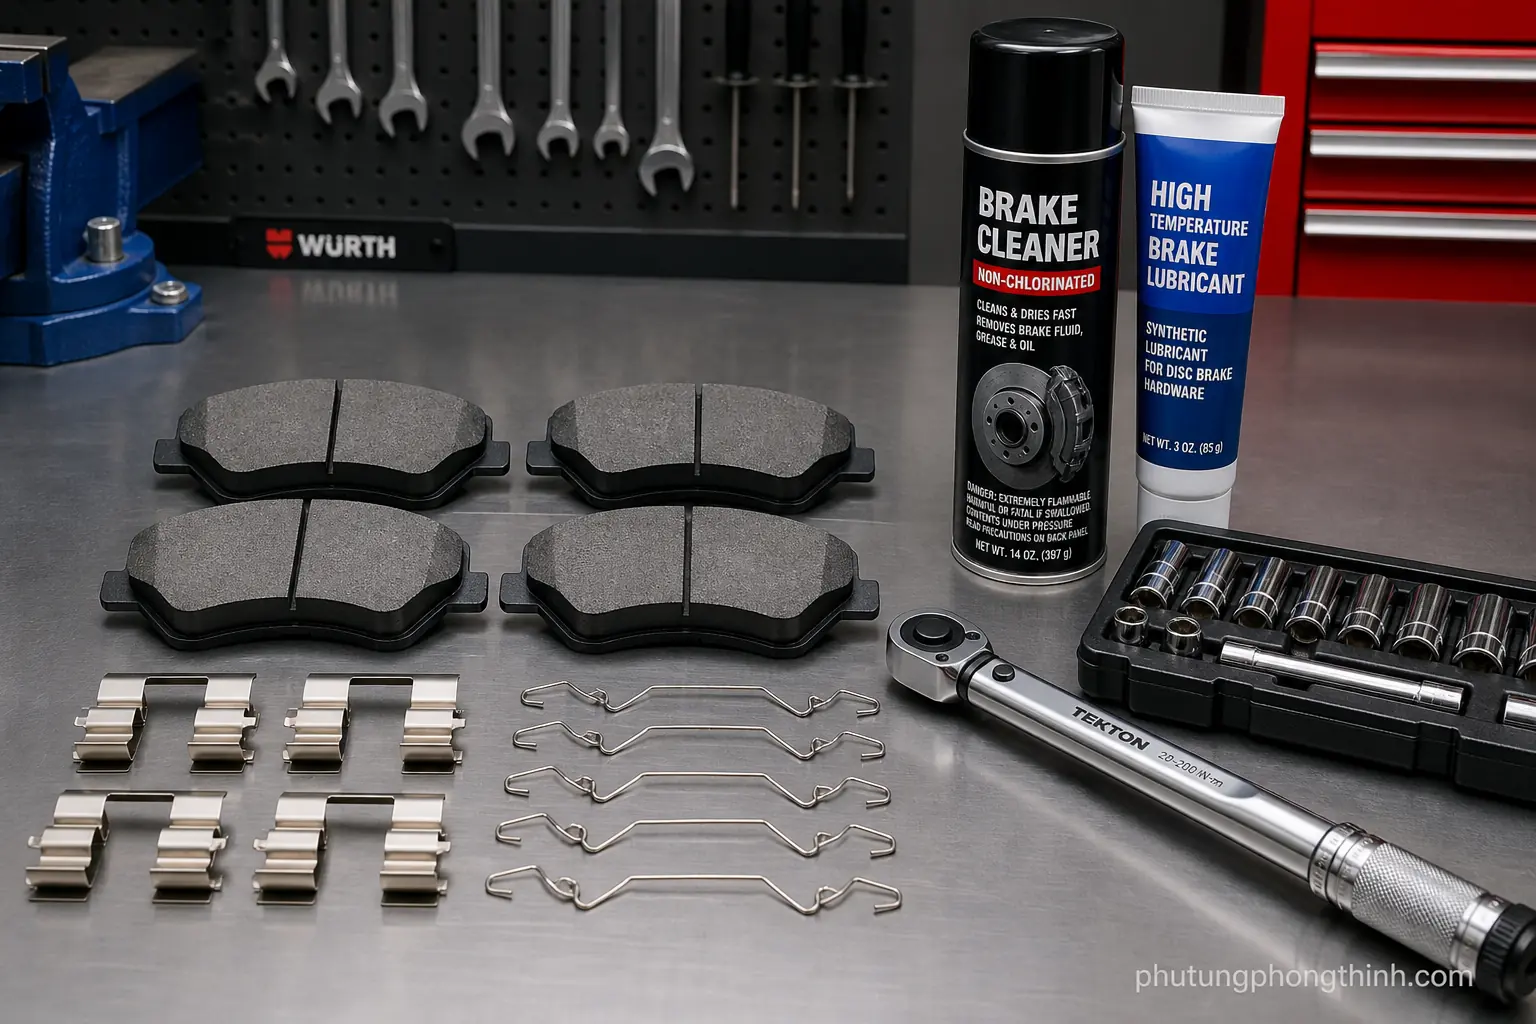
- Pliers for clamp removal or hose handling.
- A flat screwdriver for light prying if needed.
- Sockets if your vehicle uses a retainer or bracket.
- Safety gloves.
- A replacement check valve.
- A new rubber grommet, if the old one is worn or loose.
Before you start, confirm the correct part orientation and make sure the replacement fits your vehicle. A brake booster check valve replacement is much easier when the part matches the booster and vacuum hose connection properly. If you are also tracking down related maintenance items, it can help to compare exact-fit parts while you have access to the firewall area, including a matching interior trim part for the same vehicle family when needed.
How to Replace the Brake Booster Check Valve
- Disconnect the vacuum hose carefully and inspect it for cracks or soft spots.
- Remove the old check valve from the brake booster or rubber grommet at the firewall.
- Install the new valve in the correct direction so vacuum can enter but not bleed back out.
- Reattach the hose securely and make sure the fit is tight with no vacuum leak.
- If the valve is retained by a grommet, pull it free gently to avoid damaging the booster diaphragm connection.
Some valves pull straight out, while others are held in place by a grommet, so the exact motion may vary. If the hose feels brittle or the grommet is worn, replace those parts at the same time rather than forcing them back into service. The main goal is to preserve a solid seal at the booster and keep the vacuum hose from leaking around the new part.
How to Test a Brake Booster Check Valve After Installation
- Check one-way airflow or vacuum retention with a simple functional test.
- Press the brake pedal with the engine off, then start the engine and feel for assist.
- Shut the engine off and confirm the system holds stored vacuum briefly without hissing.

After the installation, brake pedal feel should change noticeably when the engine starts, which is a good sign that vacuum assist is back. The system should also hold stored vacuum for a short time after shutdown instead of bleeding down right away. If you still hear hissing noise or the pedal stays hard, recheck the valve direction, hose connections, and seal at the booster.
When to Replace the Vacuum Hose or Grommet Too
A cracked vacuum hose can mimic a bad check valve, so inspect it closely before you call the repair finished. A worn rubber grommet can also create a vacuum leak right at the booster, especially if the fit is loose or the material has hardened with age. If the hose is brittle or the grommet is no longer sealing tightly, replacing the related parts together is usually the best fix. For readers who are already comparing maintenance items by fitment, a vehicle-specific replacement part such as vehicle-specific replacement part can be a helpful reminder to match components carefully.
FAQ: Brake Booster Check Valve Replacement
Can you test a brake booster check valve without removing it?
Yes. You can do a basic check by feeling for brake assist, listening for a hissing noise, and watching whether the pedal firms up quickly after the engine is shut off. That will not diagnose every failure, but it often points you in the right direction.
Is it safe to drive with a bad brake booster check valve?
It may still be drivable, but a hard brake pedal can reduce stopping confidence and should be treated seriously. If brake assist drops suddenly or the pedal becomes very hard, have the vehicle inspected as soon as possible.
How long does the replacement usually take?
On many vehicles, the job takes less than an hour once you have the part and tools ready. More time may be needed if the hose, grommet, or access at the firewall is tight.
Do you need special tools for this repair?
Usually no. Basic hand tools, pliers, and sometimes a small screwdriver are enough for most brake booster check valve replacement jobs.
What if the pedal is still hard after replacing the valve?
Check the vacuum hose, grommet, and hose routing for leaks or cracks. If those parts are fine, the issue may be elsewhere in the vacuum system or brake booster.
Frequently Asked Questions
Can you test a brake booster check valve without removing it?
Yes. You can do a basic check by feeling for brake assist, listening for a hissing noise, and watching whether the pedal firms up quickly after the engine is shut off. That will not diagnose every failure, but it often points you in the right direction.
Is it safe to drive with a bad brake booster check valve?
It may still be drivable, but a hard brake pedal can reduce stopping confidence and should be treated seriously. If brake assist drops suddenly or the pedal becomes very hard, have the vehicle inspected as soon as possible.
How long does the replacement usually take?
On many vehicles, the job takes less than an hour once you have the part and tools ready. More time may be needed if the hose, grommet, or access at the firewall is tight.
Do you need special tools for this repair?
Usually no. Basic hand tools, pliers, and sometimes a small screwdriver are enough for most brake booster check valve replacement jobs.
What if the pedal is still hard after replacing the valve?
Check the vacuum hose, grommet, and hose routing for leaks or cracks. If those parts are fine, the issue may be elsewhere in the vacuum system or brake booster.