How to Replace a Brake Master Cylinder: 2026 DIY Guide
How to Replace a Brake Master Cylinder: What the Job Involves
If you are learning how to replace a brake master cylinder, the big idea is simple: this part creates the hydraulic pressure that lets your brakes work. When it starts to fail, you may notice a soft pedal, a pedal that sinks, or even a brake warning light. The repair usually means removing the brake lines, swapping in the new unit, bench bleeding it, and then bleeding the full brake system so no air is left behind.
Tools, Parts, and Safety Prep
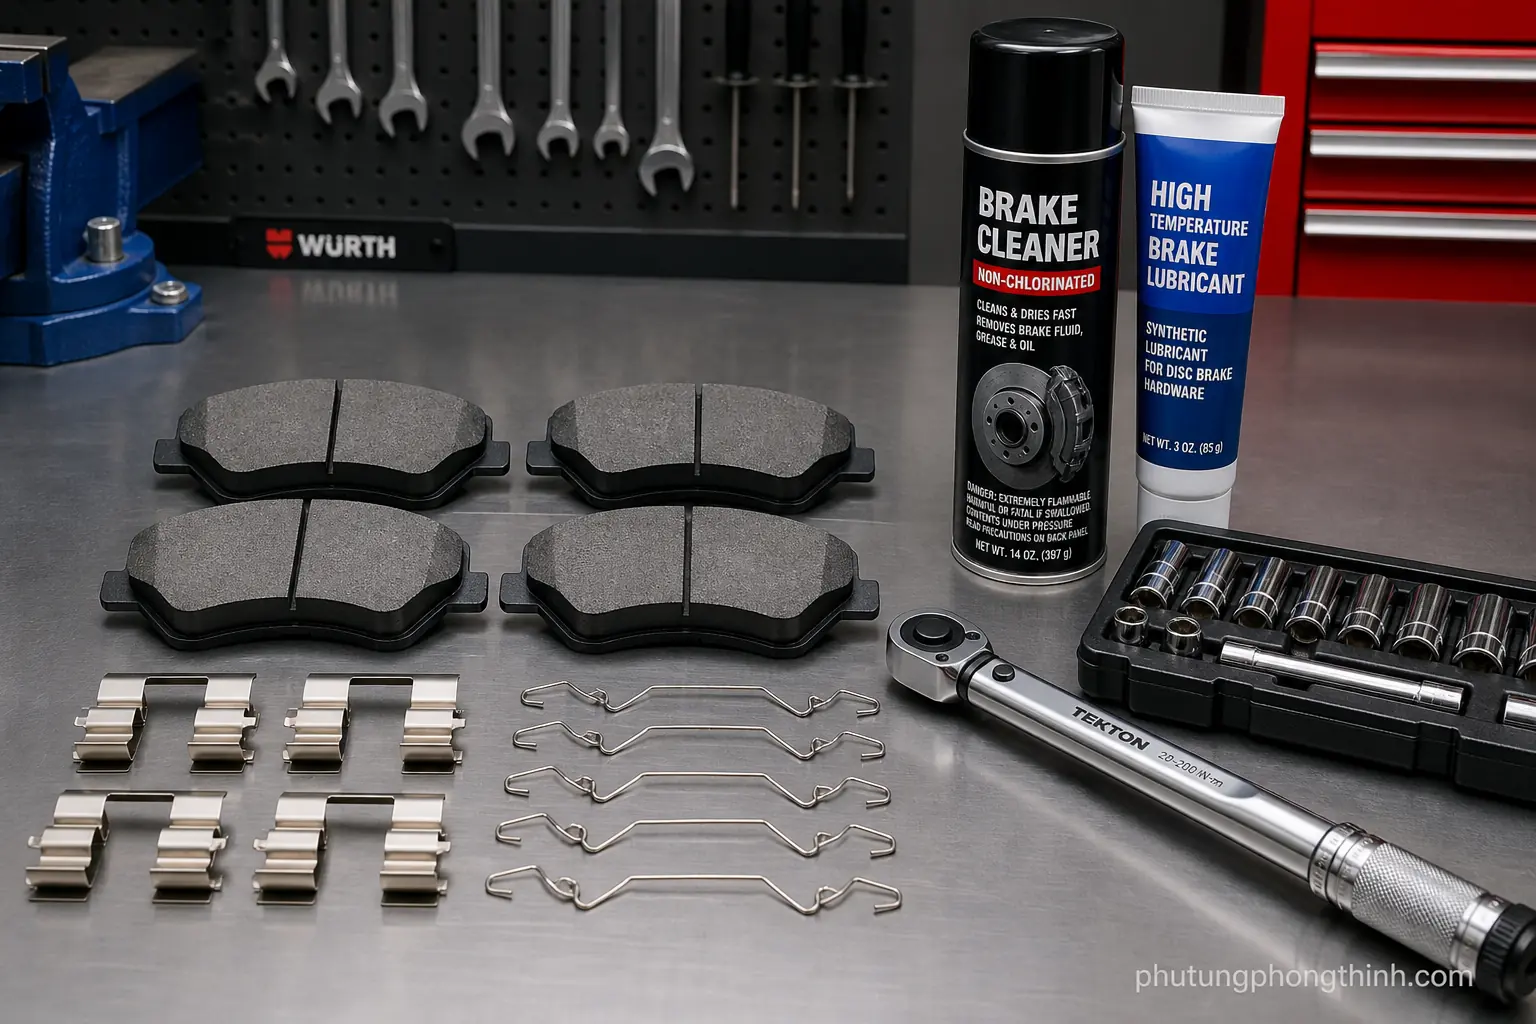
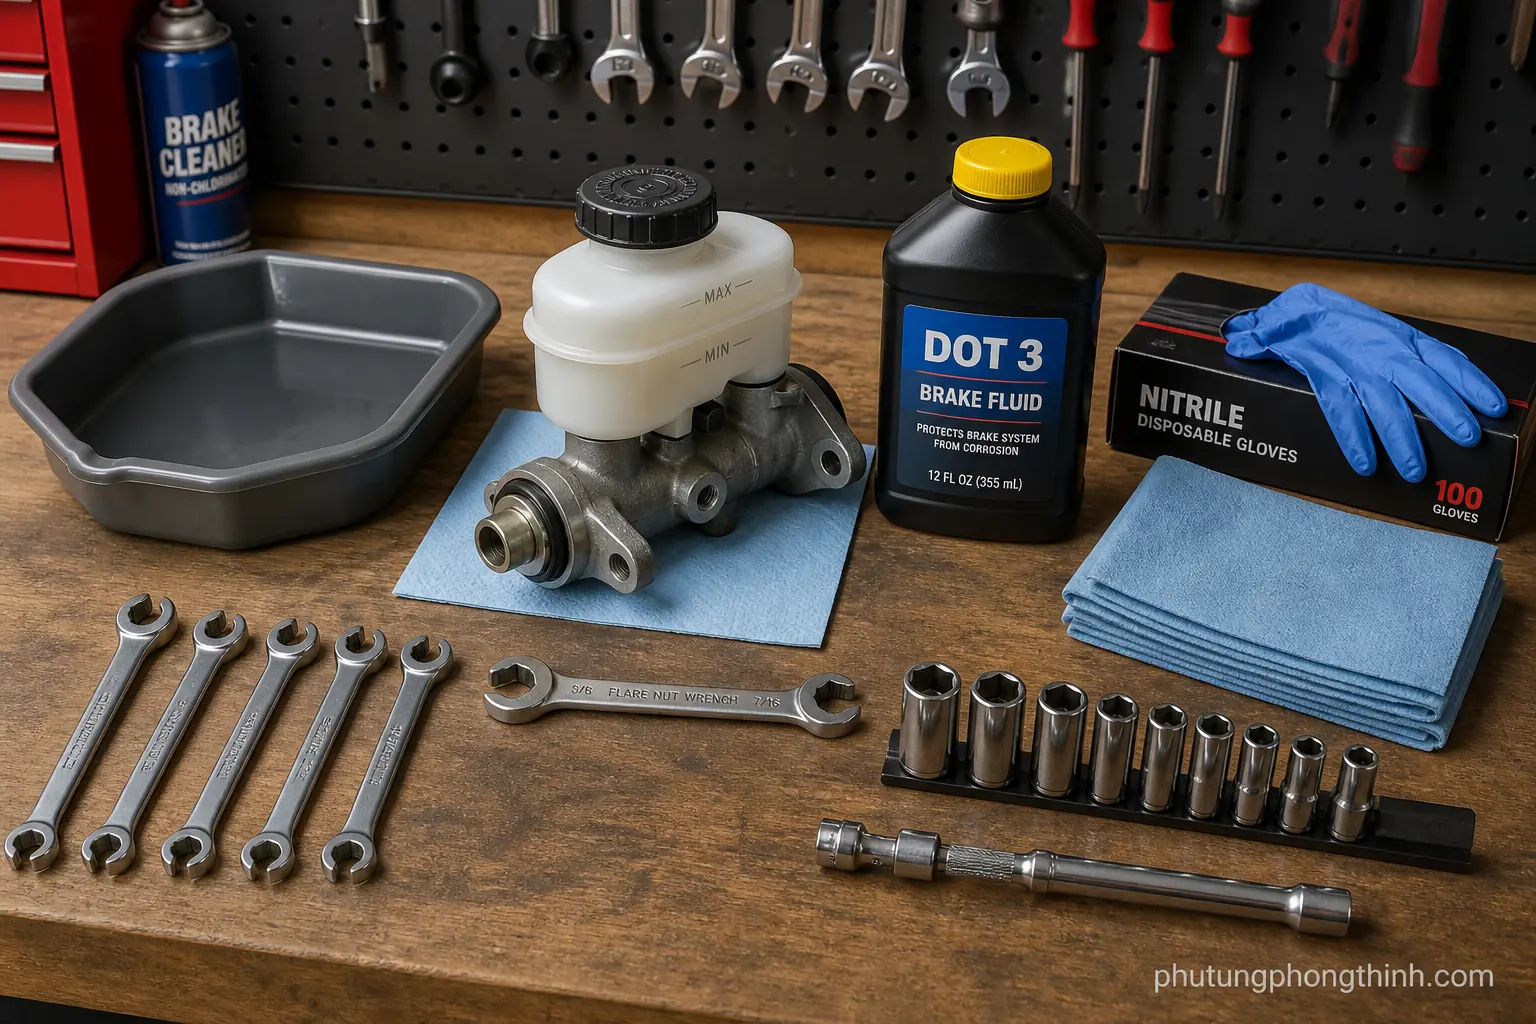
- Line wrenches or a flare nut wrench
- Common sockets and ratchet
- Catch pan and shop towels
- Brake bleeding tools or a helper for pedal bleeding
- Fresh brake fluid of the correct type for your vehicle
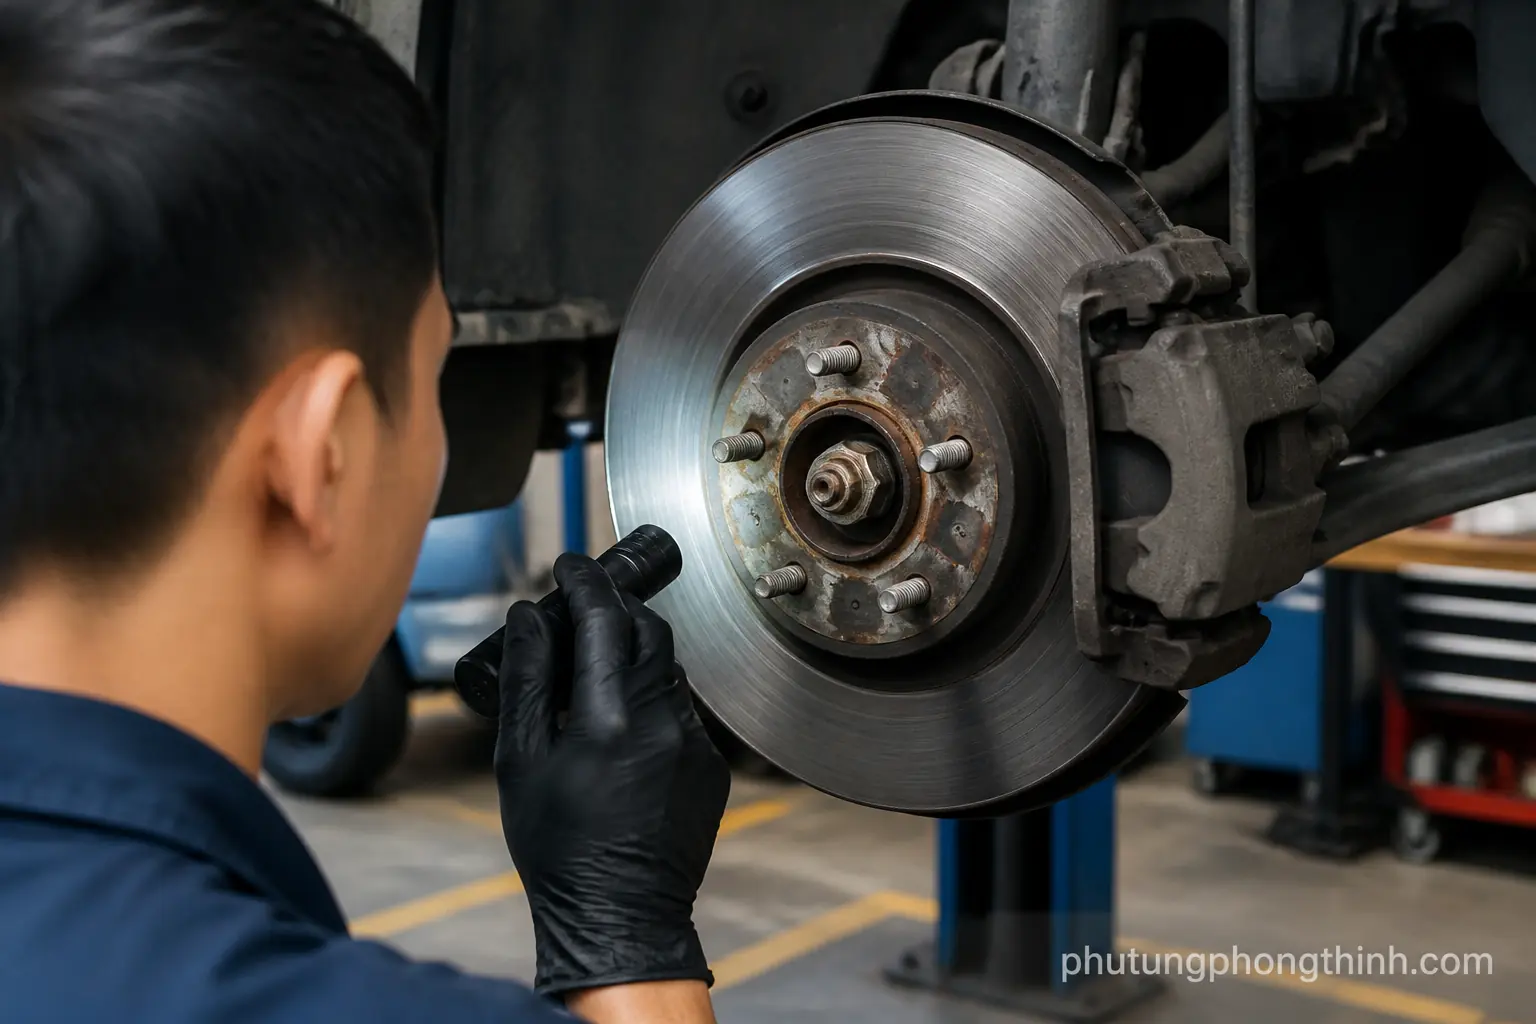
Before you start, protect painted surfaces because brake fluid can damage finish quickly. Wear gloves and eye protection, and support the vehicle if you need access underneath. It also helps to inspect the brake lines and fittings for corrosion or damage, check the brake booster area for leaks or contamination, and confirm the replacement master cylinder matches the original mounting and port layout.
Remove the Old Master Cylinder
Begin by disconnecting the negative battery terminal if access or warning-light safety makes that a good idea. Remove the reservoir cap area carefully and minimize fluid loss before opening the brake lines. Use line wrenches so you do not round off the fittings, then unbolt the master cylinder from the brake booster and lift it away carefully to avoid spilling brake fluid on painted surfaces.
Bench Bleed the Replacement Master Cylinder

Bench bleeding removes air from the cylinder before it goes on the car, which helps prevent a lingering soft pedal later. Mount the cylinder level in a vise or bench setup, route the bleed tubes back into the reservoir, and slowly stroke the piston until the fluid flows solidly and no bubbles appear. Keep the reservoir full the entire time, and make sure the unit stays oriented correctly so it does not trap air. A clean work area matters too, because contamination in the brake fluid can create new problems.
Install the New Cylinder and Reconnect Brake Lines
Set the master cylinder onto the brake booster and make sure the pushrod interface aligns correctly. Tighten the mounting nuts to the proper vehicle specification, then start the brake lines by hand before snugging them with line wrenches to avoid cross-threading. Check the reservoir orientation and overall access one more time before moving on to bleeding the system.
How to Bleed Brakes After Master Cylinder Replacement

After replacement, the brake system needs a full bleed so the pedal can regain firm hydraulic pressure. Most vehicles start at the wheel farthest from the master cylinder, though the exact order can vary. Helper bleeding, pressure bleeding, or vacuum bleeding can all work well if done carefully. Keep the reservoir full the entire time, and watch each bleeder screw until the fluid runs clear and bubble-free.
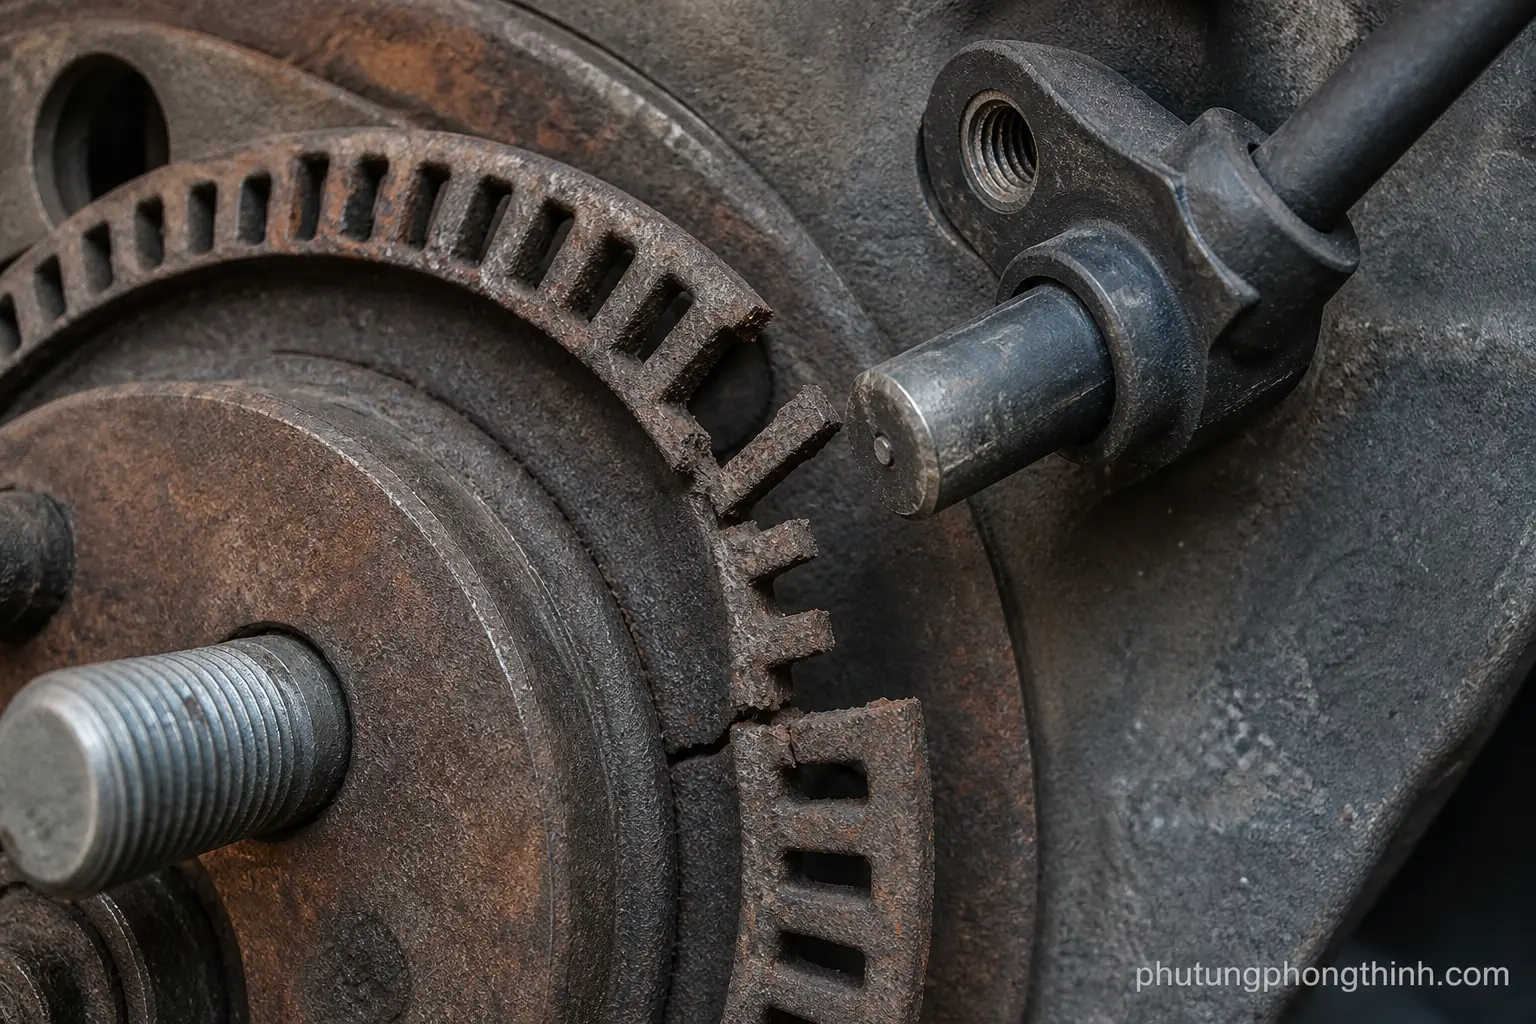
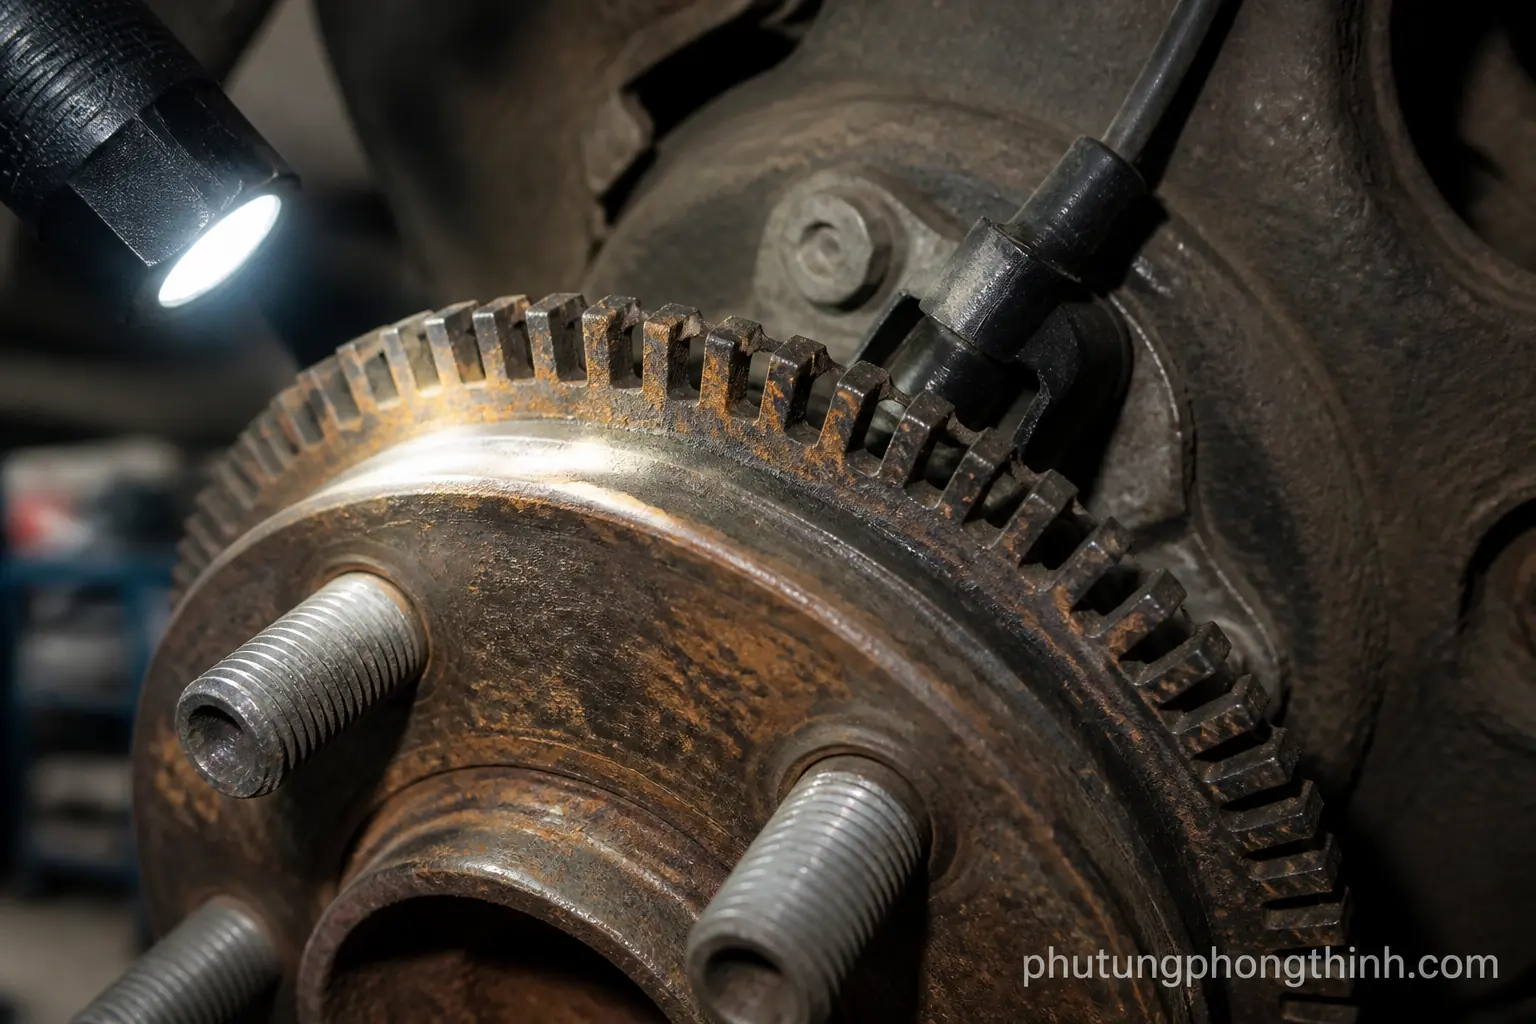
Some vehicles also require an ABS bleed procedure after the basic bleed. ABS-equipped systems may need a scan tool or a special sequence to purge trapped air, so the service manual is the best source for the exact order and method.
Final Checks, Road Test, and Common Problems
Before driving normally, inspect every brake line fitting and the master cylinder body for leaks. Check pedal height and firmness with the engine off, then again with it running, and make sure the brake warning light stays off. After the first test drive, recheck the fluid level. If the pedal still feels soft, bleed the system again, look for leaks, and confirm the master cylinder was bench bled correctly. In some cases, correct part fitment matters just as much as the repair itself, which is why choosing an OEM-quality part such as a related engine sensor part from the right application can prevent repeat work on other vehicle systems.
Symptoms, FAQs, and When to Get Professional Help
A bad master cylinder usually causes a sinking pedal, internal bypassing, or a pedal that never feels fully firm, while air in the lines tends to improve after bleeding. A failing brake booster can also mimic some symptoms, but the feel and behavior are often different. Stop and get professional help if you run into persistent brake failure, stripped fittings, or ABS-related bleeding issues that need special equipment. As a general rule, bleeding may take anywhere from a short service interval to a longer job depending on how much air entered the system, and the correct brake fluid type always matters for safety and compatibility. If you are matching other vehicle-specific parts during a repair, an OEM replacement sensor shows the same kind of model-and-year accuracy that brake work demands.
Frequently Asked Questions
How long does it take to bleed brakes after master cylinder replacement?
It depends on the vehicle and how much air entered the system. A straightforward bleed may take under an hour, while ABS-equipped vehicles or systems with lots of air can take longer.
Do I always need to bench bleed a new master cylinder?
Yes, bench bleeding is strongly recommended because it removes air from the master cylinder before installation. Skipping it often leads to a soft pedal that is hard to fix later.
What brake fluid should I use for a master cylinder replacement?
Use the exact brake fluid type specified by your vehicle manufacturer. Mixing the wrong fluid can damage seals or reduce brake performance.
How can I tell if the master cylinder is bad instead of just having air in the lines?
A bad master cylinder often causes a pedal that slowly sinks under steady pressure or stays soft even after careful bleeding. Air in the lines usually improves once the system is bled properly.
Why does the brake pedal still feel soft after replacing the master cylinder?
Common causes include incomplete bench bleeding, air still trapped in the lines, a leak at a fitting, or an ABS bleed procedure that has not been performed yet.