How to Replace a Brake Line: Safe DIY Steps for 2026
How to Replace a Brake Line Safely: What to Know First
If you are learning how to replace a brake line, start by understanding that the brake line is part of the hydraulic system that carries brake fluid and pressure to the calipers or wheel cylinders. A leaking brake line, heavy rust, or a pedal that feels soft are all signs that a patch is no longer the safe choice and a full replacement is the better fix. This repair also means losing brake fluid during the job, so you need to plan for careful bleeding afterward before the vehicle goes back on the road.
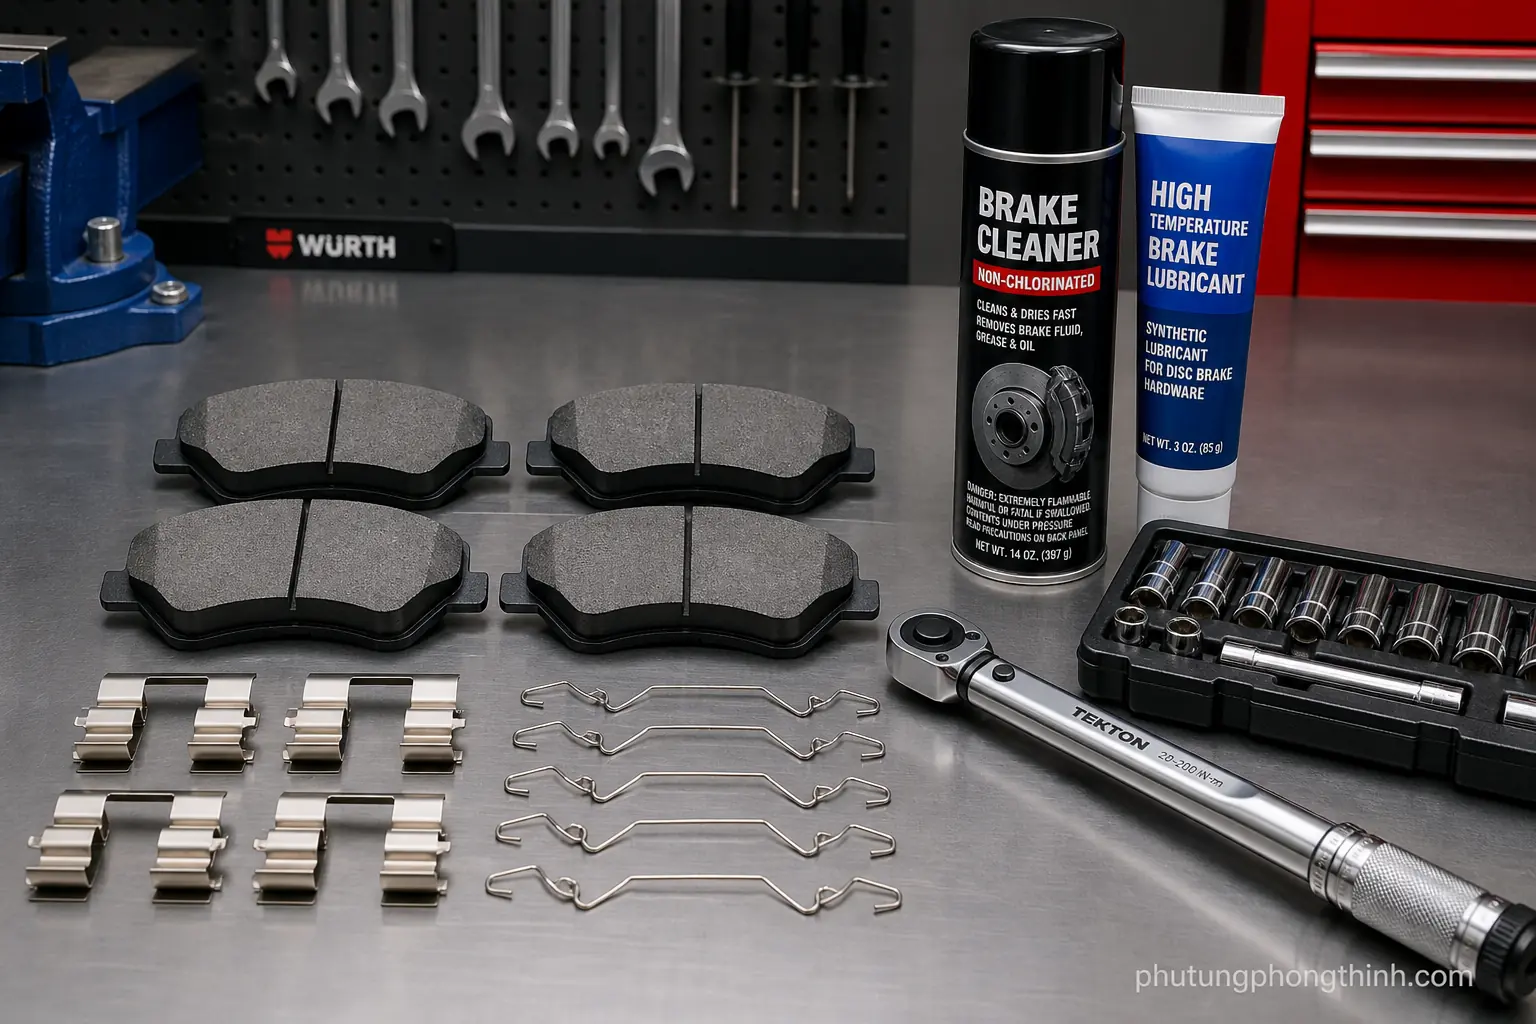
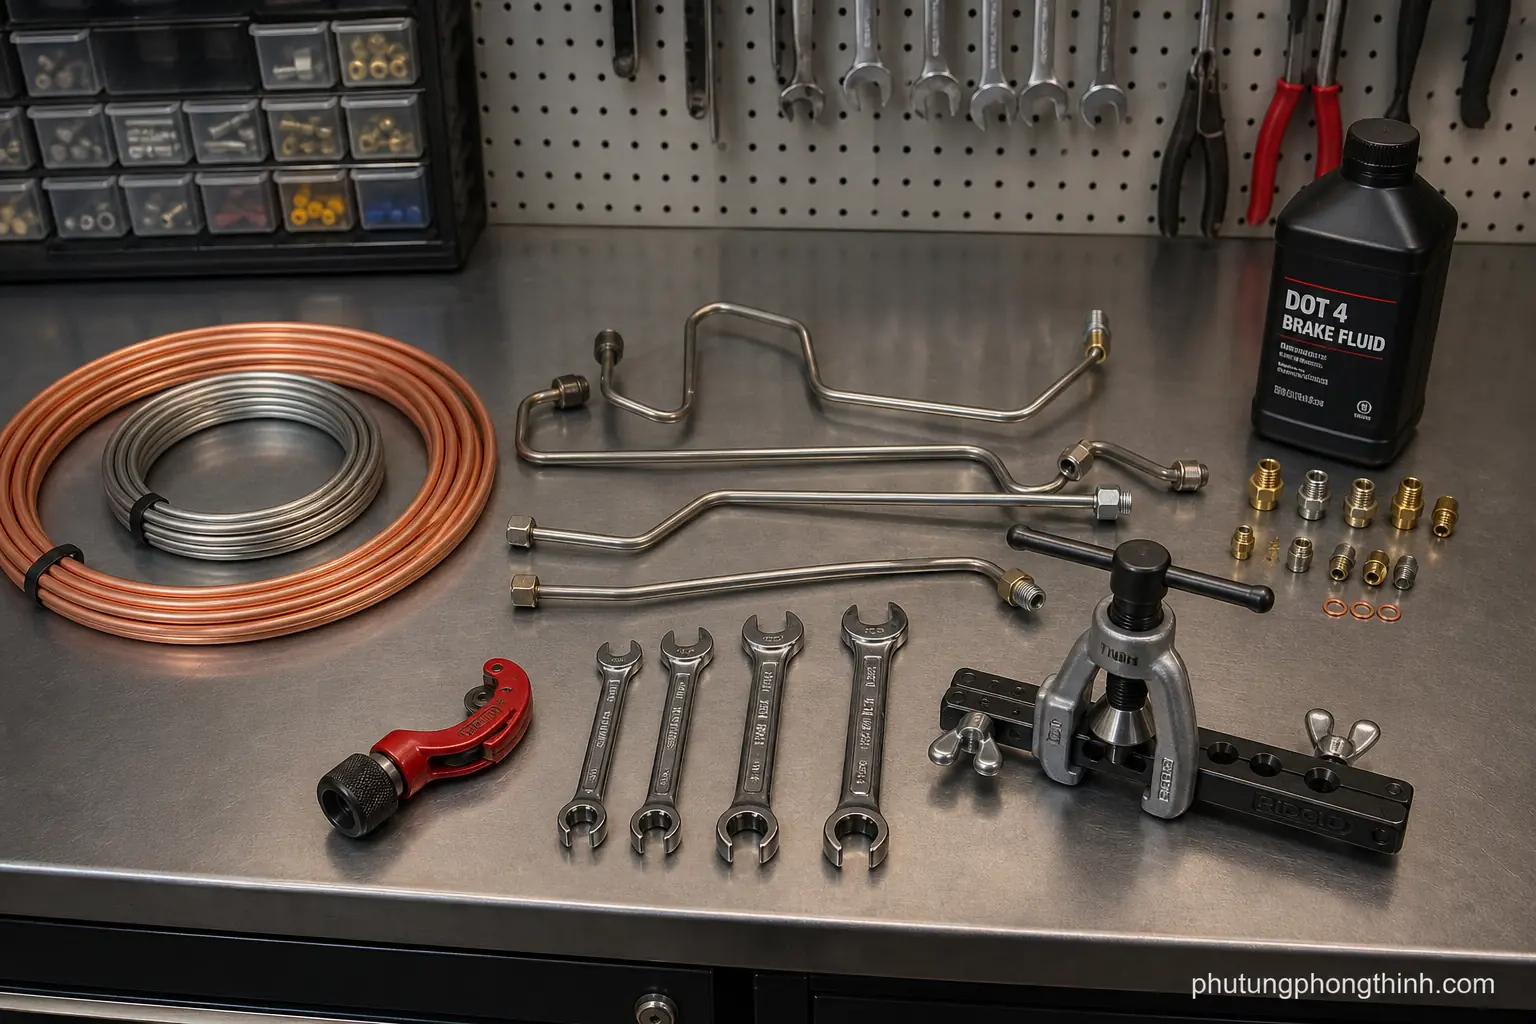
Before you begin, gather the basic tools and safety gear for brake repair. That usually includes jack stands, wheel chocks, and eye protection, plus line wrenches, a tubing cutter, a flaring tool, and a deburring tool. Have the correct brake fluid on hand, along with replacement tubing such as steel hard line or nickel-copper tubing, and new retaining clips or fittings if the originals are corroded or damaged.
- Jack stands, wheel chocks, and eye protection
- Line wrenches, tubing cutter, flaring tool, and deburring tool
- Replacement tubing such as steel hard line or nickel-copper tubing
- Correct brake fluid and any needed retaining clips or fittings
Choose the Right Brake Line Tubing, Flares, and Fittings
Choosing the right parts is one of the most important parts of brake line repair. You need to identify the brake line fitting sizes and thread types so the replacement matches the vehicle exactly. Just as important, the flare style must match the original system, whether that means a double flare or a bubble flare. Using the wrong one can lead to leaks even if the line seems to tighten normally.
For many DIY repairs, nickel-copper brake line tubing is easier to bend, shape, and install than traditional steel, especially in tight spaces. Still, you should follow OEM-style routing and any local requirements so the line stays protected and fits safely along the chassis. Replace damaged line sections, worn clips, and any corroded fittings together, and inspect nearby brake hoses and hard line connections for hidden rust before refilling the system.
- Identify brake line fitting sizes and thread types before buying parts
- Match the original flare style: double flare vs bubble flare
- Consider nickel-copper brake line tubing for easier bending and installation
- Replace worn clips, damaged sections, and corroded fittings together
Step-by-Step Brake Line Replacement Procedure

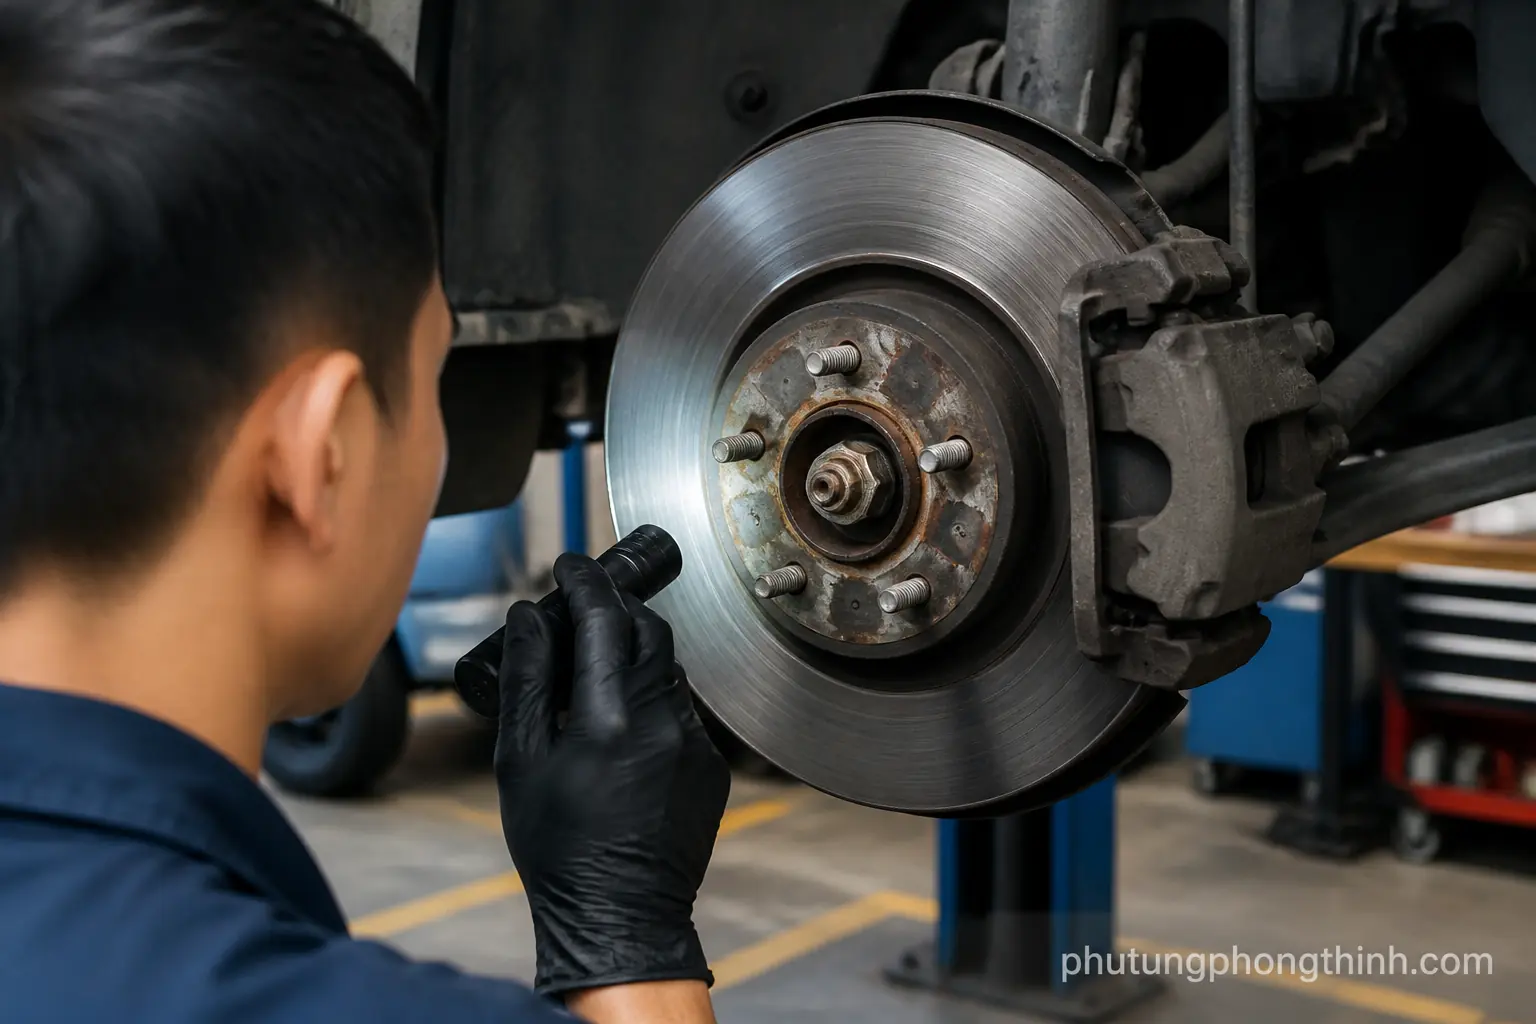
Begin by safely raising and supporting the vehicle, then locate the failed line and trace its routing before disconnecting anything. Use line wrenches to loosen the fittings so you do not round them off, and remove any retaining clips as you follow the old path. Once the damaged line is out, measure it carefully, cut the replacement tubing to length, and use a tubing cutter, deburring tool, and flaring tool to form the correct ends.
When installing the new section, avoid kinks and sharp bends that can restrict brake fluid flow or weaken the line. Start all fittings by hand first to prevent cross-threading, then tighten them evenly and confirm the line is secured in every clip. Keep the work area clean so dirt or moisture does not enter the hydraulic system while the brake line is open.
- Raise and support the vehicle safely, then locate the failed line
- Use line wrenches to disconnect fittings without rounding them
- Remove retaining clips and trace the routing before pulling the old line
- Measure, cut, bend, and flare the new tubing to match the original path
- Install the new line without kinks and secure it in all clips
Bleed the Brakes and Check for Leaks Before Driving

After the new line is installed, top off the master cylinder with the correct brake fluid and bleed the brakes to remove trapped air. Follow the proper bleed sequence for the vehicle, and if the car uses ABS, use the correct ABS brake bleeding procedure so air is not left in the system. Do not move the car until the pedal feels firm and consistent.
Final inspection matters just as much as the installation itself. Look closely at every fitting and union for seepage under pressure, and check for fluid around the wheels, along the frame, and near the master cylinder. Only after the system holds pressure with no leaks should you road test at low speed.
- Top off the master cylinder with the correct brake fluid
- Bleed the brakes in the proper sequence to remove air
- Use the ABS brake bleeding procedure if the vehicle requires it
- Check every fitting and union for leaks before driving
Common Brake Line Replacement Mistakes to Avoid
One of the biggest mistakes in brake line repair is using the wrong flare type or fitting size, which can create a slow leak even when the connection seems tight. Another common problem is overbending the tubing or leaving it unsupported, which can stress the steel hard line and cause it to crack later. Clean tools and clean brake fluid are also important, because contamination can damage hydraulic components and shorten the life of the repair.
Do not skip the full bleed or assume a short test drive proves the job is finished. Recheck the system for leaks after the test drive, because small seepage can show up only after pressure and heat cycle the line. If the repair area suggests broader sealing or fluid-loss issues elsewhere in the vehicle, a seal replacement part may also be part of a larger maintenance plan.
- Using the wrong flare type or fitting size
- Overbending the tubing or leaving it unsupported
- Mixing dirty tools or contaminated brake fluid into the system
- Skipping a full bleed or failing to recheck for leaks after the test drive
When to Replace Brake Hoses or Get Professional Help
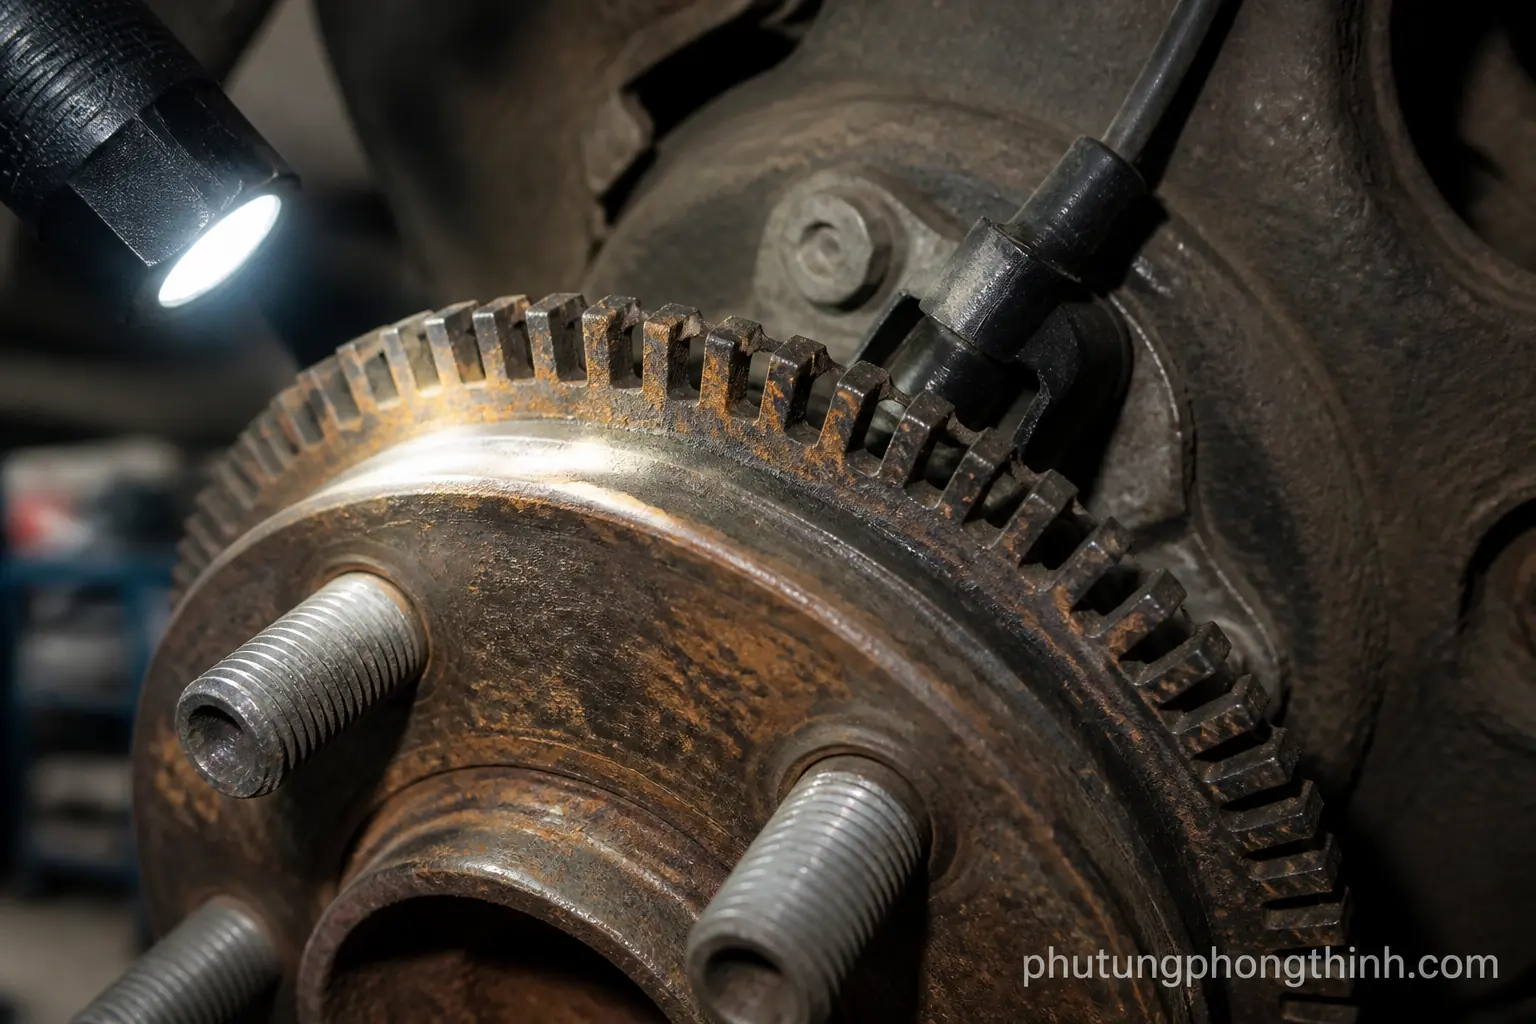
Not every brake problem is limited to a hard line. If the flexible brake hoses are cracked, swollen, or aged, they may need replacement too so the hydraulic system can work correctly. Heavily rusted fittings, seized connections, or ABS complications can also make the job much harder than a basic DIY repair. In those cases, a professional shop may be the safer option.
If the pedal still feels low after bleeding, do not ignore it. Persistent low pedal pressure can point to deeper hydraulic issues that go beyond a single leaking brake line. In more complex cases, it is better to inspect the full system carefully than to keep driving with uncertainty, especially if you are also dealing with another unrelated repair concern that may require a replacement reservoir part elsewhere on the vehicle.
- Flexible brake hoses may need replacement if cracked or swollen
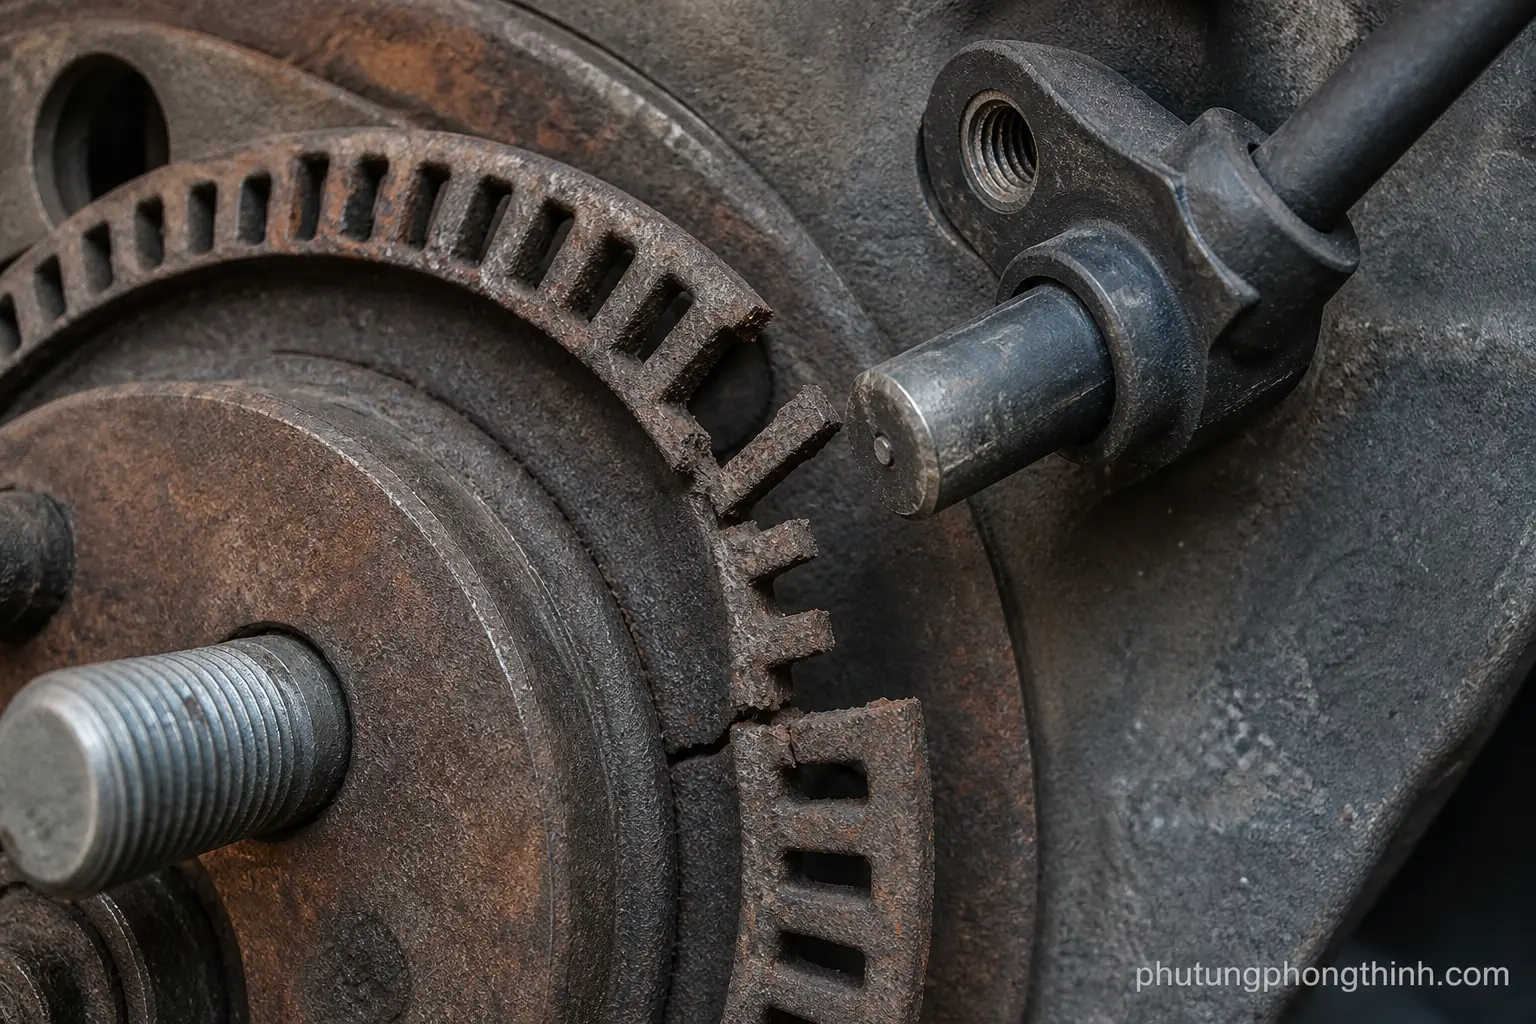
- Seized fittings, heavy rust, or ABS issues may justify a shop visit
- Persistent low pedal after bleeding can signal deeper hydraulic problems
FAQ: Brake Line Replacement Questions
- How long does a brake line replacement take?
Time varies with rust, routing, and access. A simple section may take a few hours, while a corroded vehicle can take much longer because of seized fittings, custom bending, and bleeding afterward. - Can you drive with a leaking brake line?
No. A leaking brake line can quickly reduce brake fluid pressure and cause partial or complete brake failure, so the vehicle should not be driven until it is repaired and the system is fully bled. - Do you need to replace all brake lines at once?
Not always. If only one section is damaged, replacing that section may be enough. But if the rest of the system shows heavy rust or age-related damage, more lines may need attention soon. - What is the difference between a double flare and a bubble flare?
A double flare and a bubble flare are different end shapes used by different vehicle manufacturers. The replacement line must match the original flare style so the fitting seals correctly. - How do you bleed brakes after brake line replacement?
Refill the master cylinder, then bleed the system in the proper sequence for the vehicle to remove air from the lines. If the car has ABS, follow the manufacturer’s ABS bleeding procedure and verify a firm pedal before driving.
Frequently Asked Questions
How long does a brake line replacement take?
Time varies with rust, routing, and access. A simple section may take a few hours, while a corroded vehicle can take much longer because of seized fittings, custom bending, and bleeding afterward.
Can you drive with a leaking brake line?
No. A leaking brake line can quickly reduce brake fluid pressure and cause partial or complete brake failure, so the vehicle should not be driven until it is repaired and the system is fully bled.
Do you need to replace all brake lines at once?
Not always. If only one section is damaged, replacing that section may be enough. But if the rest of the system shows heavy rust or age-related damage, more lines may need attention soon.
What is the difference between a double flare and a bubble flare?
A double flare and a bubble flare are different end shapes used by different vehicle manufacturers. The replacement line must match the original flare style so the fitting seals correctly.
How do you bleed brakes after brake line replacement?
Refill the master cylinder, then bleed the system in the proper sequence for the vehicle to remove air from the lines. If the car has ABS, follow the manufacturer’s ABS bleeding procedure and verify a firm pedal before driving.