How to Replace a Brake Hose: DIY Guide and Safety Tips
How to replace a brake hose: what the job involves
If you are learning how to replace a brake hose, the basic job is straightforward in concept but detail-sensitive in practice. In most cases, you raise the vehicle, remove the wheel, disconnect the flexible brake hose at the hard line and caliper, install the new hose, and then bleed the brake system so the pedal feels normal again. Because the system is hydraulic, brake fluid cleanliness and leak control matter at every step.
This guide focuses on common passenger-vehicle brake hose replacement, not full brake line replacement. It also helps you confirm the hose is actually the problem before you start. Typical signs of a failed or collapsed brake hose include a dragging brake, a vehicle pulling to one side, uneven pad wear, soft or inconsistent braking, and a wheel that stays hot after driving. Those symptoms can overlap with a caliper problem or a sticking slide pin, so it is worth checking the diagnosis before you rush into brake repair.
Tools, parts, and safety gear you need
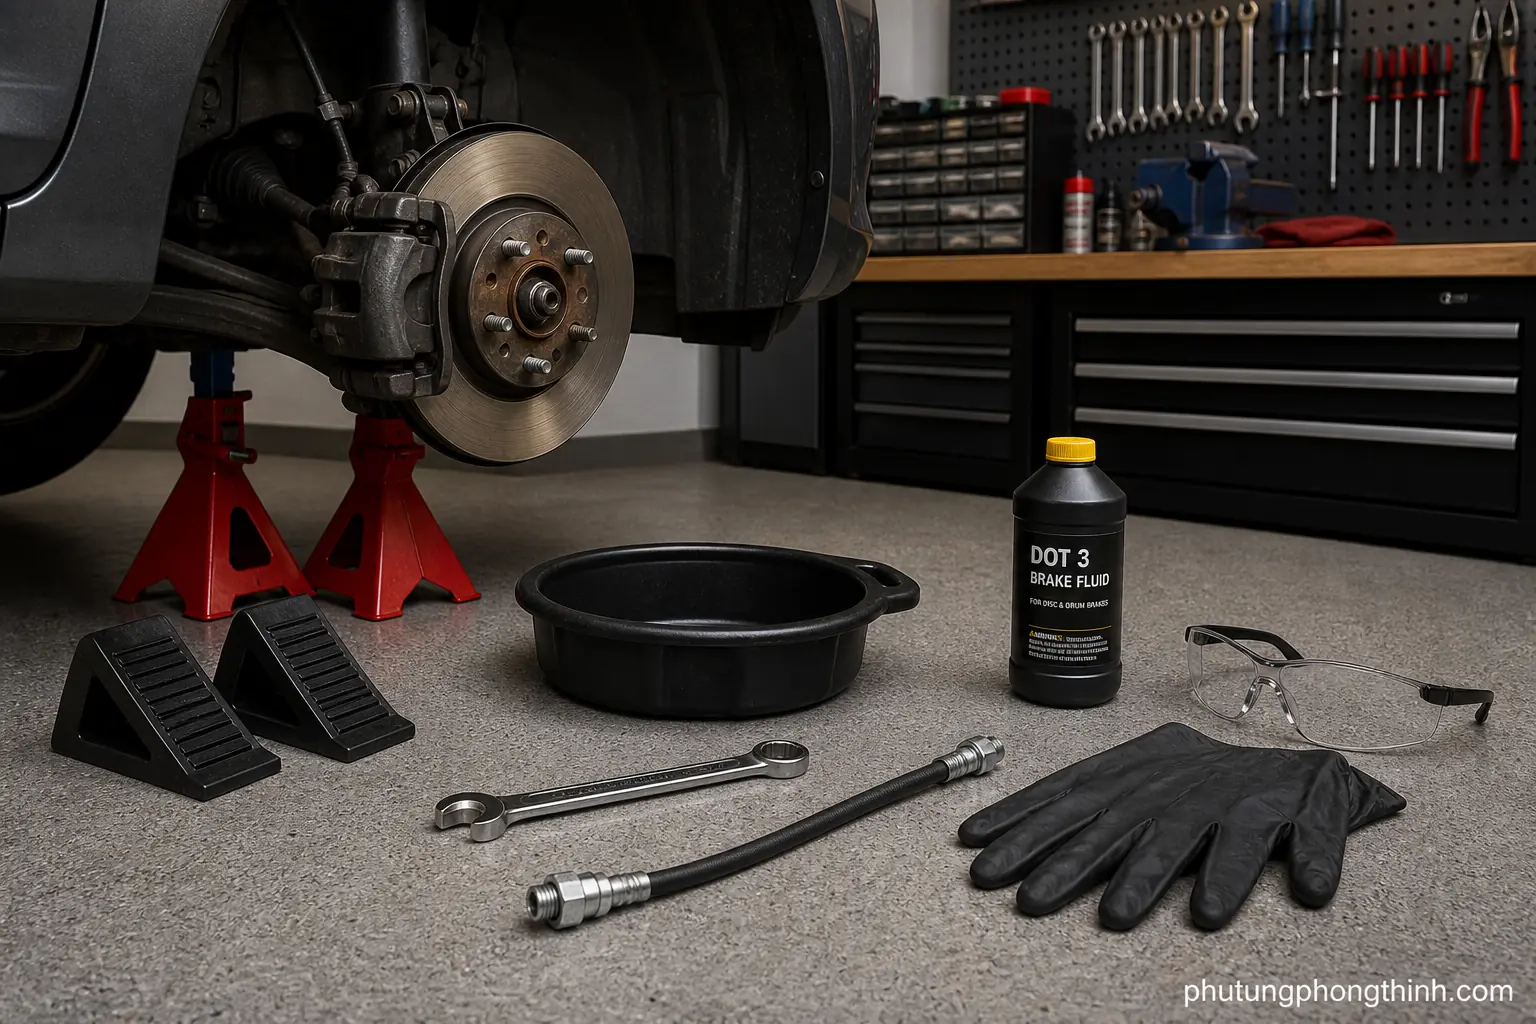
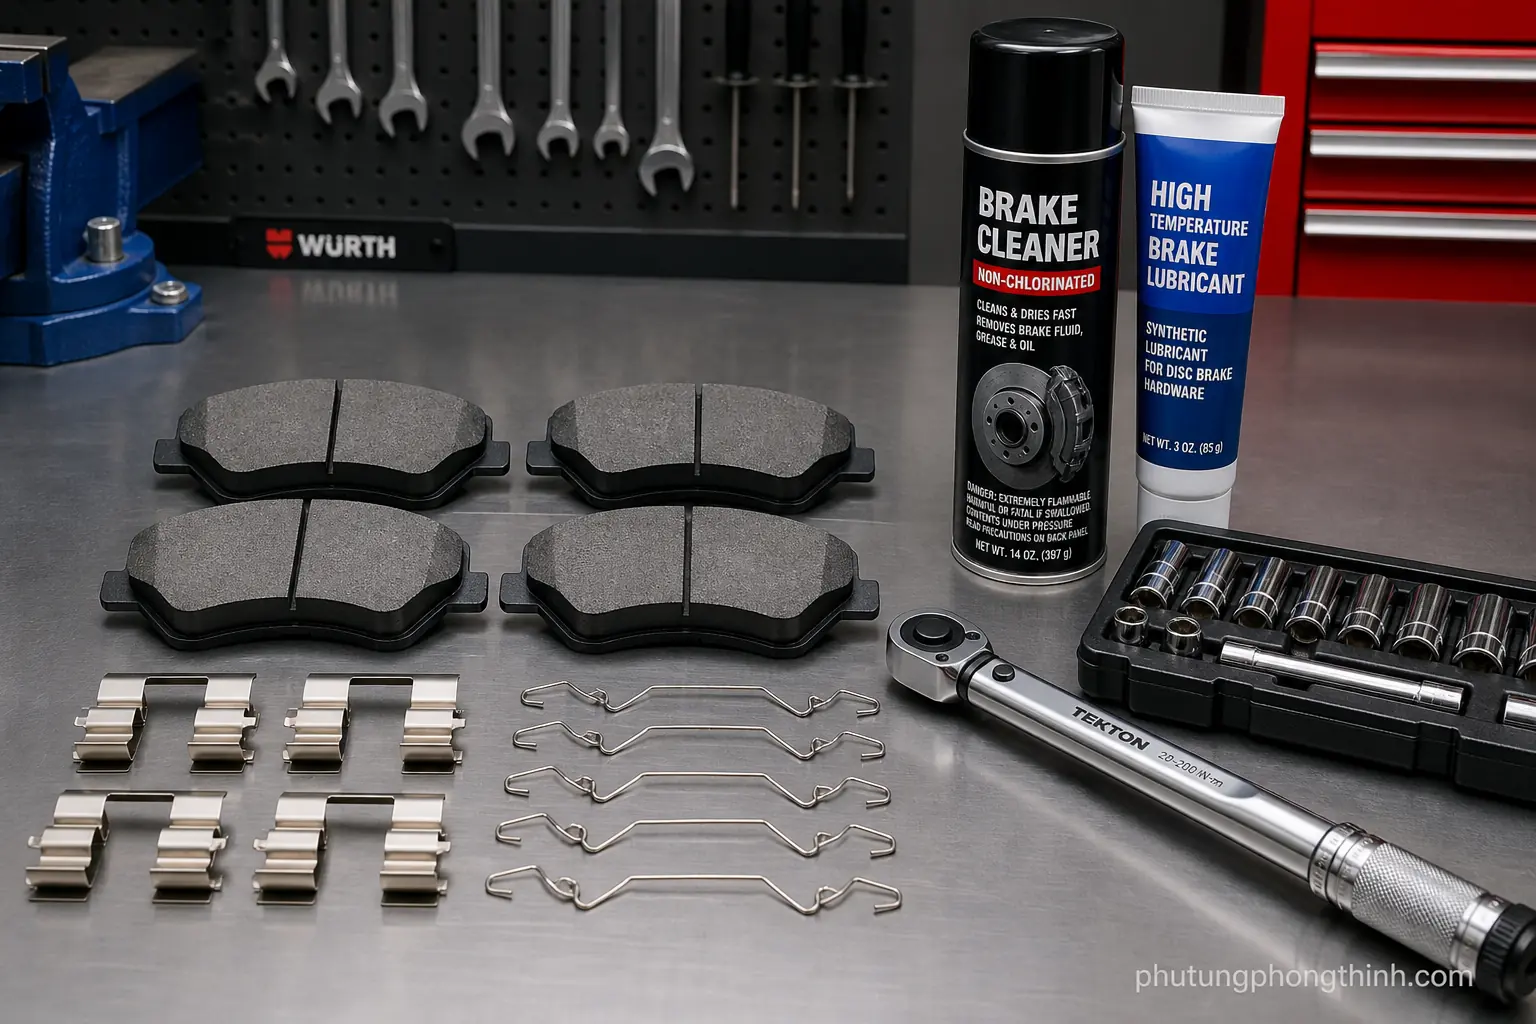
Before you begin, gather the tools and parts so the brake job does not stall halfway through. You will typically need jack stands, wheel chocks, safety glasses, gloves, brake fluid, a catch pan, hose caps or plugs, and ideally a helper for bleeding. A line wrench is especially useful for stubborn fittings, and penetrating oil can help with rusted connections. Make sure you have the correct replacement flexible brake hose, and if the hose uses a banjo fitting, have new copper crush washers ready. Use fresh brake fluid that matches the vehicle specification.
- Jack stands and wheel chocks
- Safety glasses and gloves
- Brake fluid and a catch pan
- Hose caps or plugs
- Line wrench and penetrating oil
- Replacement flexible brake hose
- Copper crush washers for banjo fittings, if applicable
Step-by-step brake hose replacement

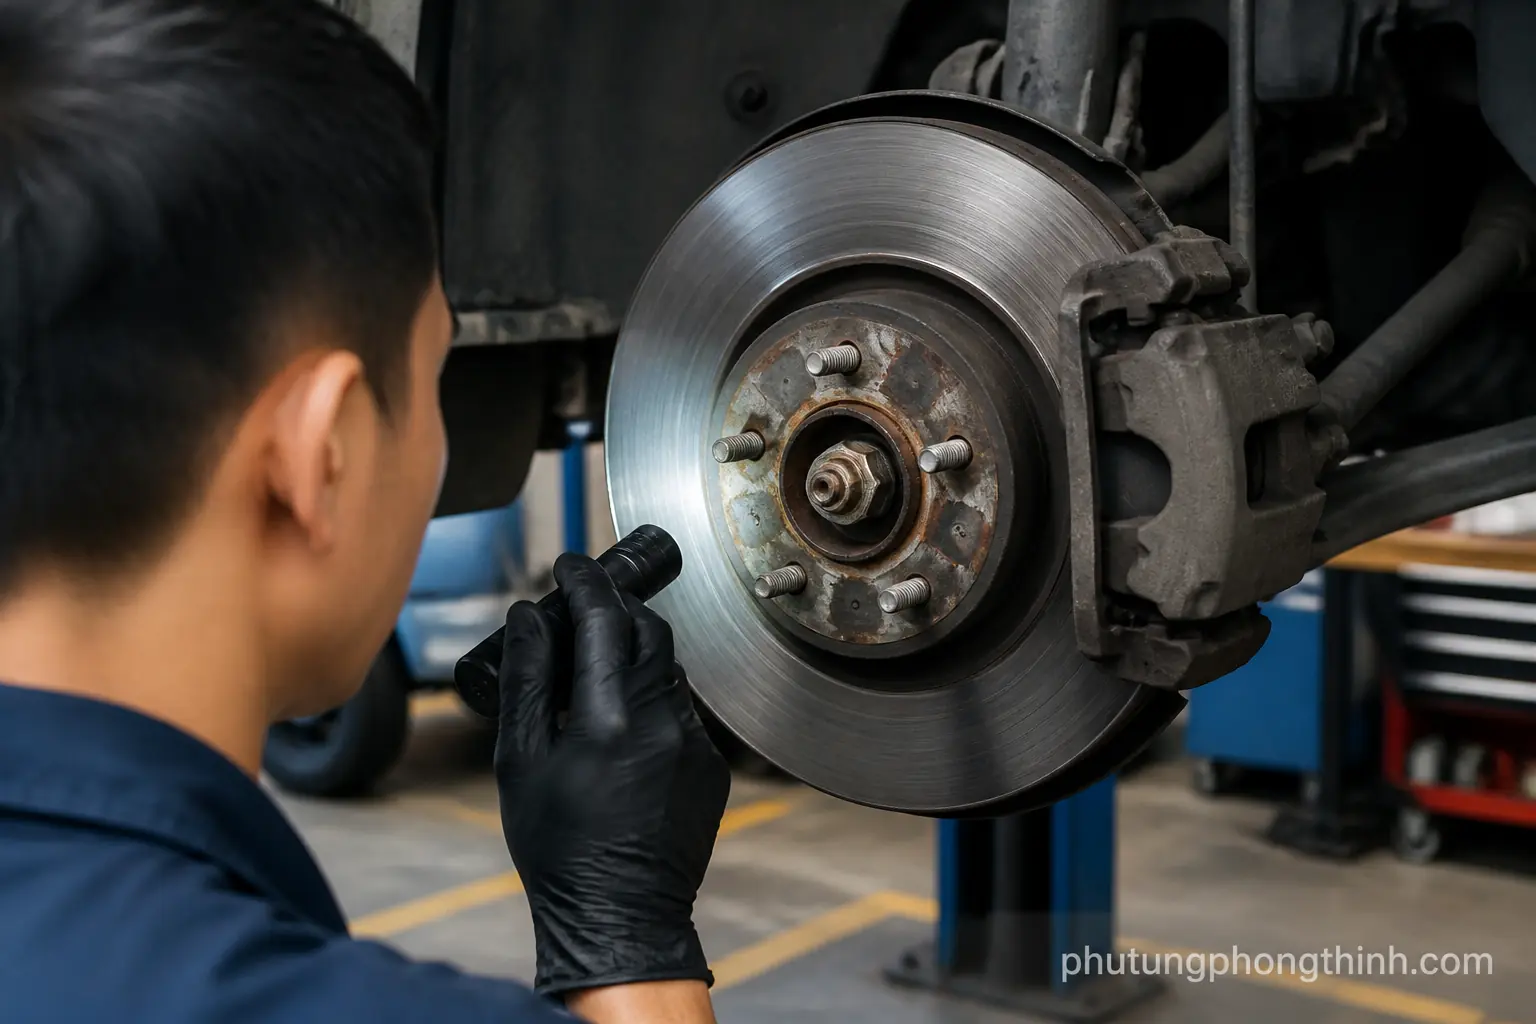
Start by securing the vehicle, removing the wheel, and inspecting the hose routing clips and mounting points before you disconnect anything. Loosen the hard line fitting first with a line wrench, then remove the hose from the caliper or bracket depending on the design. If the hose uses a banjo fitting, keep track of the washer stack and replace the copper crush washers during reassembly. Install the new hose in the same orientation and routing path so it does not twist or rub during steering and suspension movement.
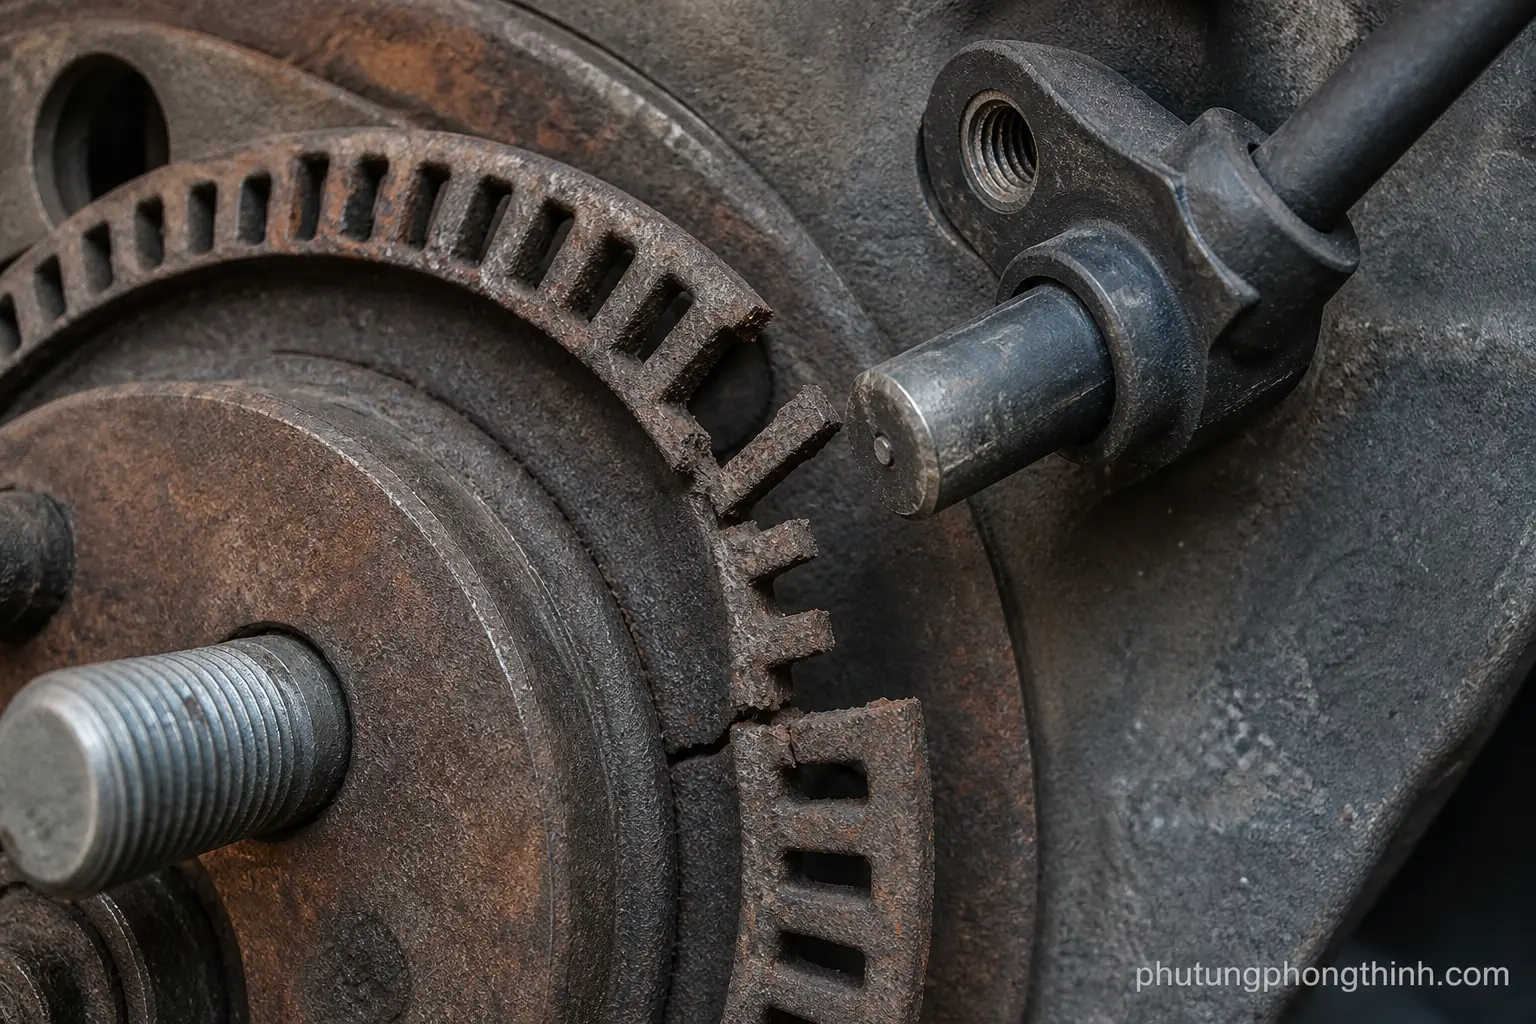
Reattach all clips and fittings to the proper torque for the vehicle, and verify the hose has full clearance through the steering and suspension travel range. If a brake line fitting is stuck rusted, use penetrating oil, clean the threads, and work carefully so you do not round the flare nut. Do not let the caliper hang by the hose while you work. If the hard line is badly corroded, the repair may need to expand from hose replacement to brake line repair.
- Secure the vehicle and remove the wheel.
- Inspect routing clips and mounting points.
- Loosen the hard line fitting with a line wrench.
- Remove the hose from the caliper or bracket.
- Swap the banjo washers if the design uses them.
- Install the new hose with correct routing and orientation.
- Torque fittings, reconnect clips, and check clearance.
How to bleed the brake system after replacing a hose

Bleeding is required anytime the hydraulic circuit is opened, because air in the brake system can make the pedal feel spongy or inconsistent. Use the normal bleeding order for the vehicle, and keep the master cylinder reservoir topped off throughout the process so you do not pull more air into the lines. Open the bleeder screw, watch for air bubbles in the fluid, and close it before the pedal is released. When you are done, check carefully for leaks at the banjo fitting, hard line connection, and bleeder screw.
After bleeding, the pedal should feel firm, the wheel should spin freely, and the brake should no longer drag. Take a careful low-speed test drive, then recheck for leaks, heat, or a pull to one side. If you are wondering how to bleed brakes after replacing a hose, the main goals are simple: remove all air, keep the reservoir full, and confirm the repair works before normal driving.
When to replace brake hoses in pairs and when to stop DIY
Brake hoses on the same axle often age at a similar rate, so replacing brake hoses in pairs can make sense when one has failed from age or cracking. In some cases, though, a single hose replacement is fine, such as when the damage is isolated or the hose was contaminated in one spot. If you find heavily rusted fittings, damaged hard lines, seized calipers, or recurring drag after the new hose is installed, it may be smarter to stop DIY and get professional help.
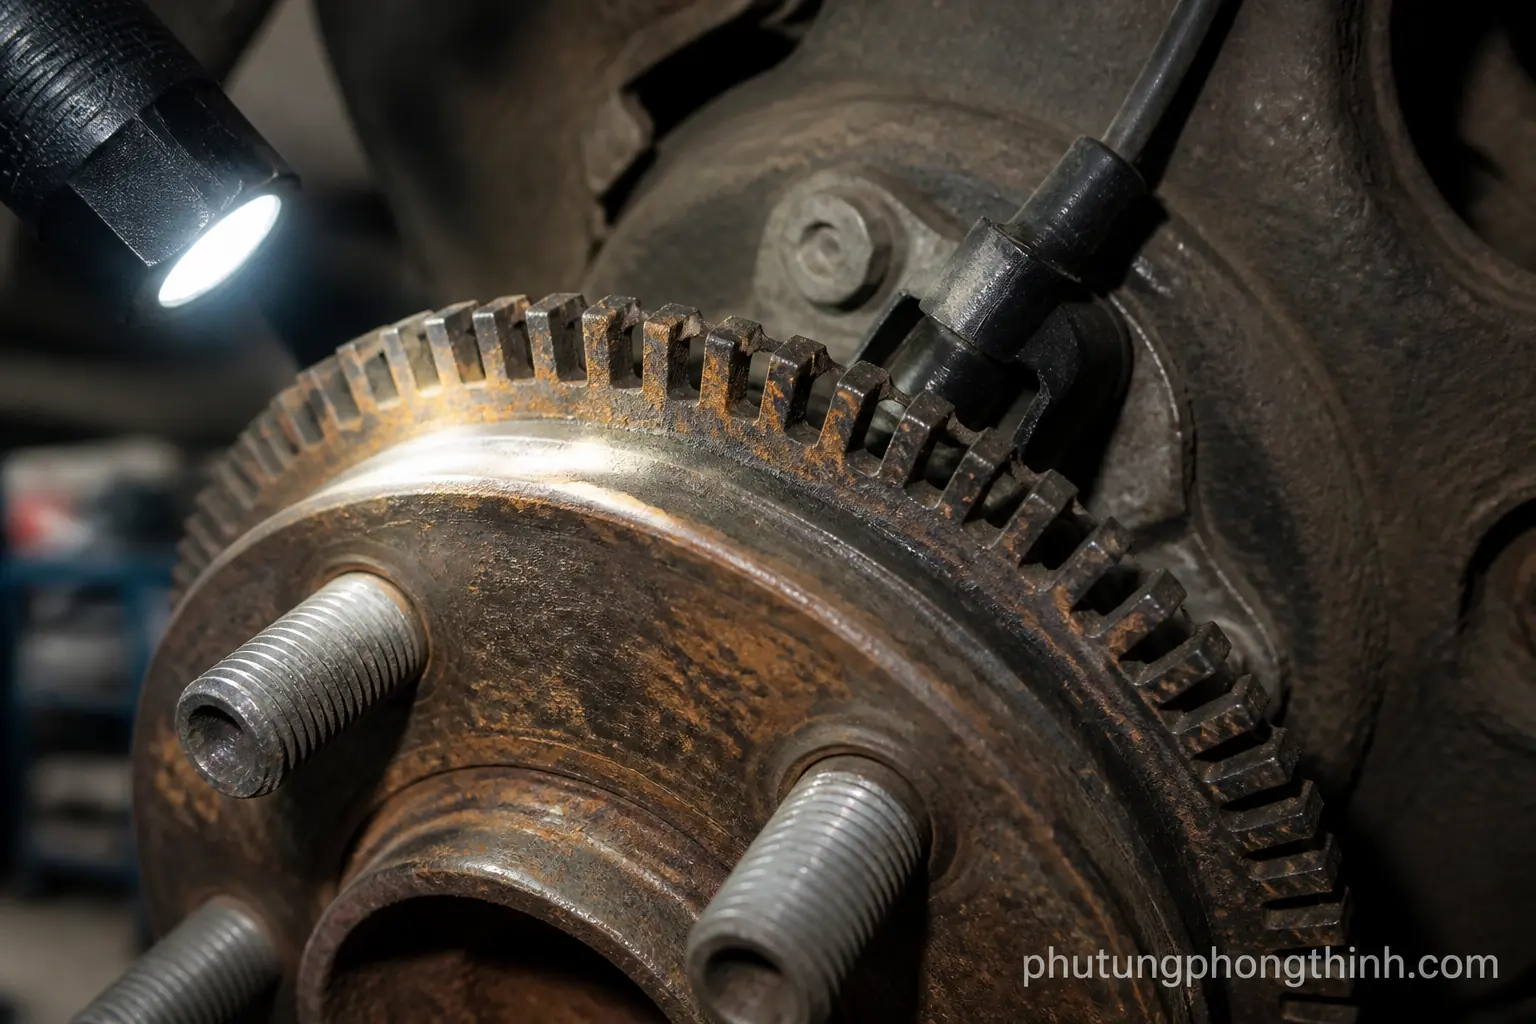
For prevention, inspect the hoses periodically for cracks, bulges, chafing, and wetness. Also keep up with brake fluid flush intervals, because fresh fluid helps reduce internal corrosion and can slow future hose problems. Good maintenance makes it less likely that you will need to repeat the same repair soon.
- Inspect for cracks, bulges, chafing, and wetness
- Replace hoses in pairs when age or wear is similar
- Flush brake fluid on schedule to reduce corrosion
For broader vehicle maintenance, a related drivetrain part can also be worth checking if you are planning other repairs at the same time. And if you are servicing a diesel vehicle, a diesel cold-start component may be part of a separate maintenance list.
Frequently Asked Questions
How do I know if a brake hose is bad or if the caliper is the problem?
A bad brake hose often causes a dragging brake that releases slowly, uneven braking, or a wheel that runs hot after driving. A caliper problem can look similar, but it often involves seized slide pins, a sticking piston, or uneven pad wear on one side of the caliper. Checking the hose for collapse, swelling, or exterior damage helps narrow the diagnosis before replacing parts.
Can I replace just one brake hose?
Yes, you can replace just one hose if the failure is isolated and the other hose is still in good condition. However, hoses on the same axle often age together, so replacing both can be a sensible preventive choice when one has failed from age or cracking.
Do I always need to bleed the brakes after changing a hose?
Yes. Once the hydraulic circuit is opened, air can enter the system. Bleeding removes that air so the pedal returns to a firm, predictable feel and the brakes work properly.
What should I do if a brake line fitting is rusted tight?
Use penetrating oil, clean the area, and work carefully with a line wrench to avoid rounding the flare nut. If the fitting or hard line is too corroded to save, it may be safer to replace that section rather than forcing it.
How can I check for leaks after brake hose replacement?
Inspect the banjo fitting, hard line connection, and bleeder screw after bleeding the system. Then pump the pedal, hold pressure, and look for wetness or a slow pedal drop before driving the vehicle.