How to Replace a Brake Hose: 2026 DIY Repair Guide
How to replace a brake hose safely
If you are learning how to replace a brake hose, start by understanding that the flexible brake hose is the final link between the steel brake line and the caliper or wheel cylinder. The job usually means removing some brake fluid, disconnecting the old hose, installing the replacement, and then bleeding the brake system so the pedal feels firm again.
Before you tear into the brakes, look for the real problem. Common signs of a bad brake hose include cracking, swelling, wet spots, pulling during braking, and a soft pedal. Those symptoms can overlap with problems in the brake line, caliper, or master cylinder reservoir, but visible damage or a leak usually means replacement is the right move instead of a temporary fix.
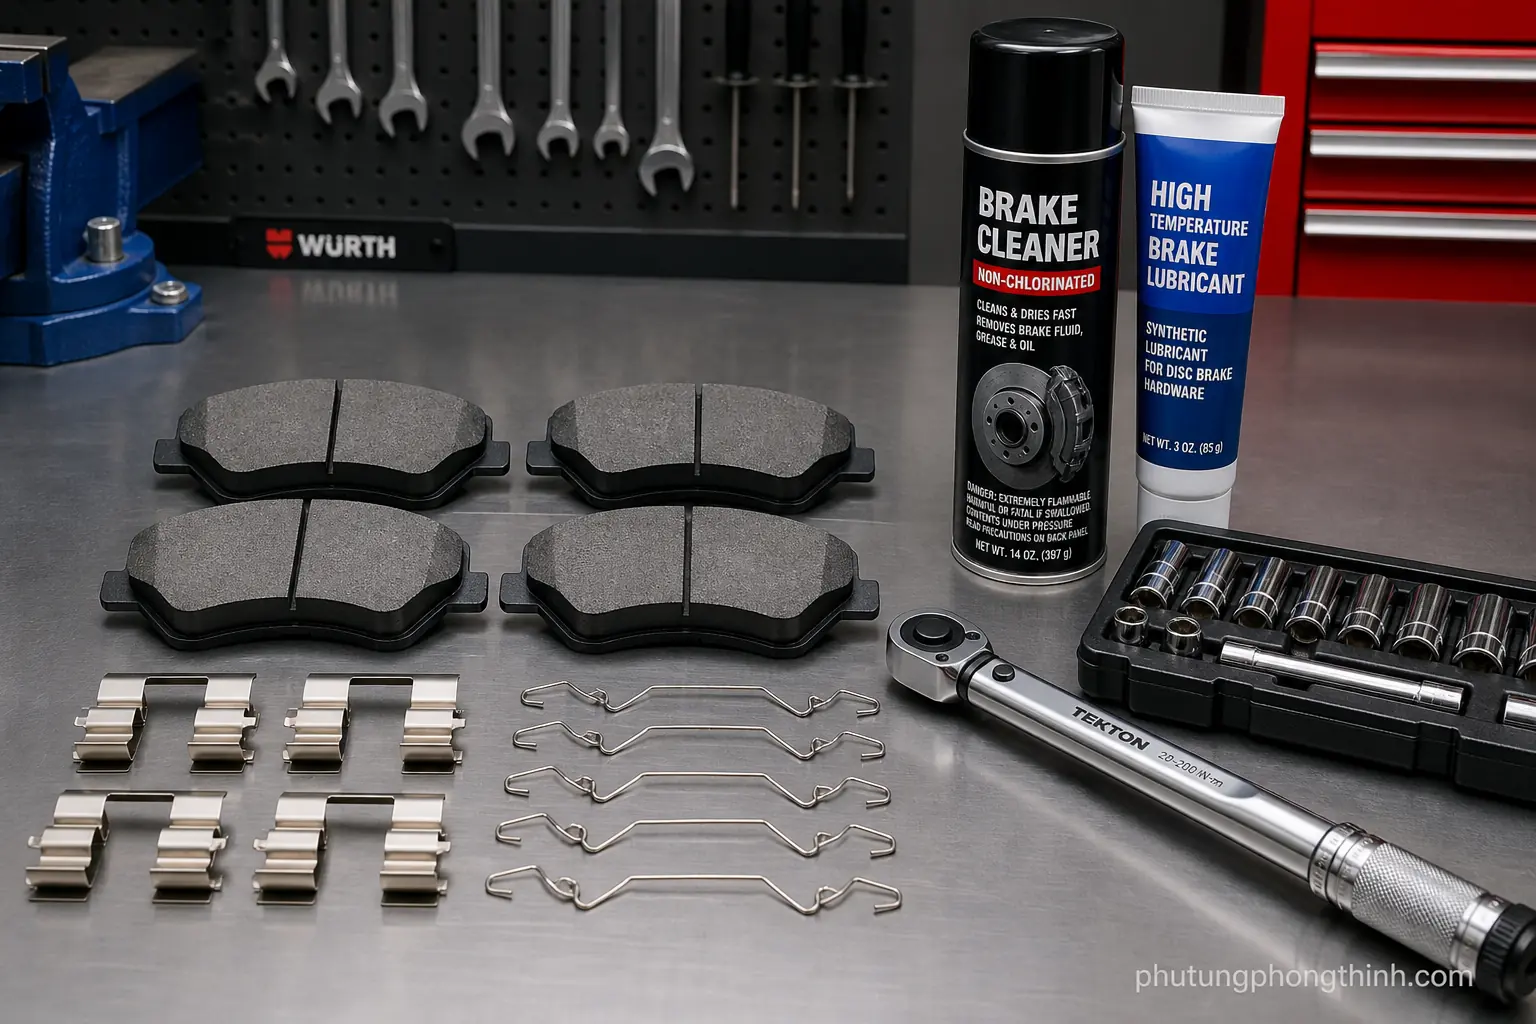
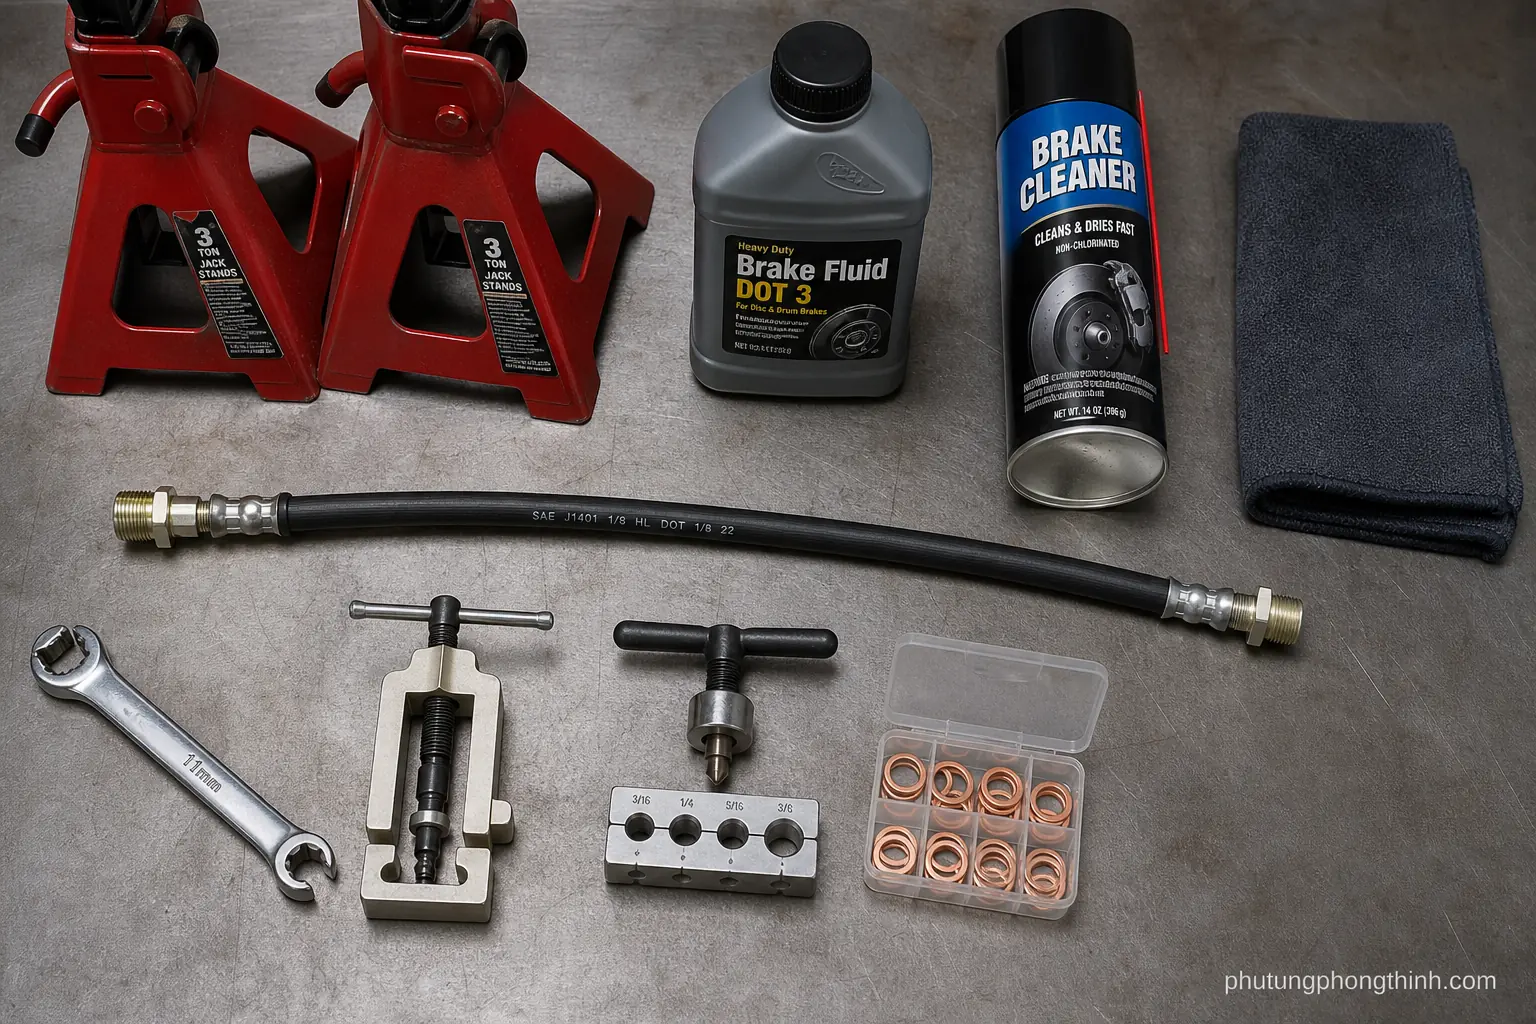
Gather everything first: a line wrench, flare nut tools, jack stands, brake cleaner, a catch pan, gloves, a new brake hose, fresh brake fluid that matches the vehicle specification, and new washers if the hose uses a banjo bolt. It also helps to check banjo bolt torque specs and the vehicle service information before you begin.
- Work on a level surface and secure the vehicle with jack stands.
- Protect painted surfaces from brake fluid.
- Keep the master cylinder reservoir from running dry.
- If fittings are rusted or rounded, expect extra time or professional help.

Remove the old flexible brake hose
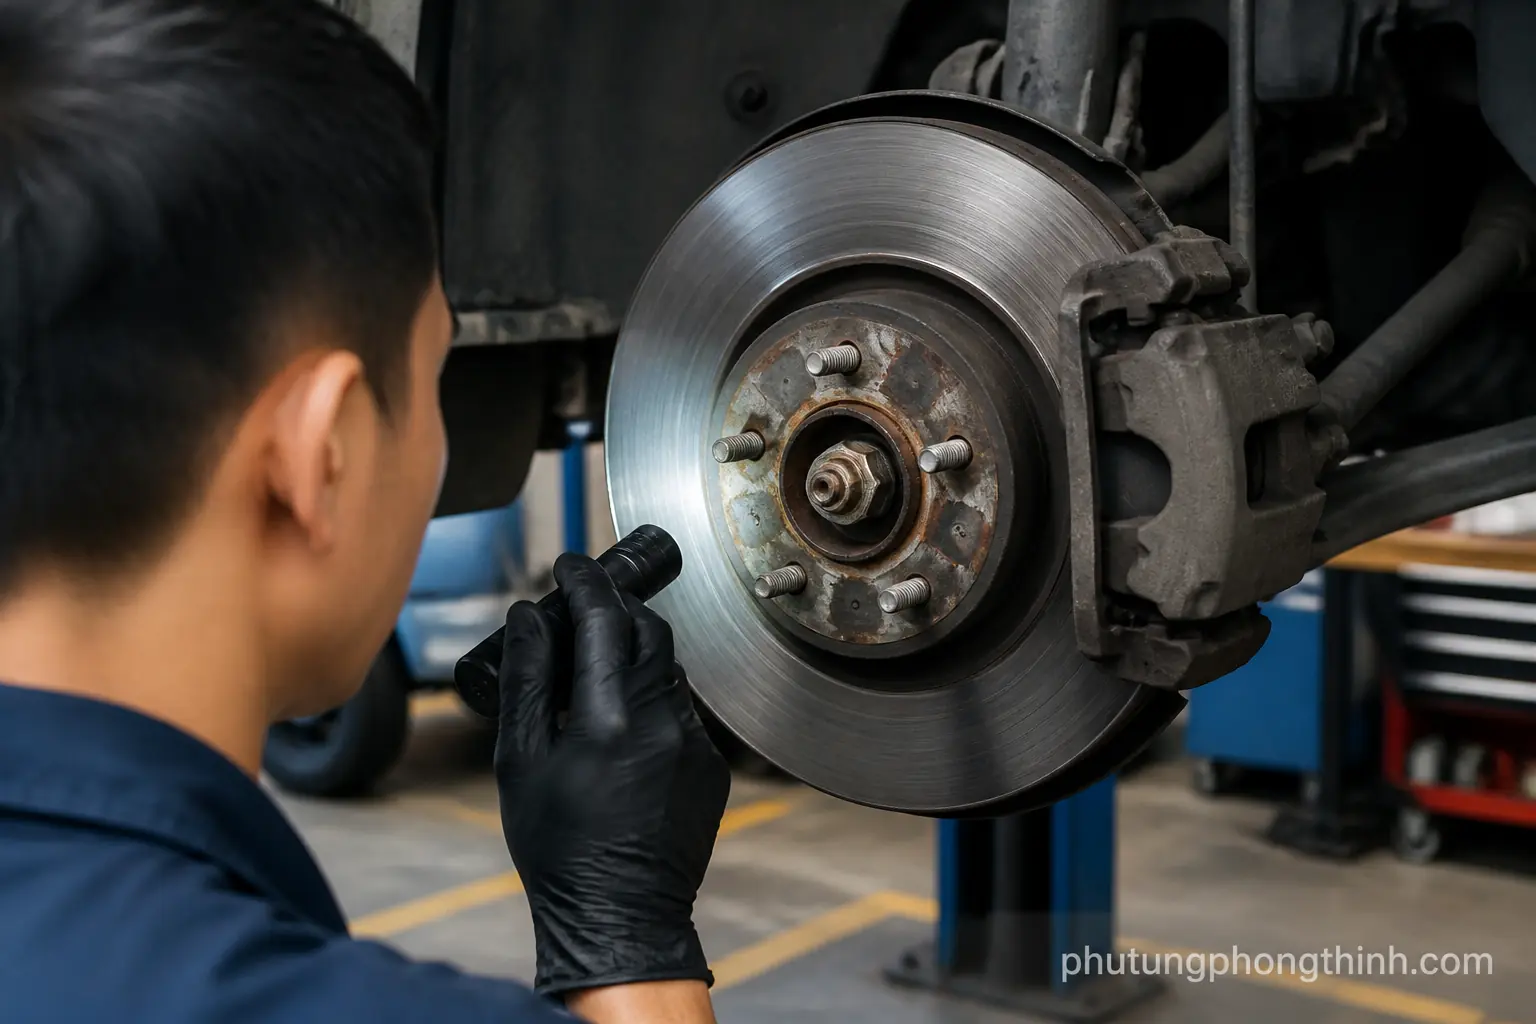
Start by removing the wheel so you can reach the hose connection at the caliper or wheel cylinder. Clean dirt from the fittings before loosening anything, because debris can contaminate the brake system. Use the correct wrench on the flare nut so the steel brake line is less likely to round off. In some repairs, a matching replacement part such as a door stop assembly may sit near the same work area, but keep the focus on brake access and cleanliness.
Loosen the banjo bolt or threaded fitting carefully and catch any brake fluid that drains out. If the design uses copper crush washers, replace them rather than reusing the old ones. When possible, cap or plug open lines to limit fluid loss and keep contamination out of the brake line.
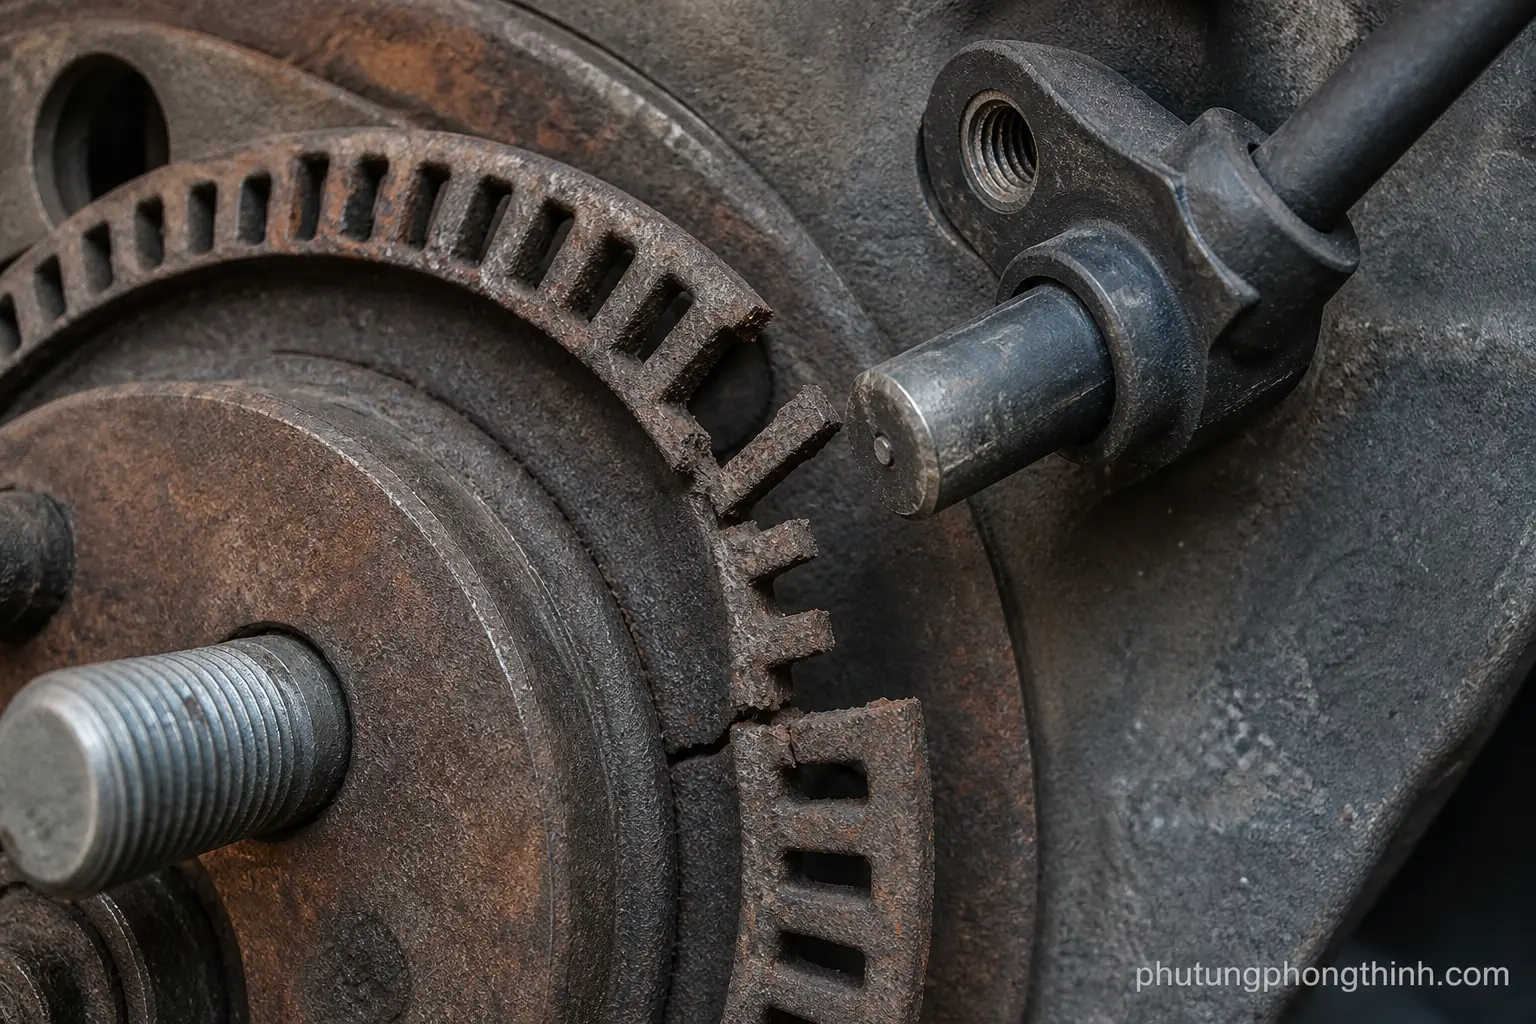
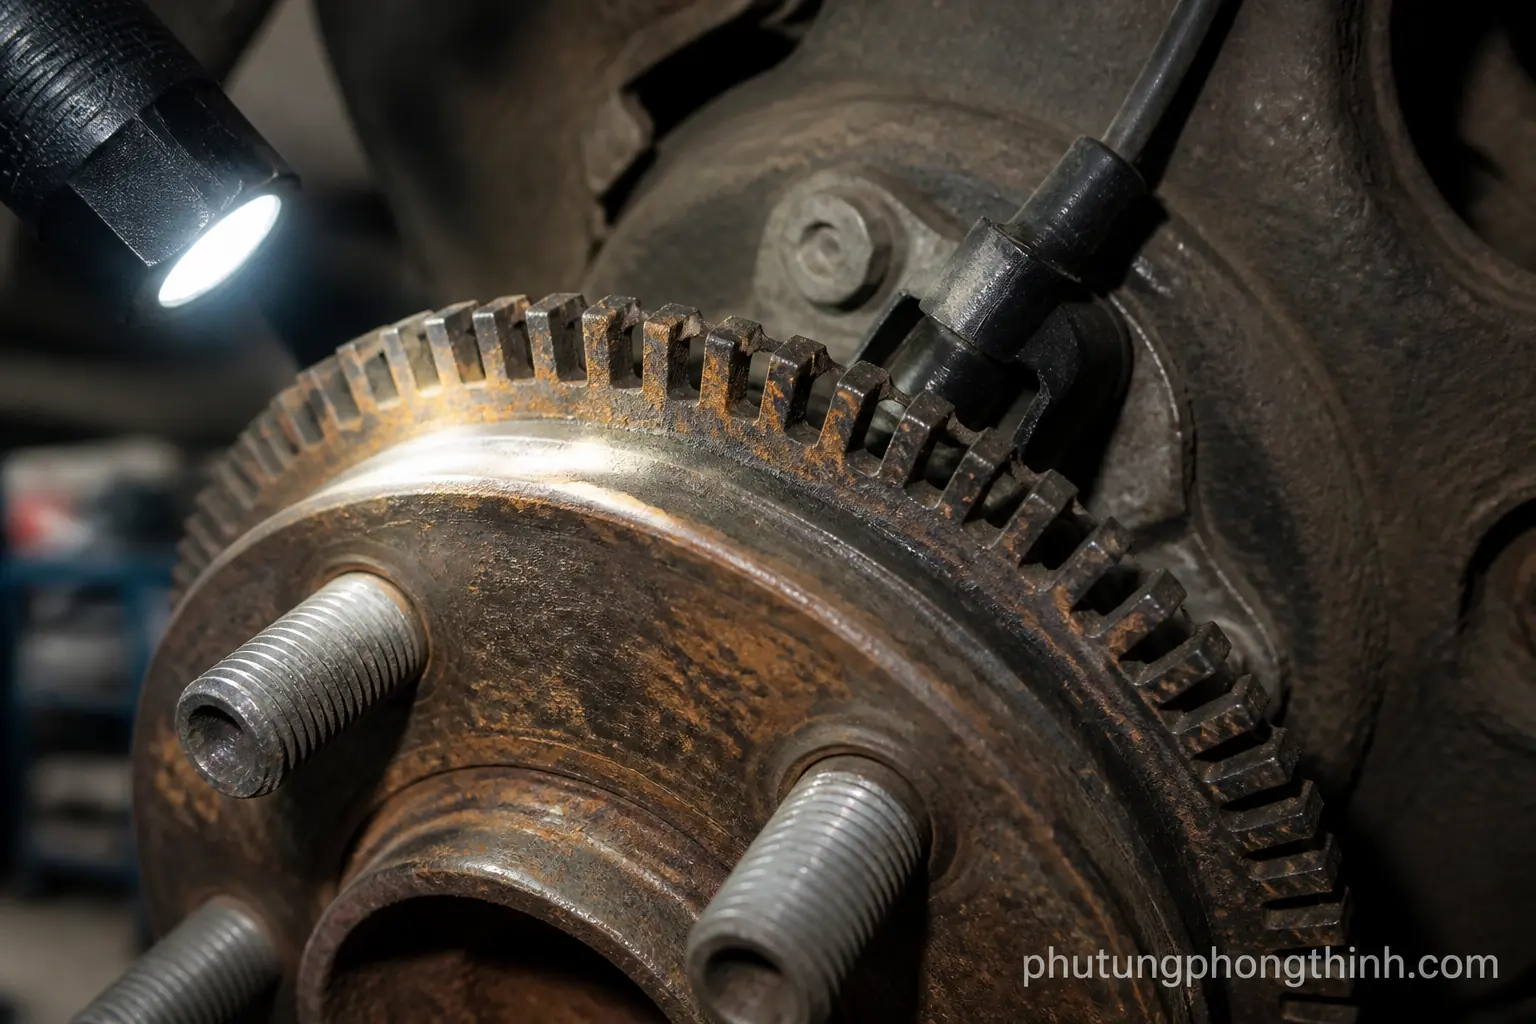
Remove clips or brackets that hold the hose to the chassis or strut, then note the routing and orientation so the new hose goes back the same way. While the area is open, inspect nearby parts for corrosion, cracked hard lines, or caliper damage.

Install the new brake hose and reconnect the line
Compare the old and new hose lengths, bends, and end fittings before installing anything. Thread all fittings by hand first to avoid cross-threading, and make sure the hose is not twisted when it is in place. It should have full suspension and steering clearance at every position.
If the design requires it, install new copper crush washers and tighten the banjo bolt to spec. Use the line wrench to snug the flare nut without over-tightening, then reattach the retaining clips and brackets so the hose cannot rub on moving parts.
Before you move on, verify that the hose sits naturally at full lock and full suspension travel, that no fittings are cocked or under tension, and that the master cylinder reservoir is topped off for bleeding.
- Check hose length, bends, and end fittings against the old part.
- Hand-start all threads before tightening.
- Confirm there is no twist in the hose.
- Top off brake fluid before bleeding begins.
Bleed the brakes after replacing the hose
Bleeding is required because any air introduced during the repair will cause a soft brake pedal. Brake system bleeding restores firm pedal feel and proper hydraulic pressure, so keep the master cylinder reservoir topped up throughout the process.
Follow the usual wheel order from the service manual, then use the bleeder screw with a helper or a pressure or vacuum bleeding method. Continue until the fluid runs clear and no air bubbles appear.
On ABS-equipped vehicles, some repairs require an ABS bleed procedure or scan tool-assisted sequence. After bleeding, check pedal firmness with the engine off and on, then inspect every fitting for leaks before reinstalling the wheel and road testing.
- Keep the reservoir topped up during bleeding.
- Use the bleeder screw in the correct wheel order.
- Continue until no air bubbles appear.
- Check for leaks before road testing.
Common mistakes and when to replace brake lines too
A few mistakes can undo the repair fast. Do not reuse damaged copper crush washers, force cross-threaded fittings, let the reservoir run dry, or leave air trapped in the system. Most importantly, do not drive the vehicle until the pedal is firm and the repair is leak-free.
If the steel brake line is rusted, kinked, or damaged at the flare nut, replace it too. Multiple cracked hoses or severe corrosion can mean the brake repair needs to go beyond one hose, and recurring soft pedal symptoms may point to other hydraulic issues, including the master cylinder. That is also the point where a simple part swap is no longer enough, just as replacing a worn front door limiter would only make sense when the surrounding hardware is in good shape.
Get a professional inspection if leaks persist, fittings seize, ABS faults remain after bleeding, braking feels uneven, the pedal still feels spongy, or you see corrosion near the hose connection or along the brake line.
- Avoid reused crush washers and cross-threaded fittings.
- Do not let the reservoir run dry.
- Do not drive until the pedal is firm.
- Replace damaged steel brake lines when needed.
FAQ about brake hose replacement
How long does a brake hose replacement usually take?
Can you drive with a damaged brake hose?
Do both sides need to be replaced at the same time?
What if the brake pedal stays soft after bleeding?
Frequently Asked Questions
How long does a brake hose replacement usually take?
For a straightforward DIY repair, one brake hose can often be replaced in about 1 to 2 hours, including bleeding time. Rusted fittings, seized banjo bolts, or extra bleeding on ABS-equipped vehicles can make it take longer.
Can you drive with a damaged brake hose?
No. A damaged brake hose can leak brake fluid or fail under pressure, which can cause major braking loss. The vehicle should be repaired before it is driven.
Do both sides need to be replaced at the same time?
Not always, but many people replace hoses in pairs if both sides are the same age or show similar wear. If only one hose is damaged and the other is still in good condition, replacing the bad one is usually acceptable.
What if the brake pedal stays soft after bleeding?
A soft pedal after bleeding usually means air is still trapped, the master cylinder reservoir ran low, or there is another leak in the system. Recheck the bleeding procedure, inspect all fittings, and consider ABS-related bleeding steps if your vehicle requires them.