How to Replace a Brake Caliper: 2026 DIY Guide
How to Replace a Brake Caliper: What You Need to Know First
If you are learning how to replace a brake caliper, start by confirming that the problem really is the caliper and not just worn pads or another brake issue. Common signs of a bad caliper include a sticking caliper, leaking caliper, uneven pad wear, pulling while braking, and a wheel or rotor that seems hotter than the others after a drive. Because this job involves brake safety, hydraulic lines, and bleeding afterward, it is best handled in a safe workspace with basic DIY skills and the right tools.
Tools, Parts, and Safety Prep
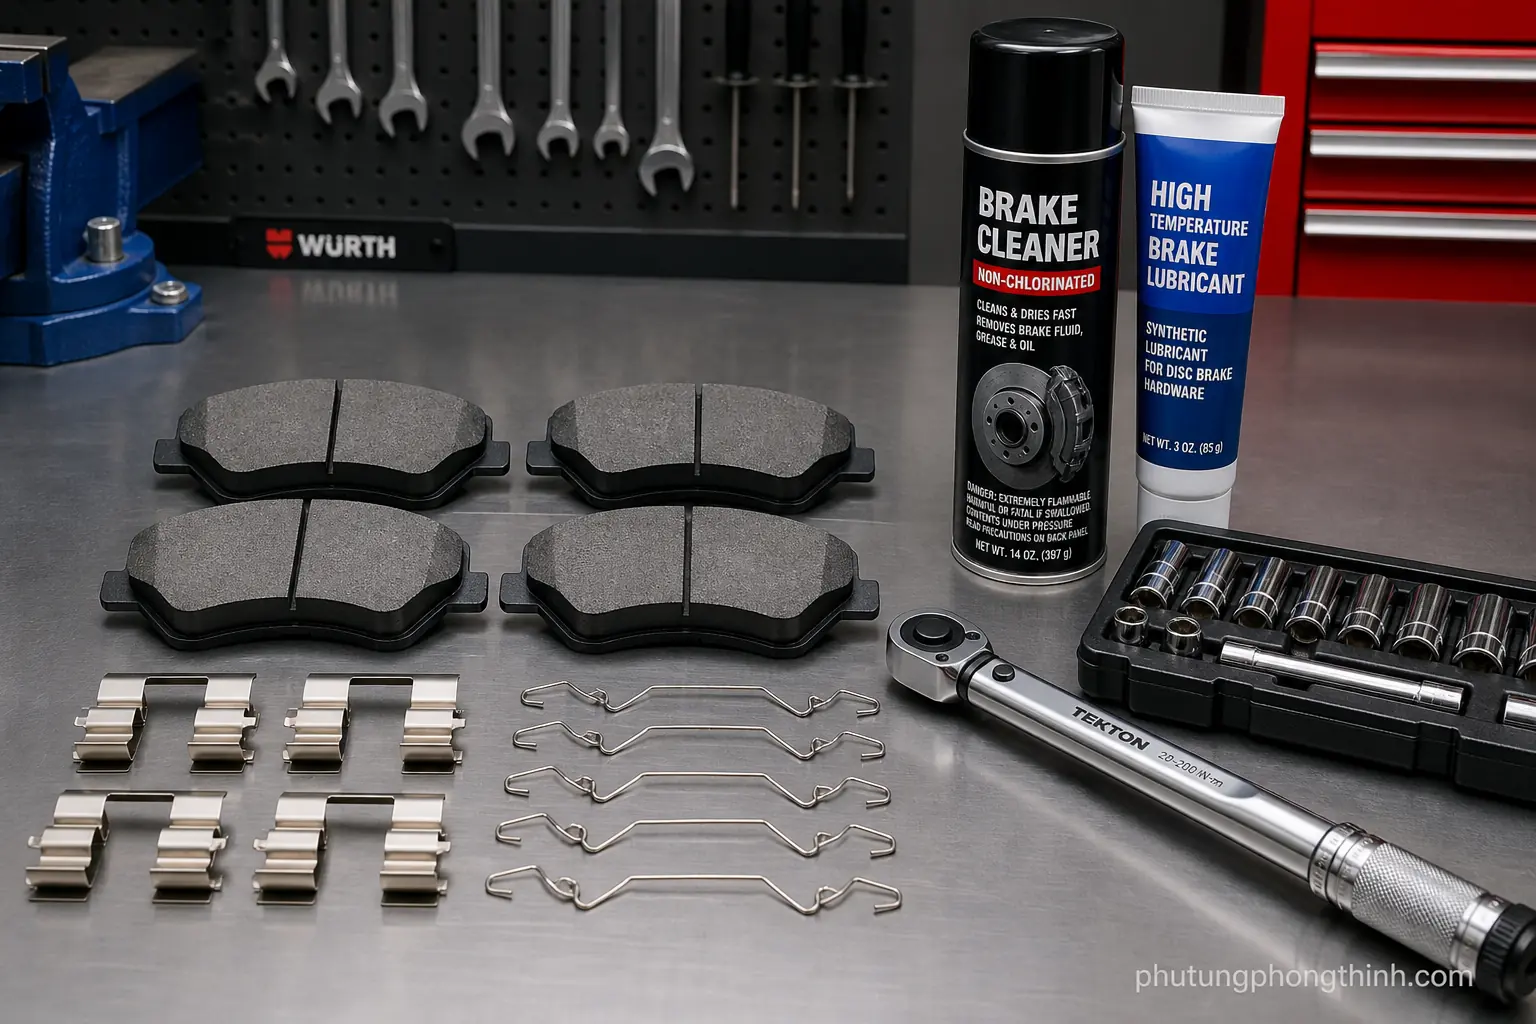
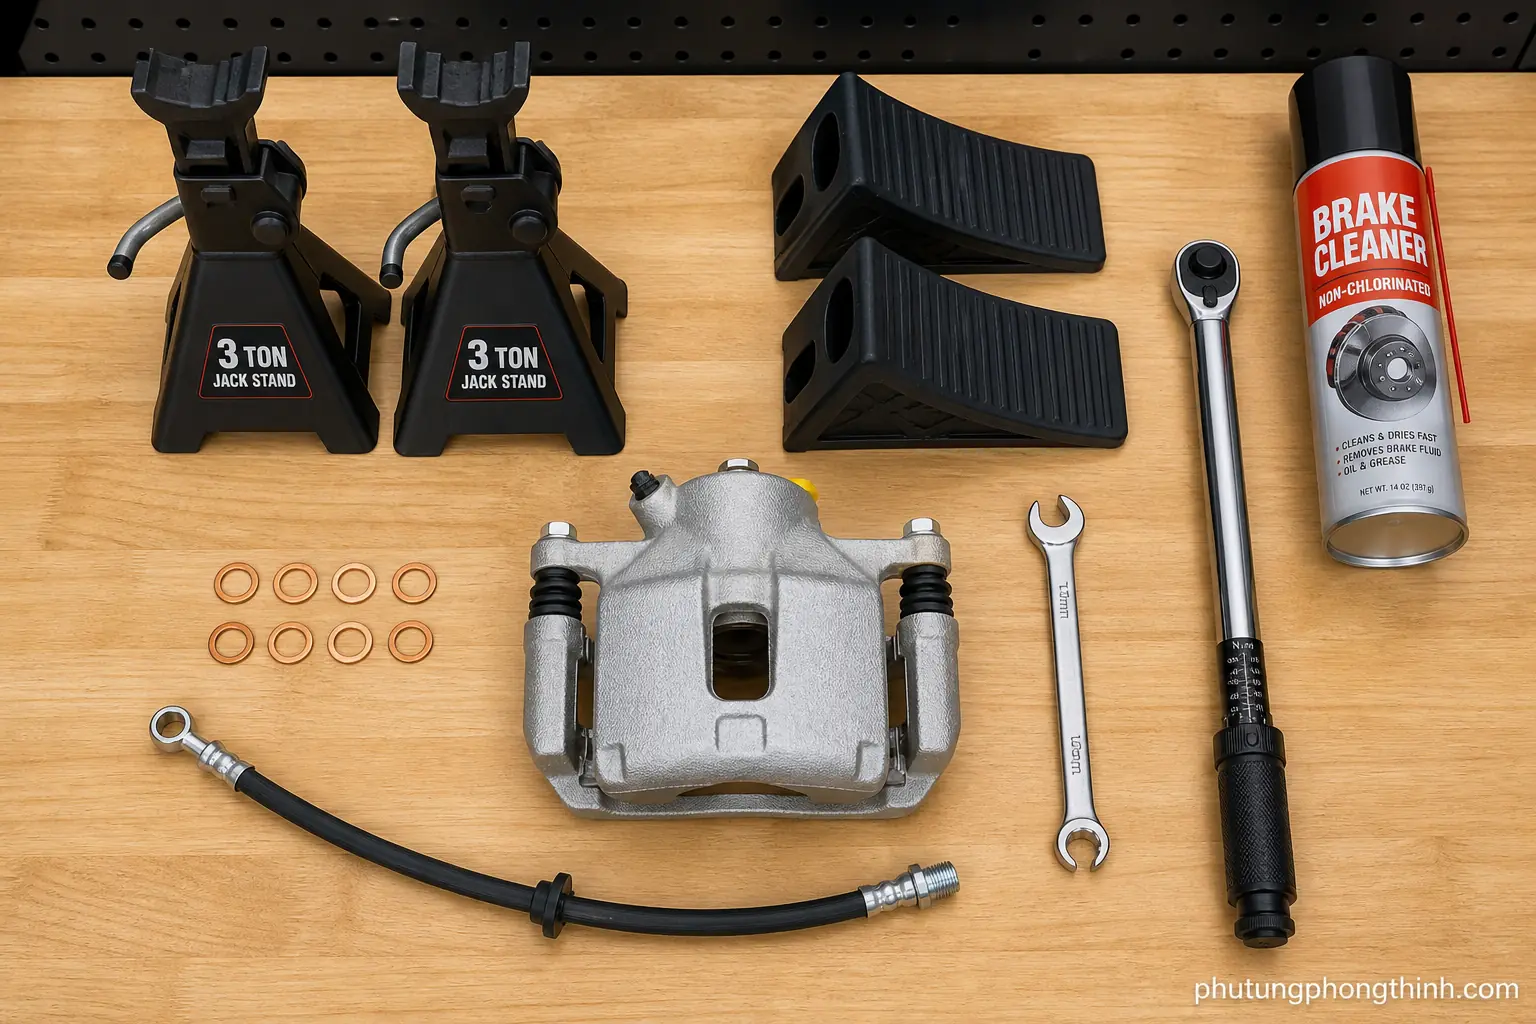
Before you begin, gather the essentials so the repair does not stall midway. You will usually need jack stands, a lug wrench, brake cleaner, a line wrench, a torque wrench, and a catch bottle for old fluid. On the parts side, have the replacement caliper ready, and inspect whether you also need brake pads, a brake hose, a banjo bolt, and new copper crush washers. It is also smart to confirm caliper torque specs and any vehicle-specific steps before you start unbolting anything. In some maintenance plans, a related cooling hose may be part of a larger under-hood service, but for this brake job the focus should stay on the brake system and safe access.
- Jack stands and wheel chocks
- Lug wrench and torque wrench
- Brake cleaner and shop rags
- Line wrench and catch bottle
- Replacement caliper and, if needed, pads and brake hose
- Banjo bolt and new copper crush washers
- Eye protection and gloves
Remove the Old Brake Caliper

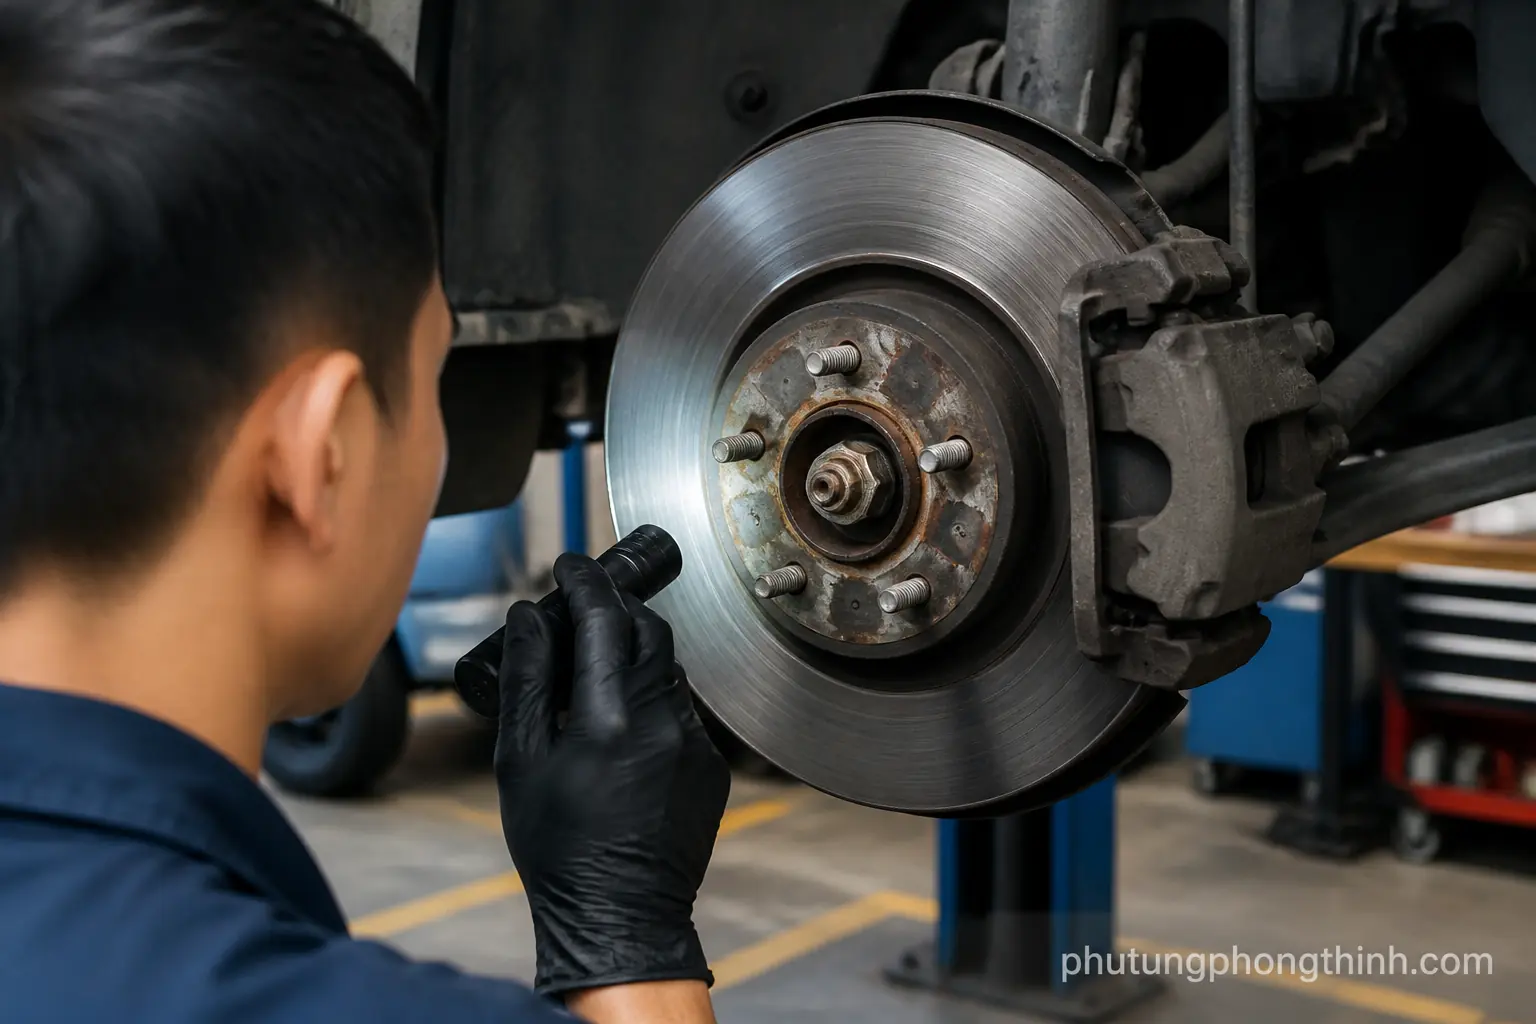
Begin by loosening the wheel lugs, raising the vehicle, and removing the wheel. Before disconnecting anything, inspect the caliper, slide pin bolts, caliper bracket bolts, and brake hose routing so you know how everything fits back together. Remove the caliper from the bracket and support it securely so the brake hose is not strained. If the hose must come off, loosen the banjo bolt carefully and be ready to catch fluid loss as you separate the line.
Install the Replacement Caliper Correctly
Compare the old and new calipers before bolting anything down. Make sure the orientation matches, the bleeder screw is on top where it can actually release air, and the hose connection style is correct for your vehicle. If the design uses a banjo fitting, install new copper crush washers on the connection so the seal is fresh. Reattach the caliper, slide pins, and bracket hardware to the proper torque, then check that the caliper moves freely without binding. A caliper that hangs up now can become a dragging brake later.
Bleed the Brakes and Restore Pedal Feel

After caliper installation, bleed the brakes so the pedal feels firm again. Keep the brake fluid reservoir topped off throughout the process, since letting it run low can introduce more air. Use the correct bleeding sequence for your vehicle and watch the hose for air bubbles until the fluid runs clean. On some cars, an ABS bleed procedure may be needed after caliper replacement, especially if air entered the system deeply. When the pedal is solid and consistent, the system is usually sealed and air-free.
- Top off the brake fluid reservoir before and during bleeding
- Open the bleeder screw and pump until bubbles stop appearing
- Follow the proper bleed sequence for your vehicle
- Use the ABS bleed procedure if required
- Confirm the pedal feels firm before driving
Final Checks, Test Drive, and Troubleshooting
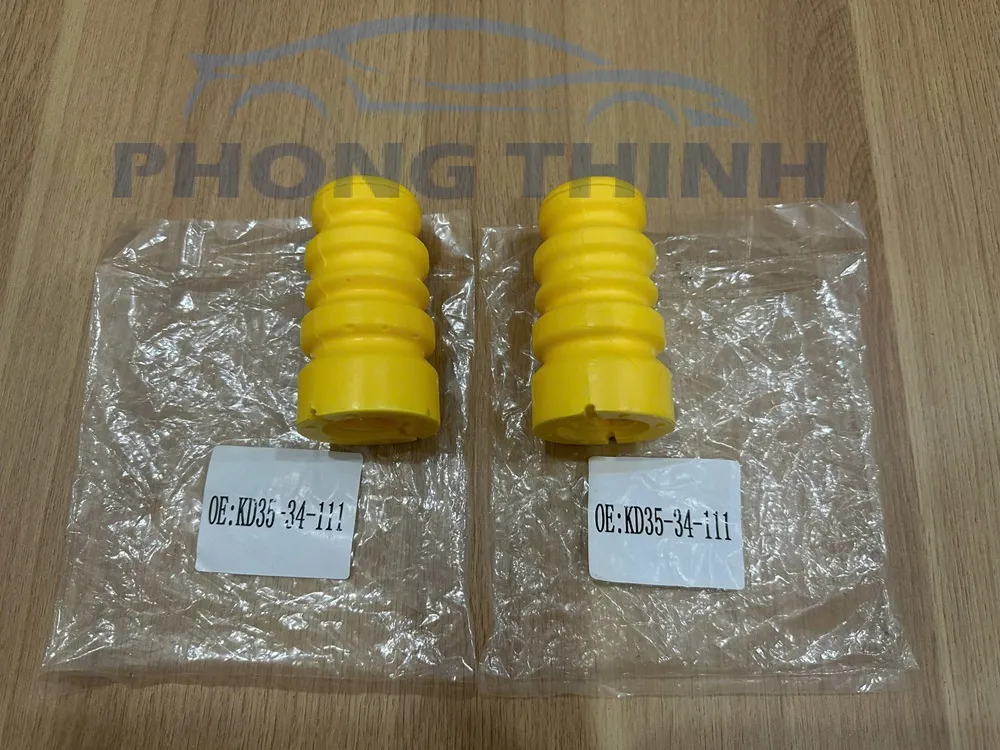
Before you call the job done, inspect the banjo bolt, bleeder screw, and hose connection for any leaks. Spin the wheel to confirm it turns freely and that the brake is not dragging. Then take a gentle test drive, checking pedal feel, stopping performance, and fluid level afterward. If the brake still pulls, feels soft, or the caliper seems to stick again, revisit the install for air in the system, a pinched hose, seized slide pins, or a torque issue. For some vehicles, a related suspension part such as this OEM suspension bushing can matter when you are chasing a pull or vibration, but first make sure the brake repair itself is sealed and working correctly.
- Check for leaks at the banjo bolt, bleeder screw, and hose fitting
- Verify the wheel spins without dragging
- Test-drive gently and recheck pedal feel and fluid level
- Reinspect the caliper if the car still pulls or the pedal stays soft
FAQ: Brake Caliper Replacement Questions
Many DIYers also want to know whether the pads should be replaced at the same time, when a brake hose replacement is smart, how to spot bleeding mistakes, and whether rotor replacement is necessary. The answers depend on wear, fluid condition, and whether the old parts were damaged or contaminated during the repair.
Frequently Asked Questions
Should I replace brake pads when replacing a caliper?
It is often a good idea if the pads are worn unevenly, contaminated, or very close to the minimum thickness. A sticking caliper can damage pads unevenly, so replacing them together can help the repair last longer and keep braking balanced.
When should the brake hose be replaced too?
Replace the brake hose if it is cracked, swollen, leaking, twisted, or old enough that the fitting does not look reliable. A damaged hose can restrict fluid flow or let air in, which can cause a soft pedal or dragging brake.
How can I tell if I made a bleeding or torque mistake?
A soft pedal, visible fluid leaks, or a caliper that still sticks are the most common clues. Recheck the bleeder screw, banjo bolt, copper crush washers, and all caliper torque specs if anything feels off.
Do I need to replace the rotor at the same time?
Not always. Rotor replacement is optional if the rotor thickness is still within spec, the surface is smooth enough, and there is no severe heat damage or warping. If the old caliper overheated the brake, inspect the rotor carefully before deciding.
Can I drive immediately after caliper replacement?
Only after the system is fully bled, the pedal feels firm, and you have confirmed there are no leaks or dragging brakes. A short, gentle test drive is the safest way to verify the repair before normal driving.