How to Flush Brake Fluid: Easy DIY Guide for 2026
How to Flush Brake Fluid: What You Need Before You Start
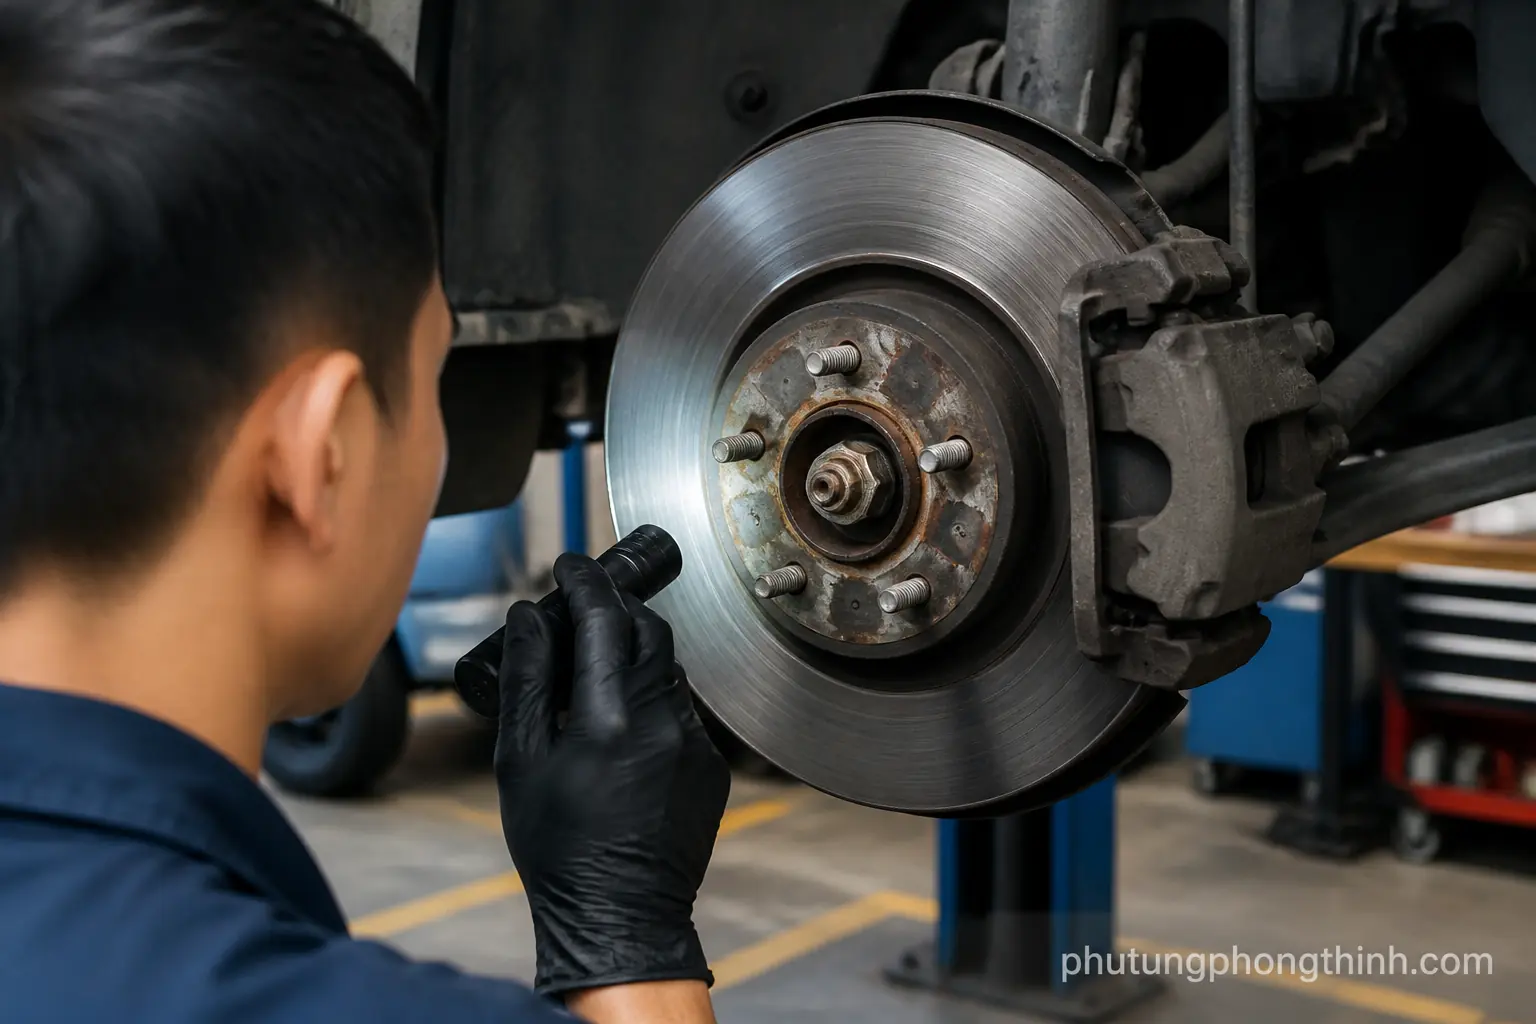
If you’re learning how to flush brake fluid, the first thing to know is that brake fluid absorbs moisture over time, which can reduce braking performance and contribute to a spongy brake pedal. Dark, contaminated fluid is another common sign that service is due. This guide covers a basic DIY flush and bleeding workflow for home mechanics, but the exact procedure can vary by vehicle and brake system.
Before you get started, it helps to think of this as both a safety job and a cleanliness job. Brake fluid is easy to contaminate, and the system works best when the master cylinder reservoir stays clean and properly filled throughout the process.
On some vehicles, you may also want a new wiper blade for the road test afterward, especially if you’ll be checking braking performance in wet conditions.
Tools, Supplies, and Brake Fluid Types
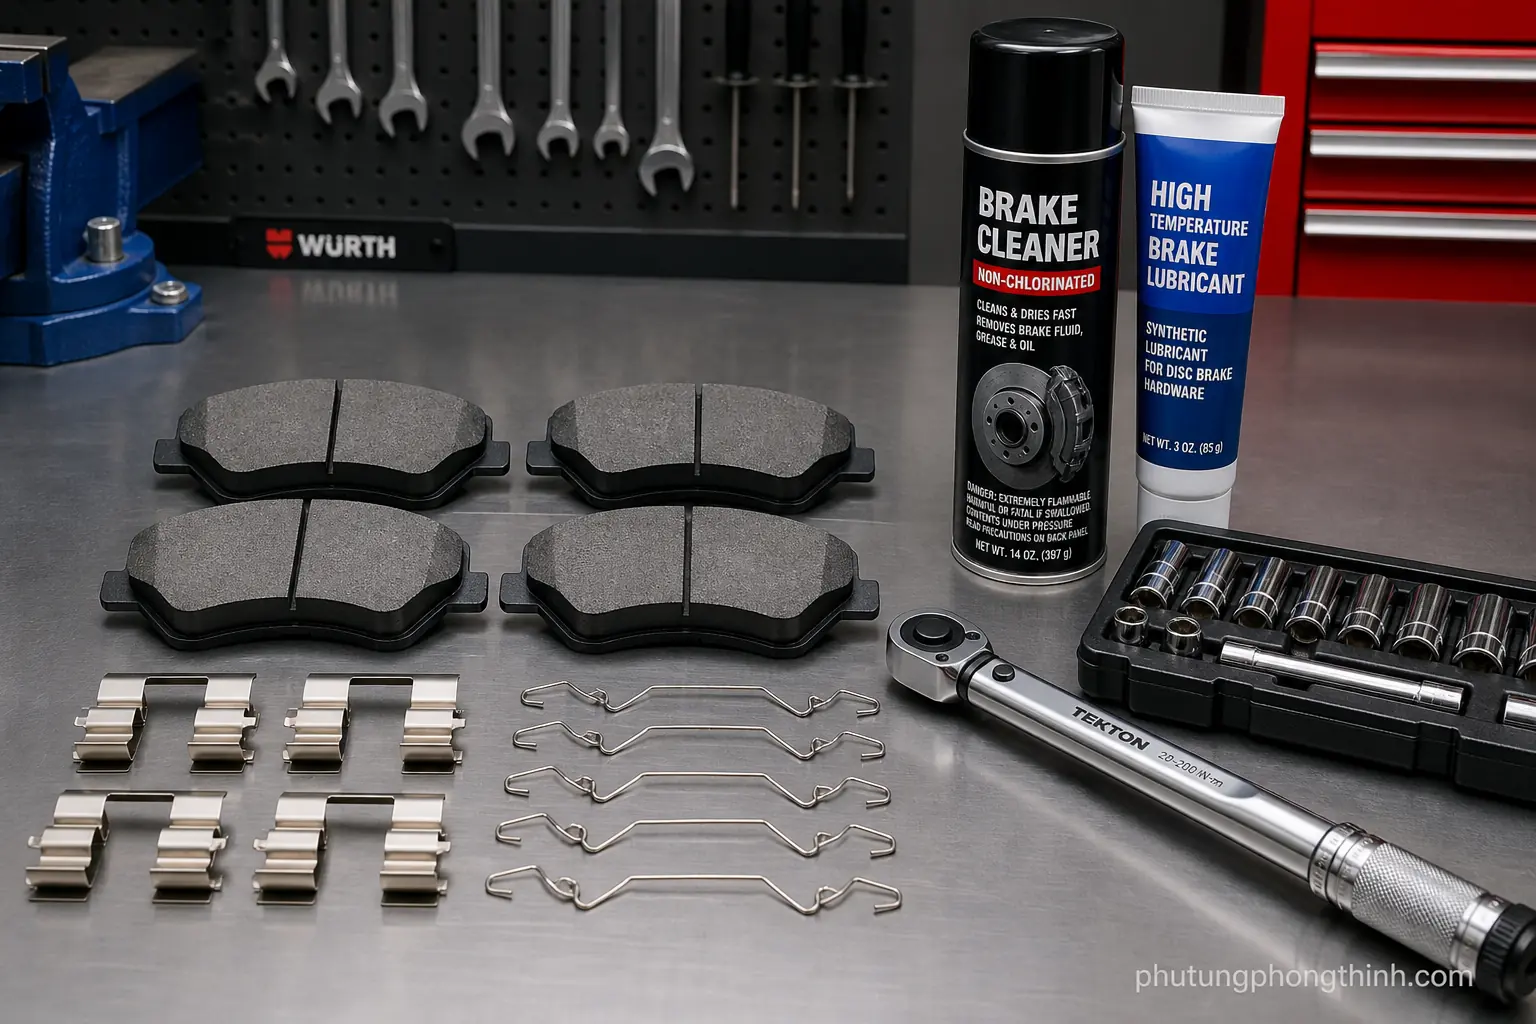
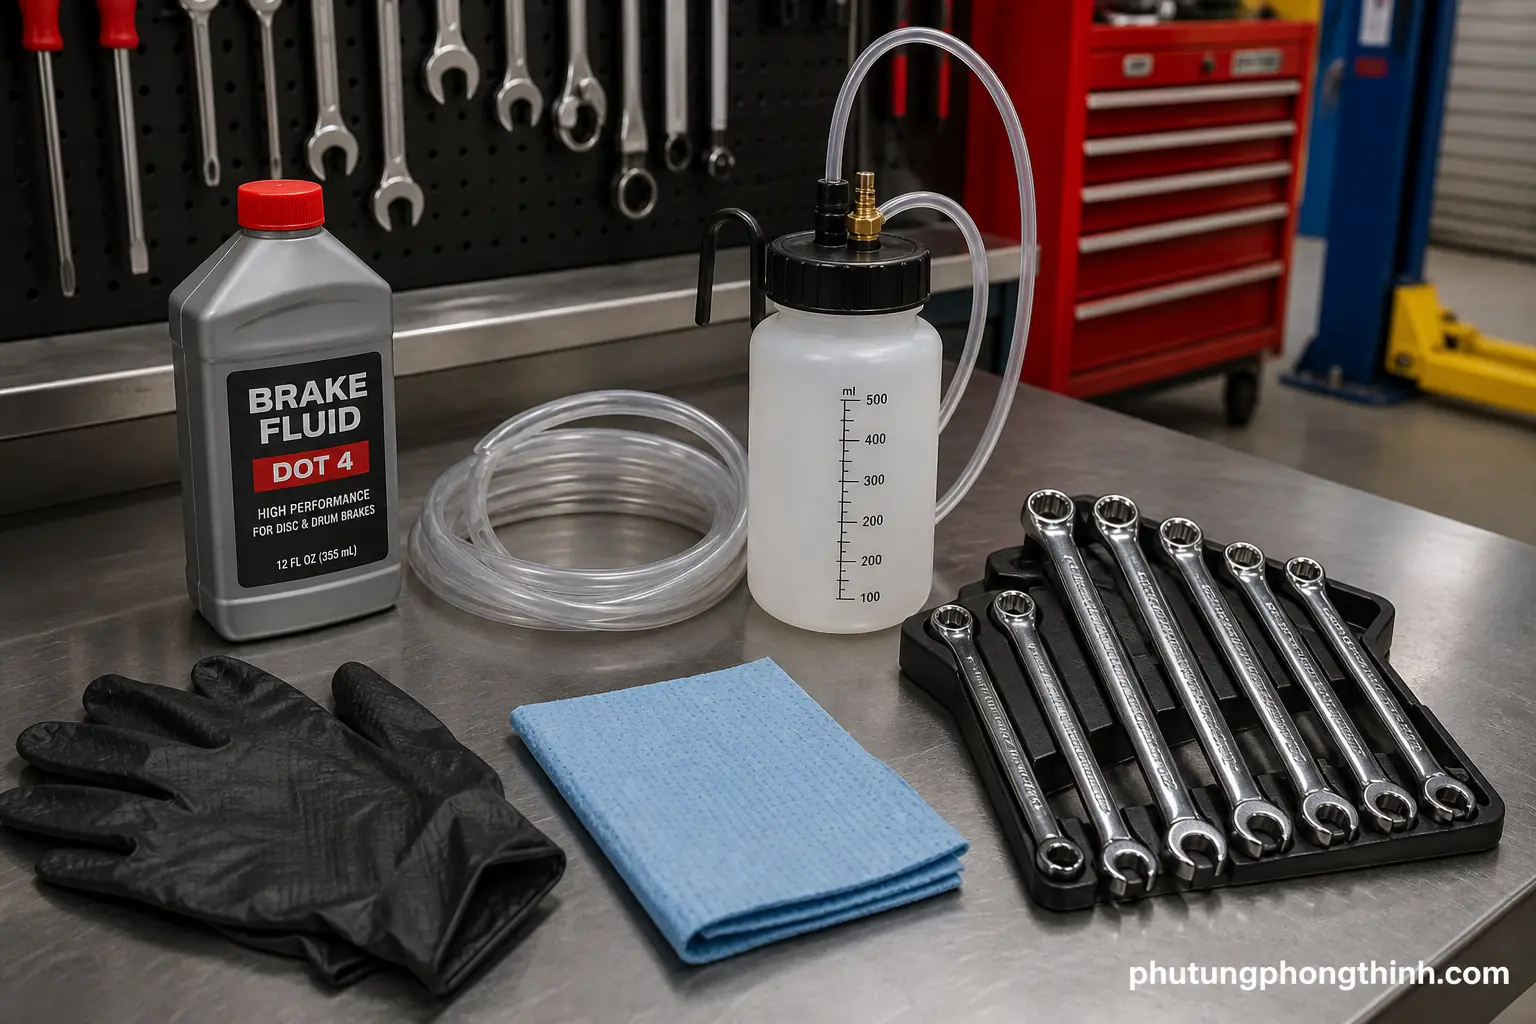
A clean flush is easier when you gather everything first. At minimum, you’ll want jack stands, a lug wrench, a line wrench for the bleeder screws, the correct brake fluid, clear plastic tubing, a catch bottle, and gloves. Optional tools such as a pressure bleeder or vacuum bleeder can make the job faster, but hand bleeding still works well when done carefully.
- Jack stands and a lug wrench for safe wheel access
- Line wrench for opening bleeder screws without rounding them off
- Fresh brake fluid that matches the vehicle specification
- Clear plastic tubing and a catch bottle for controlled bleeding
- Gloves and rags to help protect painted surfaces
| Item | Why it matters |
|---|---|
| DOT 3 brake fluid | Common in many vehicles; always verify the spec first |
| DOT 4 brake fluid | Often used where higher boiling resistance is required |
| Pressure bleeder | Helps push fluid through the system with less pedal pumping |
| Vacuum bleeder | Can speed up one-person bleeding, but connections must seal well |
Use unopened fluid only, and keep contaminants out of the master cylinder reservoir at every step. Brake fluid types are not interchangeable in every application, so match the vehicle’s recommendation before you start.
Step-by-Step Brake Fluid Flush and Bleeding Order
Start by protecting painted surfaces and confirming the reservoir is topped up with the correct fluid. Once the car is safely supported and the wheels are accessible, attach clear plastic tubing to the first bleeder screw and run the hose into a catch bottle. Open the bleeder, then let the old fluid flow out while keeping an eye on the reservoir so it never runs dry.

The typical bleeding order is usually the wheel farthest from the master cylinder first, but some vehicles differ, so check the owner’s manual. Repeat the process at each corner until clean fluid appears and the pedal starts to feel firm. When the job is done, torque the bleeder screws properly and recheck for leaks before lowering the car.
Pressure Bleeding vs Vacuum Bleeding
Pressure bleeding is often the easiest choice if you want steady flow and less pedal work, while vacuum bleeding can be convenient for a one-person DIY setup. The downside to vacuum bleeding is that poor connections can pull in air and make it harder to judge whether the system is truly sealed. Traditional two-person pumping still works on many vehicles if you move slowly and keep the reservoir full.
| Method | Main advantage | Main drawback |
|---|---|---|
| Pressure bleeding | Fast, consistent fluid flow | Requires the right adapter and setup |
| Vacuum bleeding | Good for one-person work | Can draw air if fittings are not sealed |
| Two-person pumping | Simple and familiar | Slower and depends on good communication |
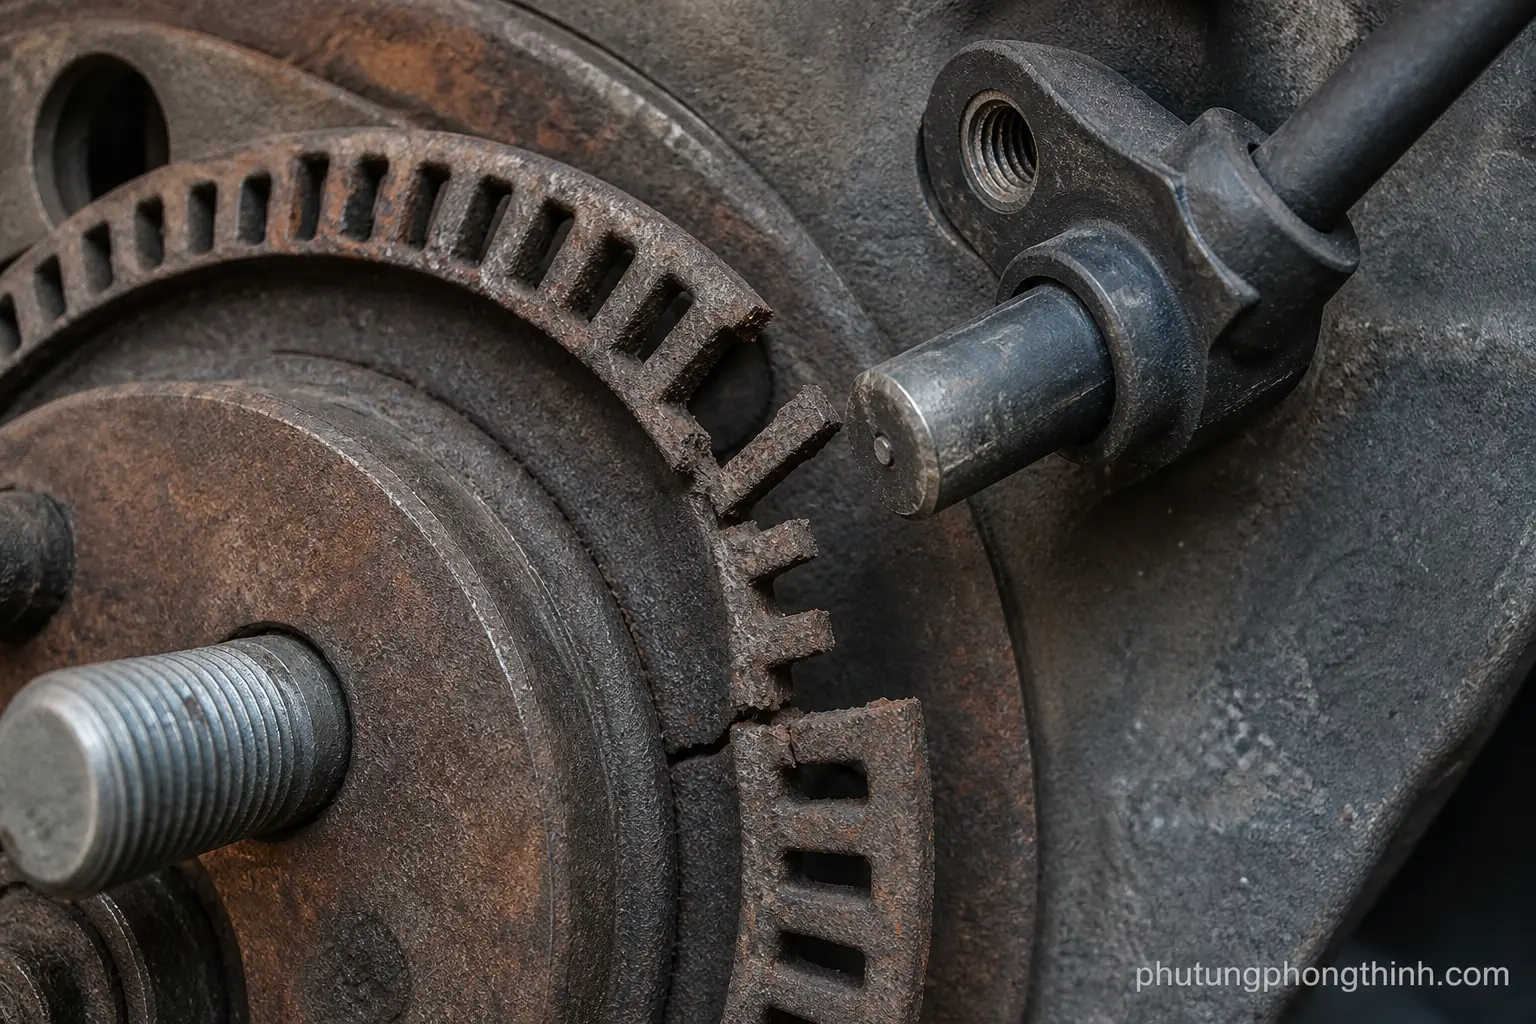
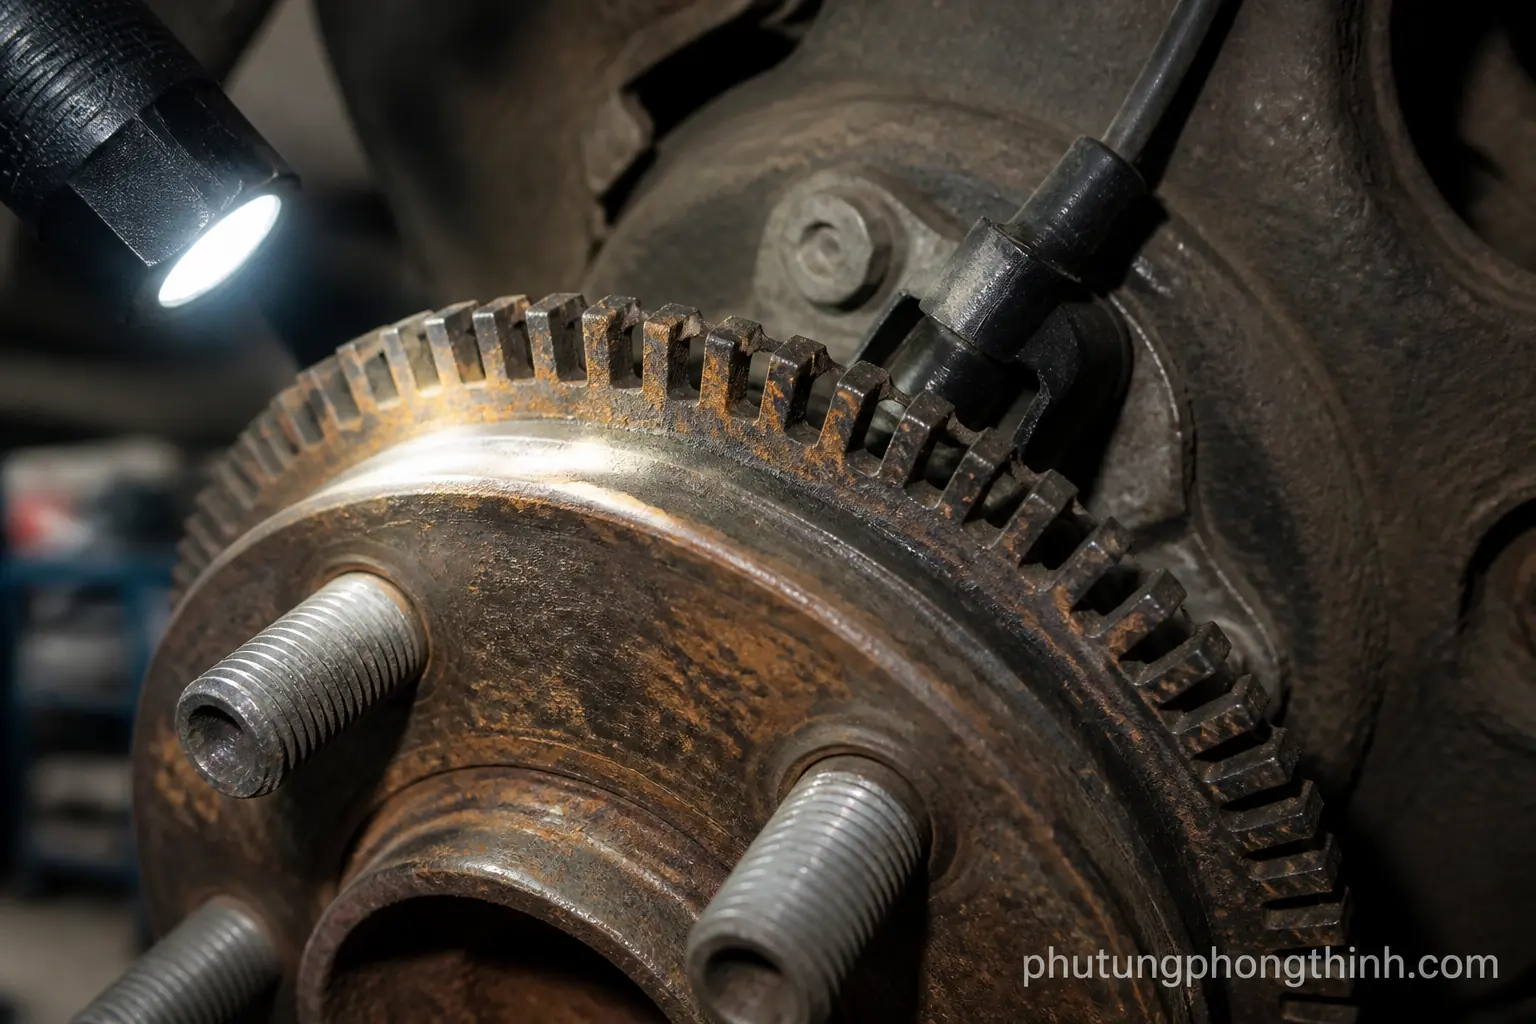
Some ABS hydraulic unit systems may need special procedures or scan-tool support, so the bleeding method should match the vehicle’s design and service instructions.
ABS Systems, Bleeding Order, and Common Mistakes

A few common mistakes can turn a simple flush into a soft brake pedal problem. Don’t let the reservoir empty, don’t mix fluid types, and don’t open bleeders without a plan for catching the old fluid. If the pedal still feels soft afterward, trapped air or loose fittings are usually the first things to check.
When to Replace Brake Fluid and Final Safety Checks
Brake fluid should be replaced on a regular schedule, and many drivers also service it sooner if the fluid looks dark or the pedal feel changes. Moisture-contaminated fluid can reduce reliability over time, so brake maintenance is worth repeating before problems show up.
- Check for a firm pedal feel before moving the car
- Inspect every bleeder screw and fitting for leaks
- Confirm the reservoir is filled to the correct level
- Take a slow, low-speed test drive in a safe area
- Stop and recheck if the pedal feels spongy or warning lights appear
If the pedal remains soft after a careful flush, or if any brake warning light stays on, it’s time to have the system inspected by a professional. After the brake service is complete, some owners also look at related reliability items like new wiper blade replacement and, on compatible vehicles, other front-end components such as front parking sensor wiring as part of a broader maintenance check.
Frequently Asked Questions
How often should brake fluid be flushed?
A common interval is every 2 to 3 years, but the correct schedule depends on the vehicle maker’s recommendation and how the car is used. If the fluid looks dark, the pedal feel changes, or moisture contamination is suspected, service may be needed sooner.
Can I mix DOT 3 and DOT 4 brake fluid?
Only if the vehicle manufacturer allows it. Both are glycol-based, but they are not always interchangeable in every system. The safest approach is to use the exact type specified in the owner’s manual.
Why does the brake pedal still feel soft after bleeding?
The most common reasons are trapped air, a loose fitting, an empty reservoir during the flush, or an ABS-related procedure that was not completed correctly. Recheck for leaks and repeat the bleeding process if needed.
Do I need a scan tool to bleed ABS brakes?
Not always. Many vehicles can be bled with standard methods, but some ABS hydraulic unit systems require a scan tool or a special procedure to cycle the module and remove trapped air.
What is the safest way to prevent paint damage during a brake fluid flush?
Keep a spray bottle of water and clean rags nearby, and wipe up spills immediately. Brake fluid can damage paint quickly, so protecting painted surfaces before you start is important.