How to Flush a Cooling System: Step-by-Step DIY Guide
How to Flush a Cooling System Safely
If you are learning how to flush a cooling system, the main idea is simple: remove old coolant, wash out rust and scale, then refill with the correct mix so the engine can transfer heat properly again. A full flush goes beyond a basic drain-and-fill, which only replaces part of the fluid. The goal is to restore cooling performance and reduce the chance of overheating.
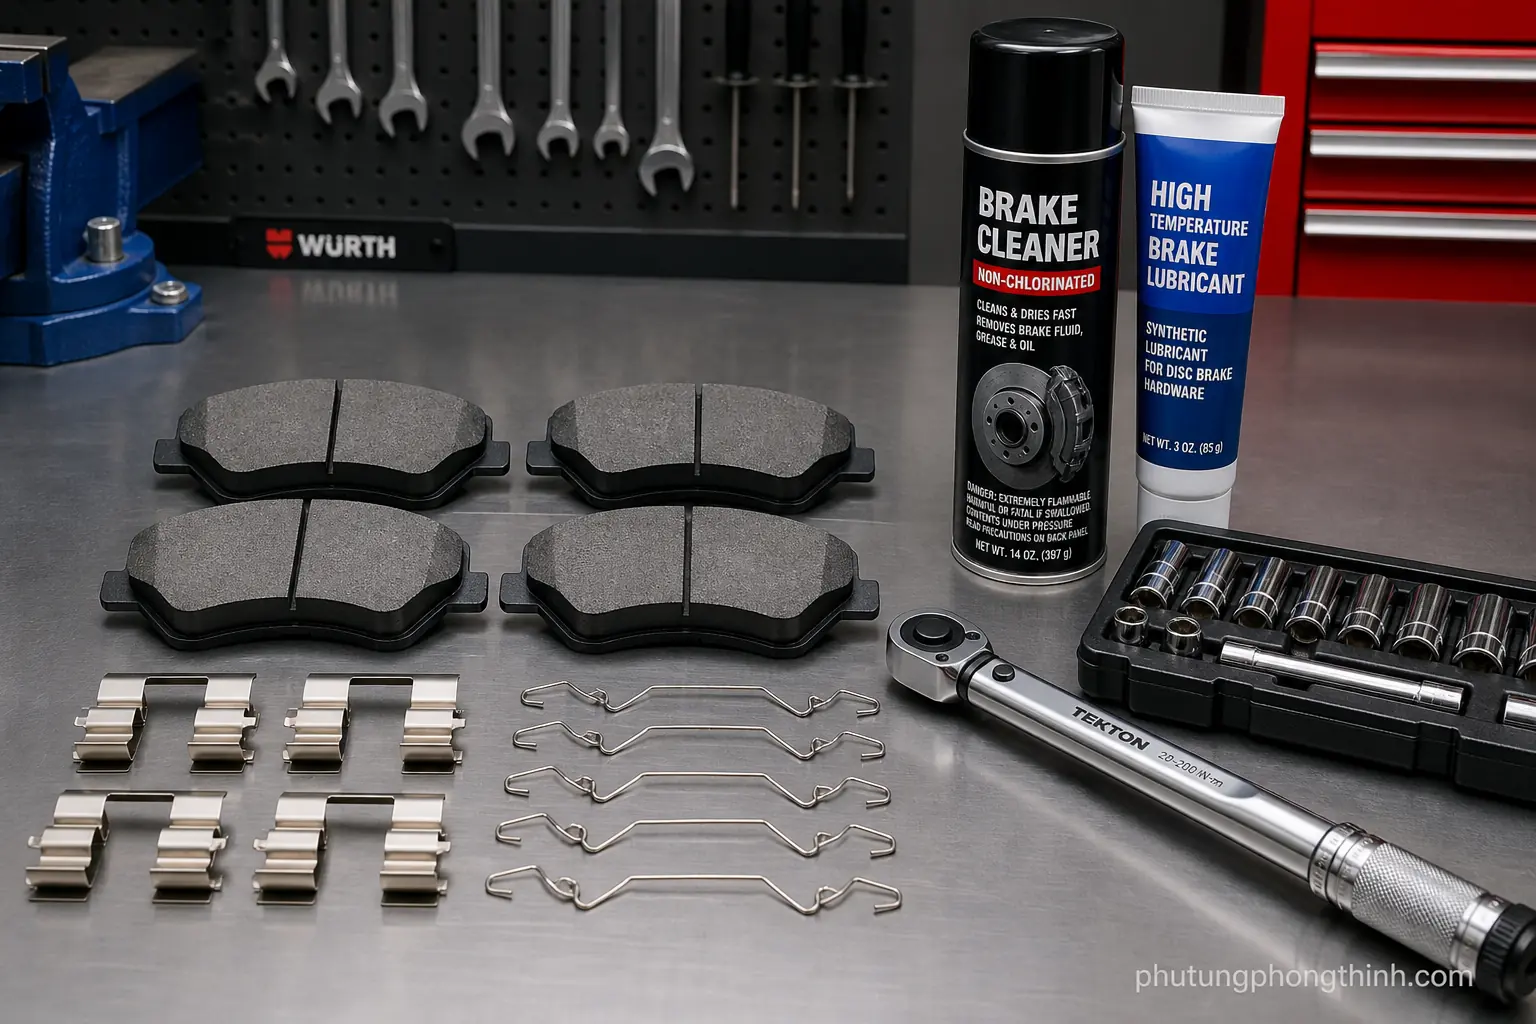
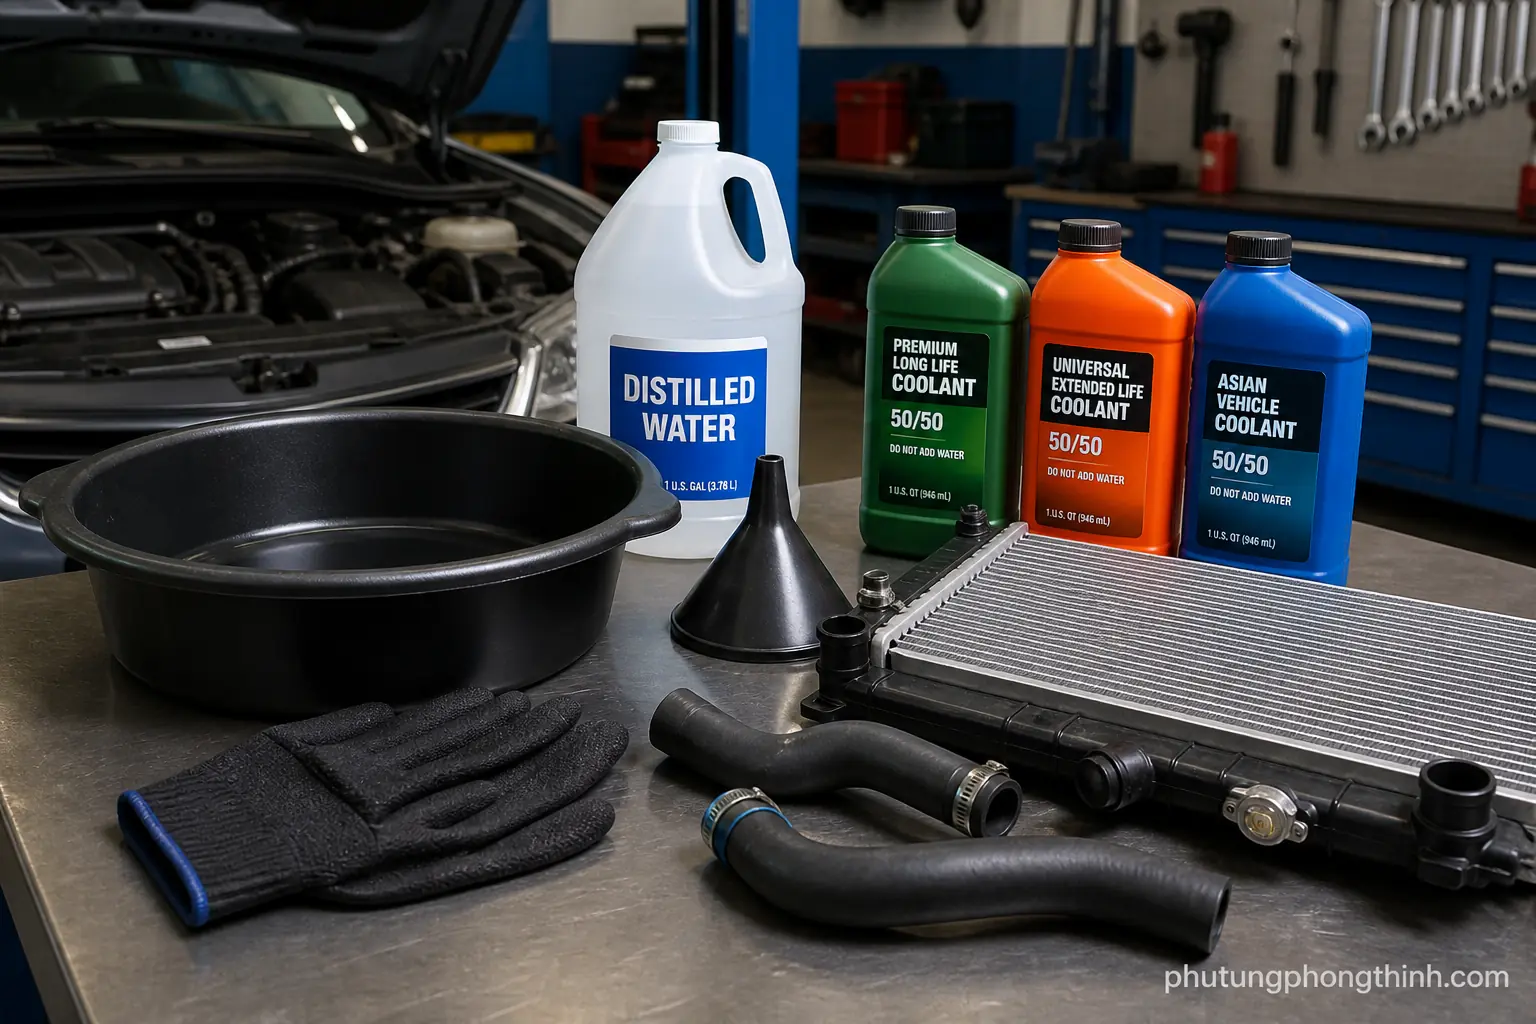
Before you start, gather the right supplies so the job stays organized: the coolant matched to your vehicle spec, distilled water for rinsing and mixing, a drain pan, funnel, gloves, eye protection, and an optional radiator flush cleaner if your vehicle calls for it.
- Coolant matched to the vehicle spec
- Distilled water for mixing and rinsing
- Drain pan, funnel, gloves, eye protection
- Optional radiator flush cleaner if appropriate for the vehicle
Tools, Coolant Type, and Safety Checks
Choosing the right coolant is the first important step. Check the owner’s manual or the radiator cap label so you know exactly what coolant does my car need, then avoid mixing coolant chemistries that are not compatible. The wrong blend can reduce protection and create deposits in the engine cooling system.
Safety checks matter just as much. The engine must be fully cool before you remove the radiator cap. Inspect for leaks, brittle hoses, and a low coolant reservoir level, and if the vehicle keeps overheating or losing pressure, look for signs of a bad radiator cap before you move on.
- Use the owner’s manual or cap label to identify the correct coolant type
- Mention what coolant does my car need as a key decision point
- Warn against mixing incompatible coolant chemistries
- Engine must be fully cool before removing the radiator cap
- Inspect for leaks, brittle hoses, and low coolant reservoir level
- Check for signs of a bad radiator cap if the system has repeated overheating or pressure loss
Step-by-Step Cooling System Flush Procedure

Start by draining coolant from the radiator and, if your engine has them, the engine block drains too. Capture the old fluid in a drain pan so it can be disposed of properly later. Then refill with distilled water or a flush solution, run the engine briefly, and drain it again to carry out loose debris and contaminated coolant.
Some parts hold on to old fluid longer than others. Set the heater to hot so the heater core is included in the cycle, and if sediment keeps coming back, a back flush of the heater core can help clear it. In stubborn systems, repeated rinse cycles are sometimes the only way to remove built-up residue.
For the final refill, add the correct coolant and distilled water mix for your vehicle. Bleed trapped air using bleed screws, the radiator cap procedure, or a vacuum-fill tool, then top off the coolant reservoir after the thermostat opens and circulation begins.
- Drain coolant from the radiator and, if equipped, the engine block drains
- Capture old coolant for proper disposal
- Refill with distilled water or flush solution, run the engine briefly, then drain again
- Include the heater core by setting the heater to hot
- Describe when a back flush of the heater core is useful
- Note that stubborn sediment may require repeated rinse cycles
- Refill with the correct coolant and distilled water mix
- Bleed air pockets using bleed screws, the radiator cap procedure, or a vacuum-fill tool
- Top off the coolant reservoir after the thermostat opens and coolant circulates
How to Bleed Air and Check for Problems After the Flush

Bleeding matters because air pockets can block circulation, reduce heat output, and cause overheating even when the coolant level looks right. To bleed air from a cooling system, use bleed screws if your vehicle has them, or work through careful warm-up cycles until the heater blows hot and the temperature stays stable.
After the flush, recheck the coolant level after the first heat cycle and again after a short drive. Look for leaks at hoses, the radiator, drain plugs, and the reservoir cap. If symptoms continue, verify that the radiator cap and thermostat are functioning normally before assuming the flush solved everything. In some cases, a drivability issue may also lead you to inspect a related engine part if the problem is not purely cooling-related.
- Describe how air pockets can cause poor heat and overheating
- Mention how to bleed air from a cooling system using bleed screws or careful warm-up cycles
- Confirm heater output and stable temperature as signs the system is purged
- Recheck coolant level after the first heat cycle and after a short drive
- Look for leaks at hoses, radiator, drain plugs, and the reservoir cap
- Verify the radiator cap and thermostat are functioning normally if symptoms persist
Maintenance Tips, Disposal, and When to Seek Help
Coolant flush intervals vary by vehicle and coolant type, so follow the maintenance schedule that fits your engine and the fluid you use. When the old coolant comes out, dispose of it safely and legally through a recycling center or approved collection point, because pets and wildlife are strongly attracted to coolant and can be poisoned by it.
If the system keeps showing contamination, repeated overheating, or pressure loss, the issue may be bigger than routine maintenance. Persistent trouble can point to radiator or heater core problems, and in some cases you may need to inspect a timing system component as part of a broader engine repair. Get professional help if block drains are seized, the system is heavily rusted, or bleeding never stabilizes.
- Explain coolant flush intervals vary by vehicle and coolant type
- Cover how to dispose of used coolant safely and legally
- Remind readers that pets and wildlife are attracted to coolant
- Persistent contamination may point to radiator or heater core issues
- Milky coolant, repeated overheating, or pressure loss can indicate bigger problems
- Advise professional help if block drains are seized, the system is heavily rusted, or bleeding never stabilizes
FAQ: Coolant Flush Questions
Frequently Asked Questions
What is the difference between a coolant flush vs drain and fill?
A drain-and-fill replaces only the coolant that comes out when you open the system, while a full coolant flush also helps remove old fluid, rust, and scale from the radiator, heater core, and passages. A flush is usually chosen when the coolant is contaminated or the system needs a deeper refresh.
How do you back flush a heater core?
A back flush sends water through the heater core in the reverse direction of normal flow to help dislodge debris and sediment. It is typically done with the heater set to hot and should be performed carefully so you do not damage hoses or fittings.
How do you bleed air from a cooling system?
You can bleed air by using bleed screws if the vehicle has them, following the radiator cap procedure during warm-up, or using a vacuum-fill tool. The key signs that air is gone are stable temperature and strong heater output.
What coolant does my car need?
The right coolant depends on the vehicle’s specifications, which are usually listed in the owner’s manual or on a label near the radiator cap or reservoir. Do not guess or mix incompatible coolant types, because that can reduce protection and cause deposits.
How do you know if the flush did not fix the overheating problem?
If the engine still overheats, loses coolant, or shows poor heater performance after proper bleeding and refill, the issue may be a bad radiator cap, thermostat trouble, a leak, or a deeper radiator or heater core problem. Persistent symptoms mean the cooling system needs further diagnosis.