How to Diagnose Warped Rotors: 7-Step DIY Test
How to Diagnose Warped Rotors: the common symptoms
If you're learning how to diagnose warped rotors, start with the symptoms you can feel. In many cases, “warped rotors” really means brake rotor runout, thickness variation, or uneven pad material transfer rather than a truly bent disc. The usual clues are brake pedal pulsation, steering wheel shimmy, or a shudder that shows up during light-to-moderate braking.
The goal is to confirm whether the rotors are actually causing the vibration or whether a caliper, hub, or bearing issue is creating the same feeling. That distinction matters, because the wrong repair can waste time and money.
- Brake pedal pulsation during stopping
- Steering wheel shimmy on the front axle
- Shudder or vibration during light-to-moderate braking
- Symptoms that point to rotor, caliper, hub, or bearing problems
Tools you need for a DIY brake diagnosis
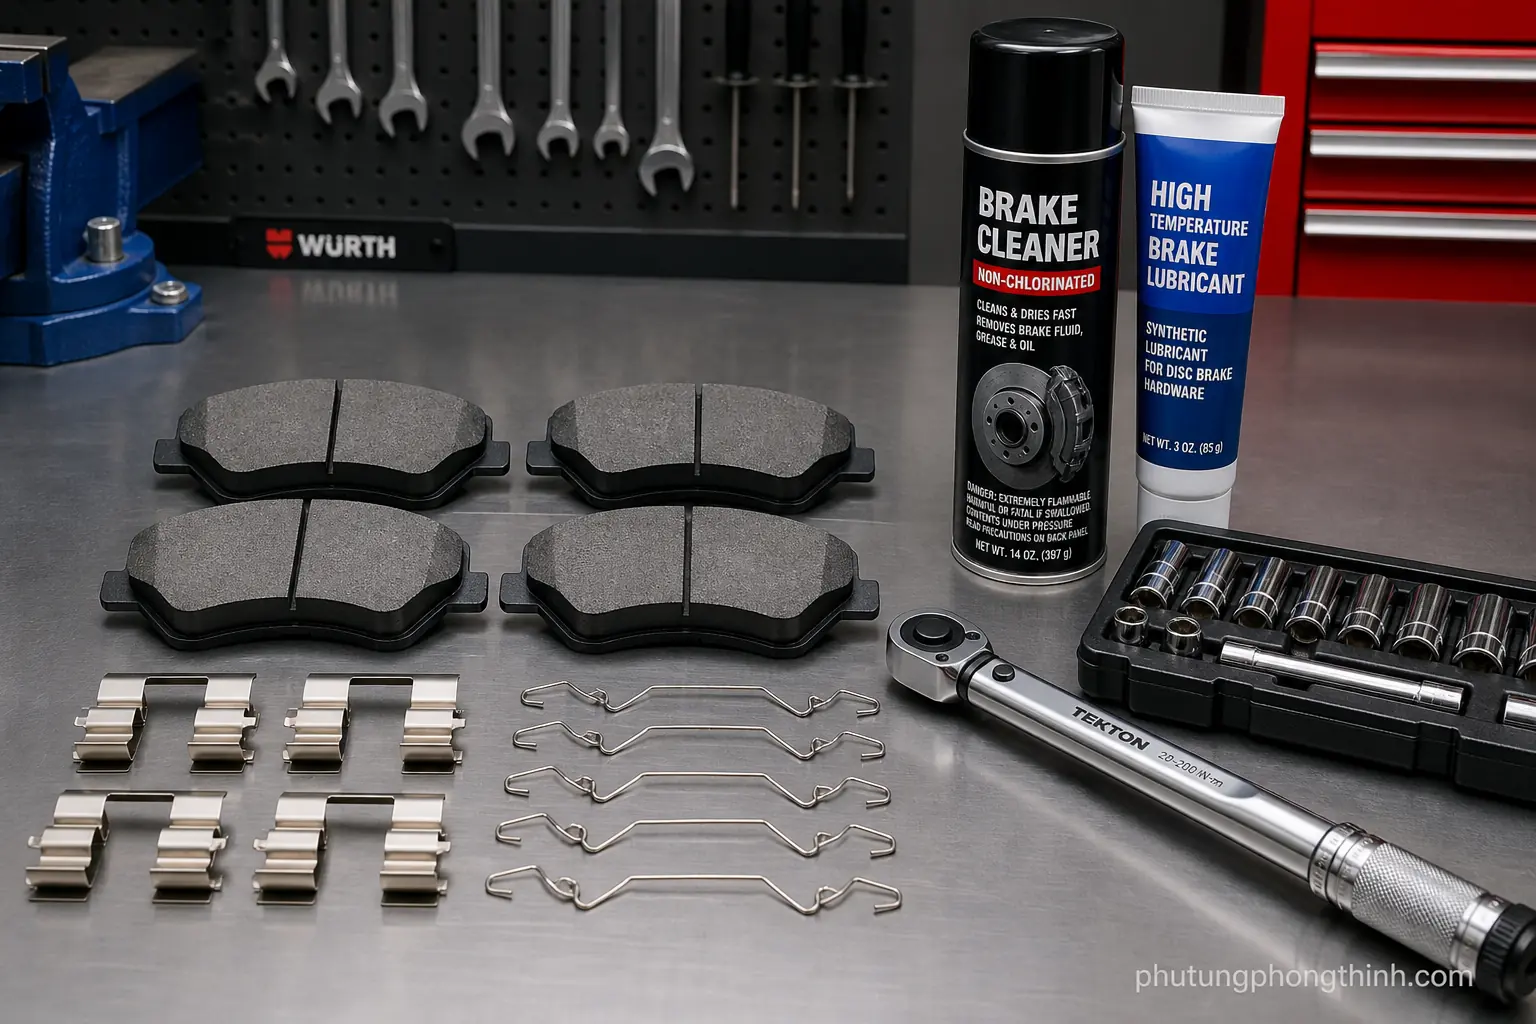
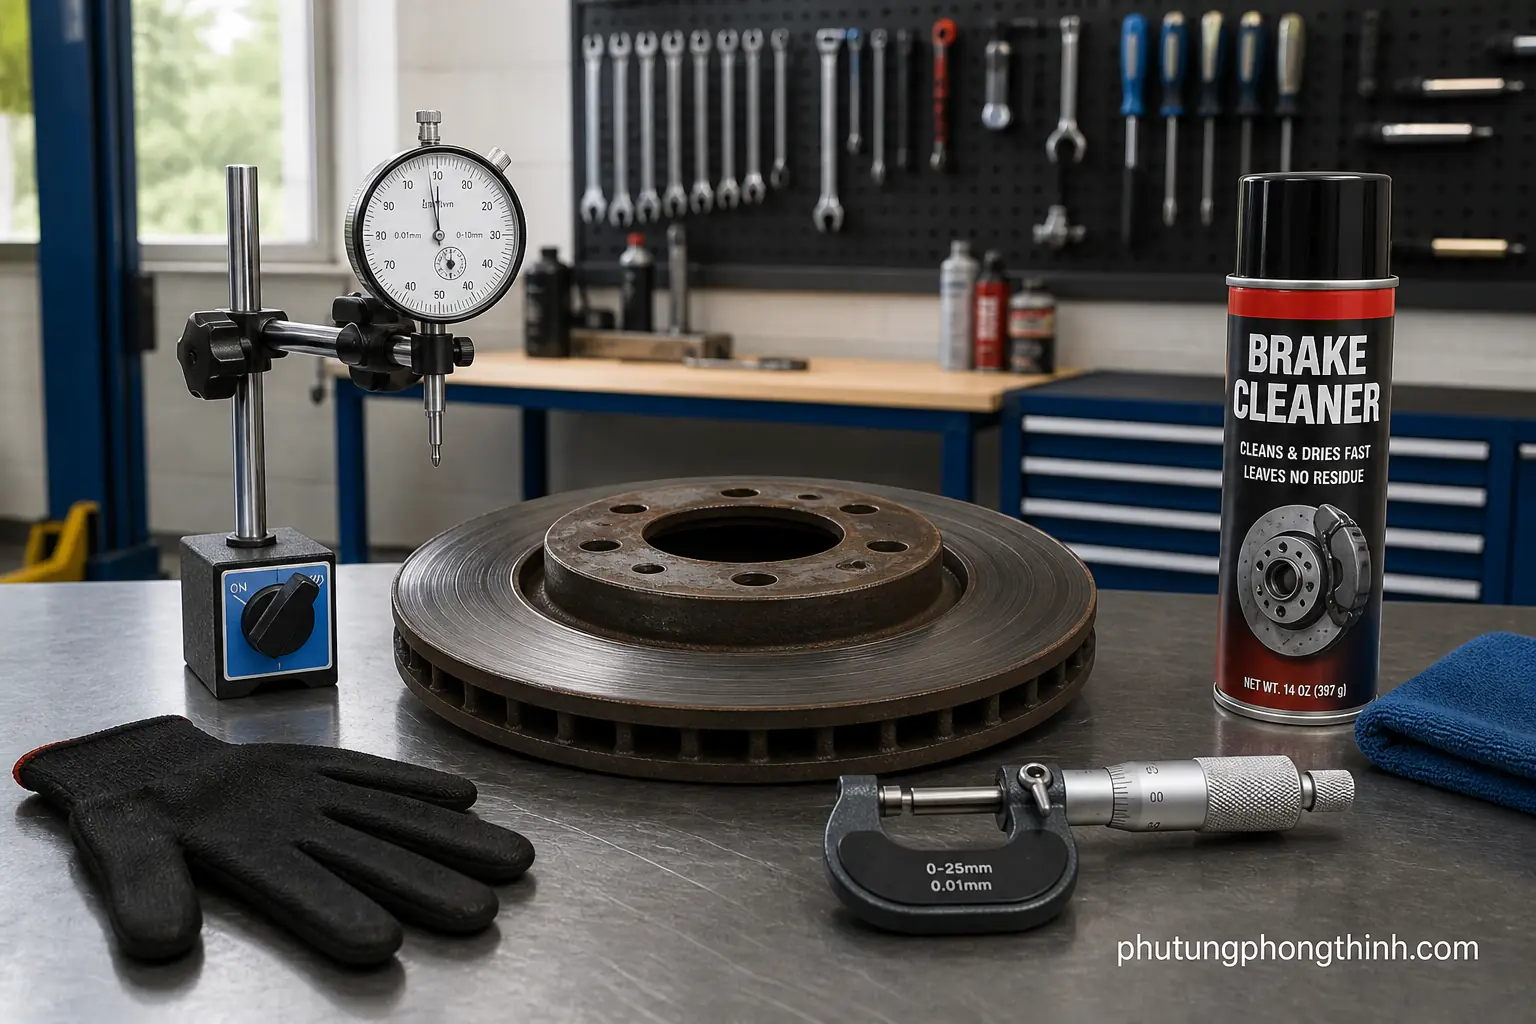
Before you start, gather the basics for a safe brake rotor inspection. You’ll want a jack, jack stands, a lug wrench, and a torque wrench, plus a dial indicator and a brake rotor micrometer or digital caliper for the measurements that really matter.
Brake cleaner, a marker or chalk, gloves, and eye protection make the job easier and safer. If you only buy one precision tool, choose the dial indicator, because it is the best way to check rotor runout accurately.
- Jack and jack stands
- Lug wrench and torque wrench
- Dial indicator
- Brake rotor micrometer or digital caliper
- Brake cleaner, marker or chalk, gloves, and eye protection
Step 1: confirm the braking symptoms on the road
Take a short, controlled road test and reproduce the complaint at different speeds. Light braking is often enough to reveal brake pedal pulsation, while a stronger stop may make the steering wheel shake more obvious.
Pay attention to where the vibration shows up. If it is strongest in the steering wheel, the front brakes are more likely involved; if you feel it mostly in the seat or through the chassis, the rear brakes may be part of the issue.
Step 2: inspect the rotor surface and pads
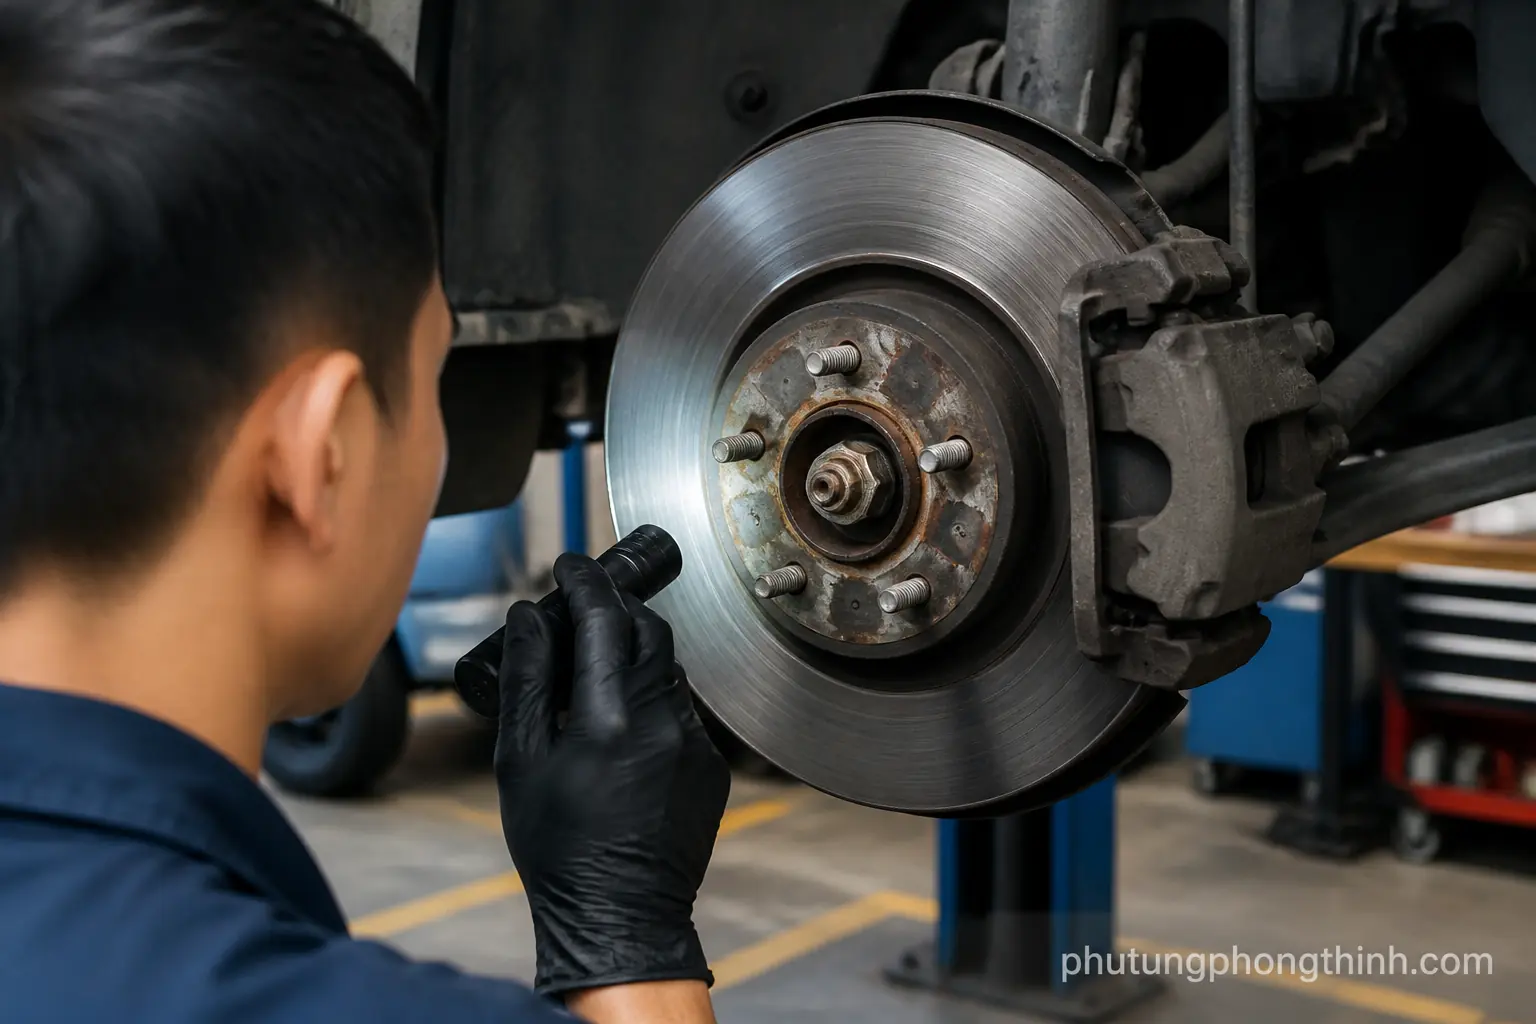
Once the vehicle is safely lifted, look closely at the rotor face and the pads. Heat spots, blue discoloration, scoring, and uneven pad material transfer are all useful clues, especially when the brakes have been overheated.
Also check the pads for tapered wear or one-sided wear, which can suggest a sticking caliper. A damaged-looking rotor supports the diagnosis, but appearance alone is not enough to confirm the root cause.

- Look for heat spots, blue discoloration, scoring, and pad deposits
- Check for tapered or uneven pad wear
- Use the visible condition as evidence, not proof by itself
Step 3: check for caliper or hub problems
Before blaming the rotor, inspect the caliper and hub. Sticking caliper symptoms often show up as uneven pad wear, rough slider movement, or a piston that does not retract smoothly.
You should also check for wheel bearing play diagnosis by grabbing the wheel and feeling for looseness or roughness. Dirt, rust, or runout at the hub can mimic warped rotor symptoms even when the rotor itself is still serviceable.
- Inspect caliper slide pins and piston movement
- Feel for wheel bearing play or roughness
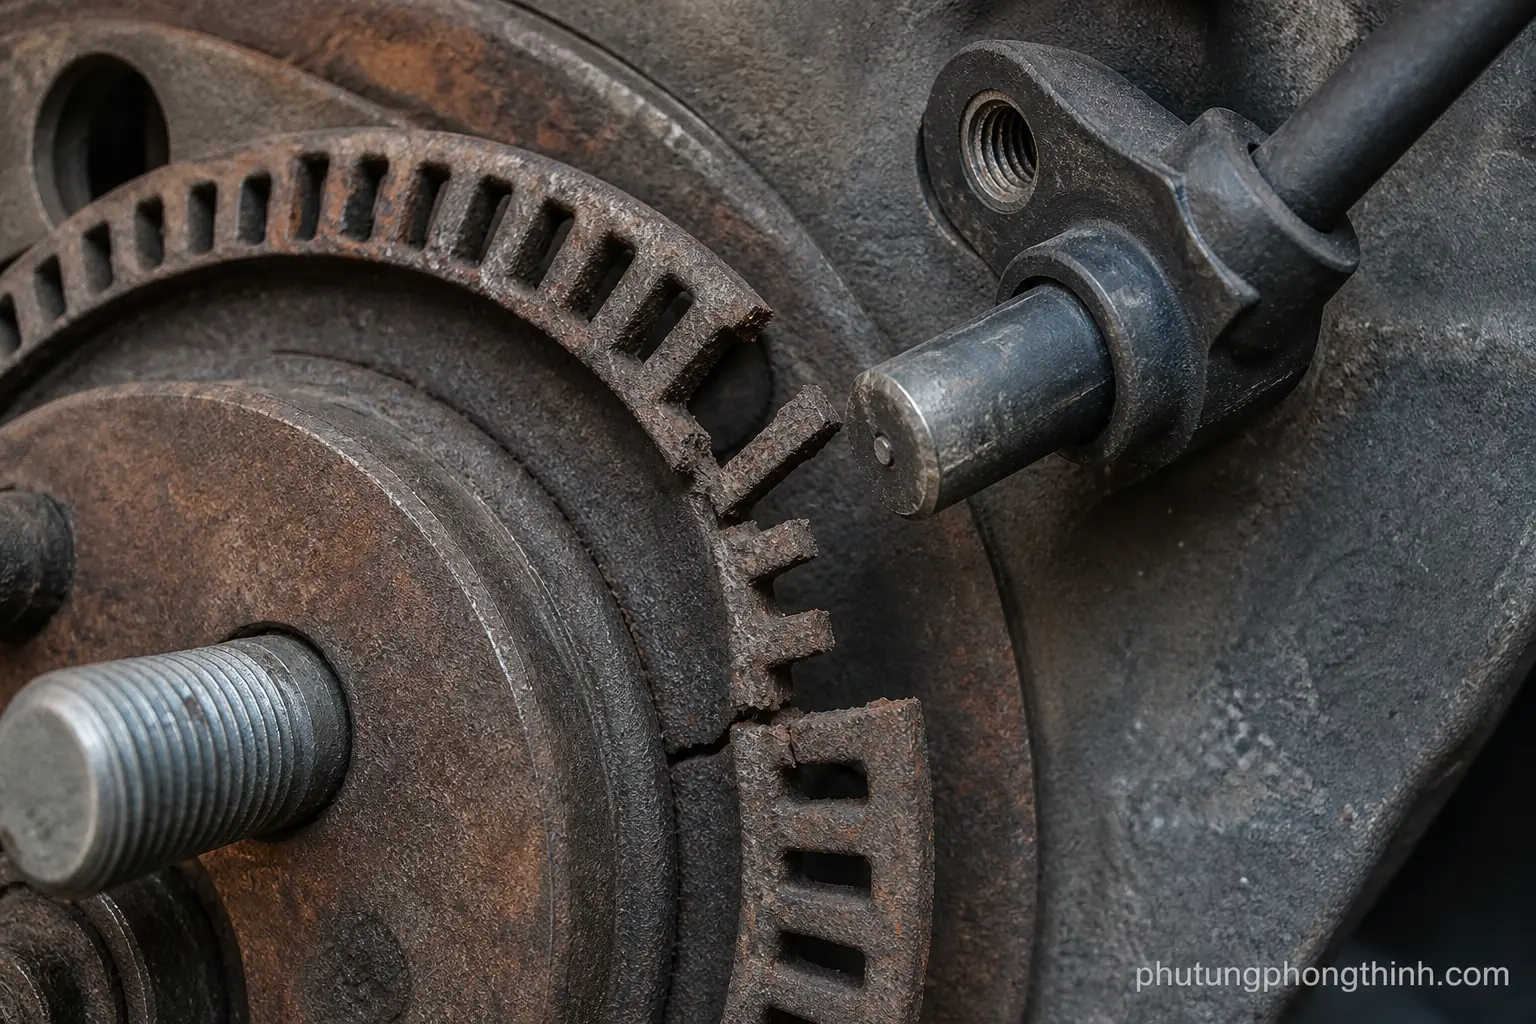
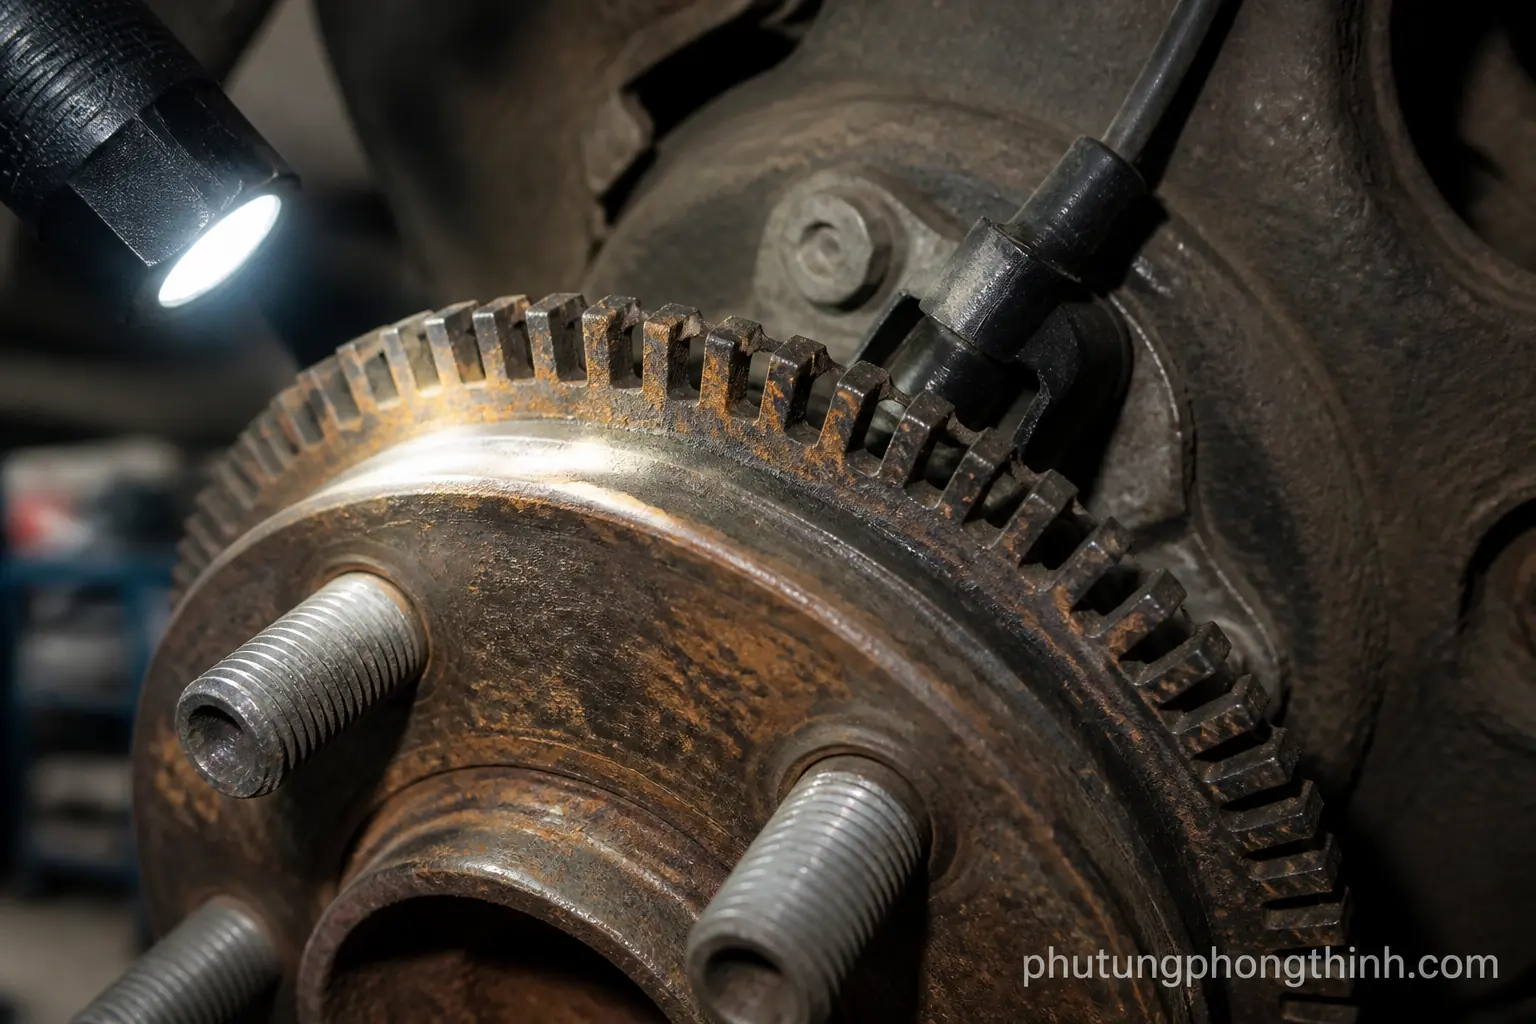
- Look for hub rust or debris that can create false rotor readings
Step 4: measure rotor runout with a dial indicator
This is the key test for brake rotor runout. Mount the dial indicator solidly, place the tip near the rotor face at the proper radius, and zero the gauge before you rotate the rotor.
As you turn the rotor, record the total indicated runout. Excessive runout can create brake rotor runout symptoms and pulsation, especially after heat cycling, when the pads start following the high and low spots on the disc.

- Mount the dial indicator firmly
- Position the tip at the correct rotor radius
- Rotate the rotor and note total indicated runout
- Compare the reading to the vehicle’s service limit
Step 5: measure rotor thickness variation
Next, use a brake rotor micrometer to measure thickness at several points around the rotor. This shows whether rotor thickness variation is present and whether one area is wearing faster than the rest.
Variation is often the real source of brake pedal pulsation, and it frequently comes from pad deposits or caliper issues rather than simple rotor wear. Multiple readings around the disc help separate a true rotor problem from an installation or brake hardware issue.
- Measure at several points around the rotor
- Compare all readings for thickness variation
- Check for uneven wear patterns tied to pad deposits or caliper drag
Step 6: decide whether to resurface or replace the rotors
After the tests, decide whether resurfacing is enough or whether replacement makes more sense. Minimum thickness, visible damage, and repeated runout all matter when you decide when to replace brake rotors.
If the rotor cannot be brought back into spec safely, replacement is the better choice. The right call depends on whether the disc still has enough material left and whether the vibration source is likely to return.
- Check minimum thickness before any repair
- Replace rotors with visible damage or repeated runout
- Choose the option that restores safe operation within spec
Step 7: prevent the problem from coming back
Clean the hub mounting surfaces before reinstalling rotors so rust or debris does not create a false high spot. When the wheels go back on, torque them evenly to spec to avoid inducing runout.
It also helps to address pad contamination, caliper drag, and overheating early. Preventing uneven pad material transfer is one of the best ways to keep the brake pedal smooth over time.
- Clean hub mounting surfaces thoroughly
- Torque wheels evenly to specification
- Fix pad contamination and caliper drag
- Avoid overheating that leads to uneven pad material transfer
When brake vibration is not a rotor problem
Not every brake vibration comes from the rotors. Tire problems, suspension wear, and wheel balance issues can feel very similar, so a broader brake and chassis inspection is sometimes the right next step. If the steering wheel shimmy happens even when you are not braking, that often points away from the rotors.
That is why a complete diagnosis matters before you buy parts. In some cases, the real fix is in the suspension or cooling system, not the brakes, and a worn cooling system thermostat or a loose rear subframe bushing can create vibrations that drivers may mistake for warped rotors.
- Check tires, suspension, and wheel balance
- Note whether vibration happens only during braking
- Expand the inspection when symptoms do not fit the rotors
FAQ: diagnosing warped rotors
How to tell if rotors are bad without removing the wheel?
Look for brake pedal pulsation, steering wheel shimmy, and vibration during braking. Those symptoms suggest a brake issue, but you still need inspection and measurement to confirm rotor runout or thickness variation.
Does brake pedal pulsation always mean warped rotors?
No. Pulsation can also come from pad deposits, a sticking caliper, hub runout, or other brake hardware problems. The pedal feel is a clue, not a final diagnosis.
How much rotor runout is too much?
Too much is any reading above the vehicle manufacturer’s service limit. The exact number varies by vehicle, so compare your dial indicator result to the spec for your make and model.
When should rotors be replaced instead of resurfaced?
Replace them when they are below minimum thickness, badly damaged, or still out of spec after correction. If the rotor cannot be returned to safe limits, replacement is the better choice.
Frequently Asked Questions
How to tell if rotors are bad without removing the wheel?
Look for brake pedal pulsation, steering wheel shimmy, and vibration during braking. Those symptoms suggest a brake issue, but you still need inspection and measurement to confirm rotor runout or thickness variation.
Does brake pedal pulsation always mean warped rotors?
No. Pulsation can also come from pad deposits, a sticking caliper, hub runout, or other brake hardware problems. The pedal feel is a clue, not a final diagnosis.
How much rotor runout is too much?
Too much is any reading above the vehicle manufacturer’s service limit. The exact number varies by vehicle, so compare your dial indicator result to the spec for your make and model.
When should rotors be replaced instead of resurfaced?
Replace them when they are below minimum thickness, badly damaged, or still out of spec after correction. If the rotor cannot be returned to safe limits, replacement is the better choice.