How to Bleed Cooling System: Simple DIY Steps That Work
How to Bleed Cooling System: What You Need First
If you are figuring out how to bleed cooling system air pockets, the goal is simple: remove trapped air so coolant can circulate properly through the radiator, heater core, and engine. When air stays in the system, it can block flow, cause hot spots, and leave the cabin heat weak or inconsistent.
The exact bleed procedure varies by vehicle, but the basic idea is usually the same: fill the system correctly, let the engine warm up, and give trapped air a path out. Before you begin, make sure the engine is completely cool and you have the right tools and supplies on hand.
- A cool engine and a safe, level work area
- The correct coolant mix for your vehicle
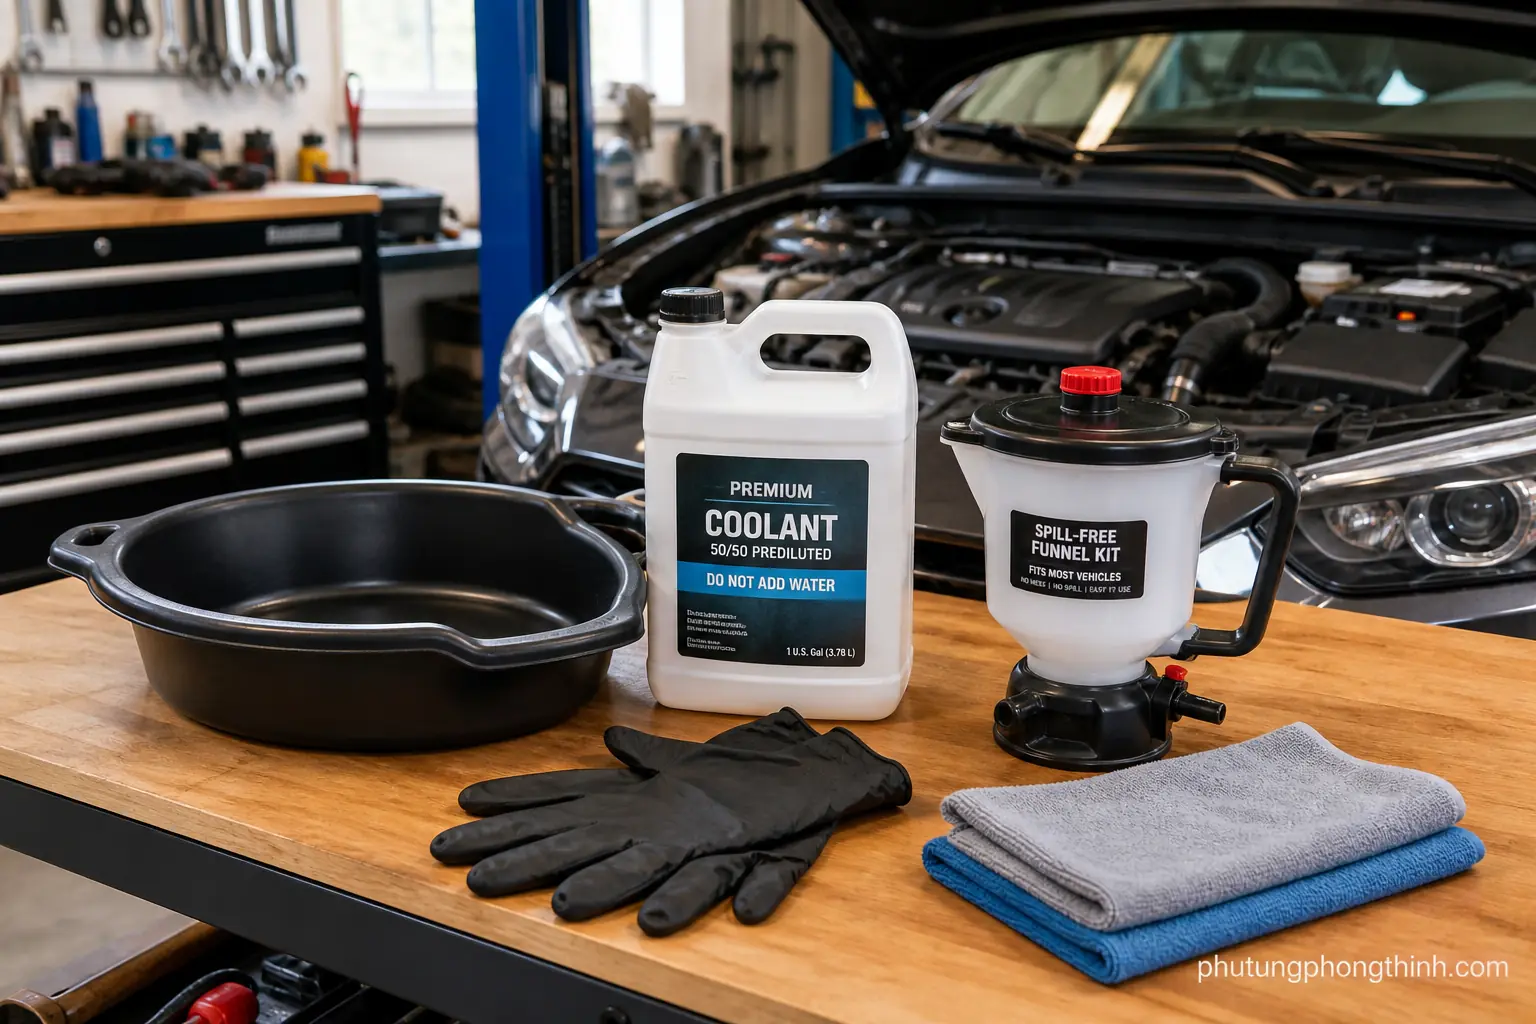
- A drain pan, gloves, rags, and a funnel or spill-free funnel
- Your owner’s manual or service information for bleed screw locations
Signs of Trapped Air in the Cooling System
Before you start bleeding the cooling system, it helps to confirm that trapped air is really the problem. Common symptoms include a temperature gauge that swings up and down, engine overheating, or a heater that blows cold air and only gets warm when the engine speed changes.
Gurgling sounds, a fluctuating coolant level, and poor coolant circulation are also strong clues. Air often gets into the system after a coolant change, a top-up, or a repair. If the coolant is low, that may point to a leak. If the problem keeps coming back, the issue may be more than air alone and could involve the thermostat, radiator cap, or water pump.

- Temperature gauge swings or engine overheating
- Heater blows cold air or heat changes with engine speed
- Gurgling sounds, fluctuating coolant level, or poor coolant circulation
- Recent coolant change, top-up, or repair can introduce air
- Low coolant level may point to a leak
- Persistent symptoms can indicate thermostat, radiator cap, or water pump issues
Step-by-Step Cooling System Bleeding Procedure
Park safely, let the engine cool, and set the heater to hot so coolant can move through the heater core. Fill the radiator or expansion tank to the correct level, then use a spill-free funnel if your vehicle setup calls for one. If there are bleed screws, open them according to the service procedure so air can escape as the system fills.
Start the engine and let it reach operating temperature until the thermostat opens. As coolant circulation begins, watch for bubbles and keep topping off the coolant as air escapes. Close bleed points once you see a steady flow with no more air. The final check is simple: the heater should blow hot air consistently, the coolant level should stabilize after cooldown, and the engine temperature should stay steady on a test drive with no warning lights or leaks.

- Park safely, let the engine cool, and set the heater to hot
- Fill the radiator or expansion tank to the correct level
- Use a spill-free funnel if needed and open bleed screws according to the vehicle setup
- Start the engine and let it reach operating temperature until the thermostat opens
- Watch for bubbles, top off coolant as air escapes, and close bleed points when steady flow appears
- Verify the heater blows hot air consistently
- Confirm the coolant level stabilizes after cooldown
- Check for leaks, warning lights, and stable engine temperature on a test drive
Tips for Vehicles Without Bleed Screws
Some vehicles do not use bleed screws, so the process relies on the correct fill point, the radiator cap, or the reservoir. Follow the vehicle’s design, and raise the front of the car only if the manufacturer recommends it. In some cases, gently squeezing the upper hoses can help move trapped air toward the opening.
Be patient with the idling and cap installation steps, because rushing can leave air pockets behind. Never open a hot radiator cap, do not overfill the reservoir, and do not stop the process before the thermostat opens. Those mistakes can trap more air or create a safety risk.
- Use the proper fill point for the vehicle
- Raise the front of the car only if recommended
- Gently squeeze upper hoses to help move trapped air
- Follow manufacturer guidance for idling and cap installation
- Never open a hot radiator cap
- Do not overfill the reservoir
- Do not rush the process before the thermostat opens
When Bleeding Is Not Enough
If air pockets keep coming back, bleeding alone will not fix the problem. Repeated air intrusion can point to a coolant leak, and issues like combustion gas intrusion, a failed radiator cap, or a bad thermostat can keep reintroducing air into the system. Overheating under load and clear water pump failure signs also need deeper diagnosis.
After several heat cycles, recheck the coolant level and inspect hoses, clamps, the radiator, and the heater core for leaks. If the coolant keeps disappearing or the engine still overheats after a proper bleed, it is time for professional diagnosis. In some cases, poor running that seems unrelated may also call for a clean intake airflow part like clean intake airflow part to be checked as part of a broader engine inspection.
- Repeated air pockets may signal a coolant leak
- Combustion gas intrusion, failed radiator cap, or thermostat problems can reintroduce air
- Water pump failure signs and overheating under load need deeper diagnosis
- Recheck coolant level after several heat cycles
- Inspect hoses, clamps, radiator, and heater core for leaks
- Seek professional diagnosis if overheating persists or coolant disappears
Maintenance Habits That Prevent Air Pockets
Once the system is fixed, a few habits can reduce the chance of future bleeding problems. Check coolant level regularly when the engine is cold, and always use the correct coolant and mix ratio for your vehicle. After any coolant flush or thermostat replacement bleeding, take time to purge the system carefully so trapped air does not stay behind.
It also helps to inspect the radiator cap and hoses during routine maintenance. Small issues caught early are much easier to handle than a cooling system that keeps pulling in air or running low on coolant.
- Check coolant level regularly when the engine is cold
- Use the correct coolant and mix ratio
- Bleed carefully after any coolant flush or thermostat replacement bleeding
- Inspect the radiator cap and hoses during routine maintenance
For unrelated service needs, some owners also compare parts like replacement brake pads, but cooling system bleeding should always be completed first when the engine is overheating or the heater is not working right.
Frequently Asked Questions
How long does it take to bleed a cooling system?
It depends on the vehicle and how much air is trapped. A simple bleed may take 20 to 40 minutes, while systems with bleed screws or stubborn air pockets can take longer because the engine must fully warm up before the air can escape.
Do I need the engine running to bleed the cooling system?
Usually yes. Many systems need the engine to run until the thermostat opens so coolant can circulate and push air out. Always follow the service procedure for your specific vehicle.
Can I drive with air in the cooling system?
It is not a good idea. Trapped air can cause overheating, poor heater performance, and unstable coolant flow. If the temperature starts climbing, stop driving and let the engine cool.
Why does my heater still blow cold after bleeding?
That can mean there is still air in the heater core, the coolant level is low, or another part is failing. A bad thermostat, weak water pump, or leak can also keep the heater from working properly.
What should I check if the coolant level keeps dropping after a bleed?
Check for leaks at hoses, clamps, the radiator, reservoir, water pump, and heater core. If no leak is visible and the problem continues, have the system inspected for internal issues such as combustion gas intrusion.